What Is a Prototype Sample in Garment Production? (And How to Make One Step-by-Step)
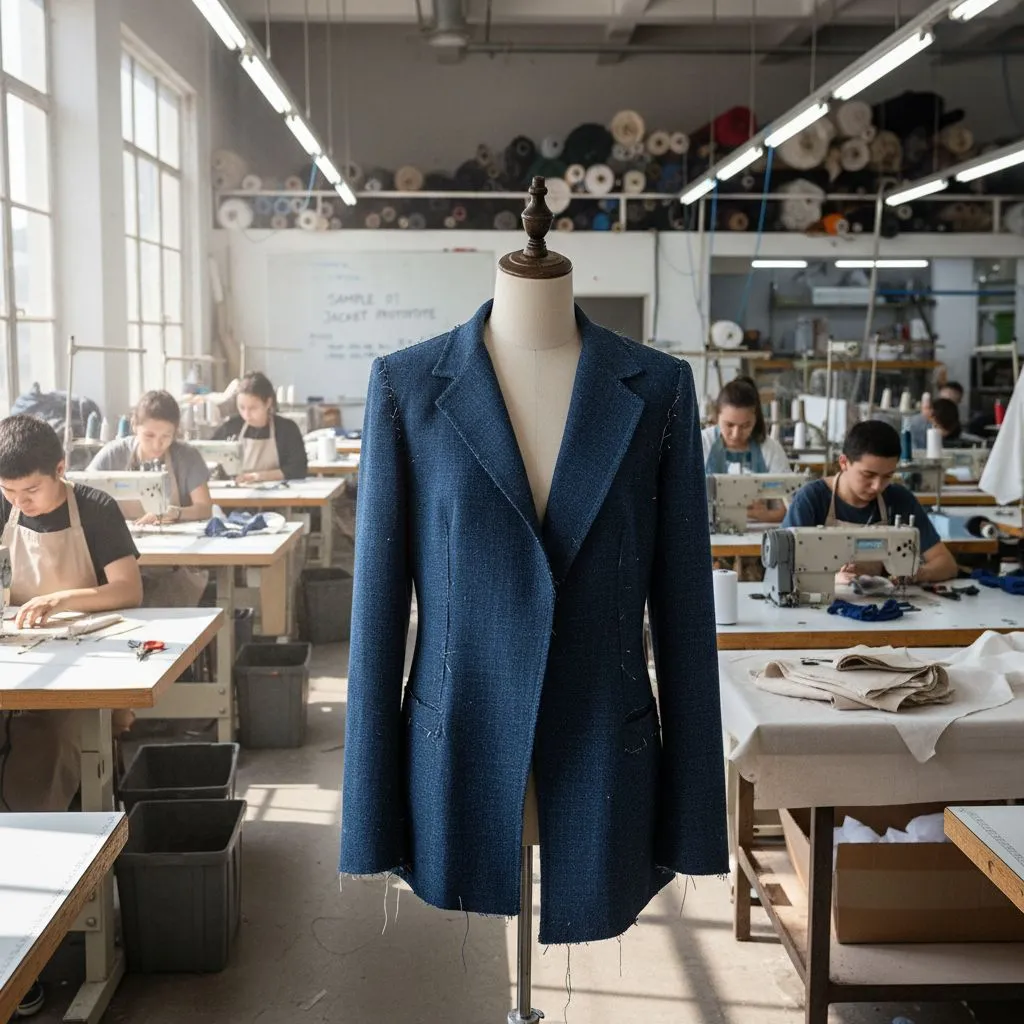
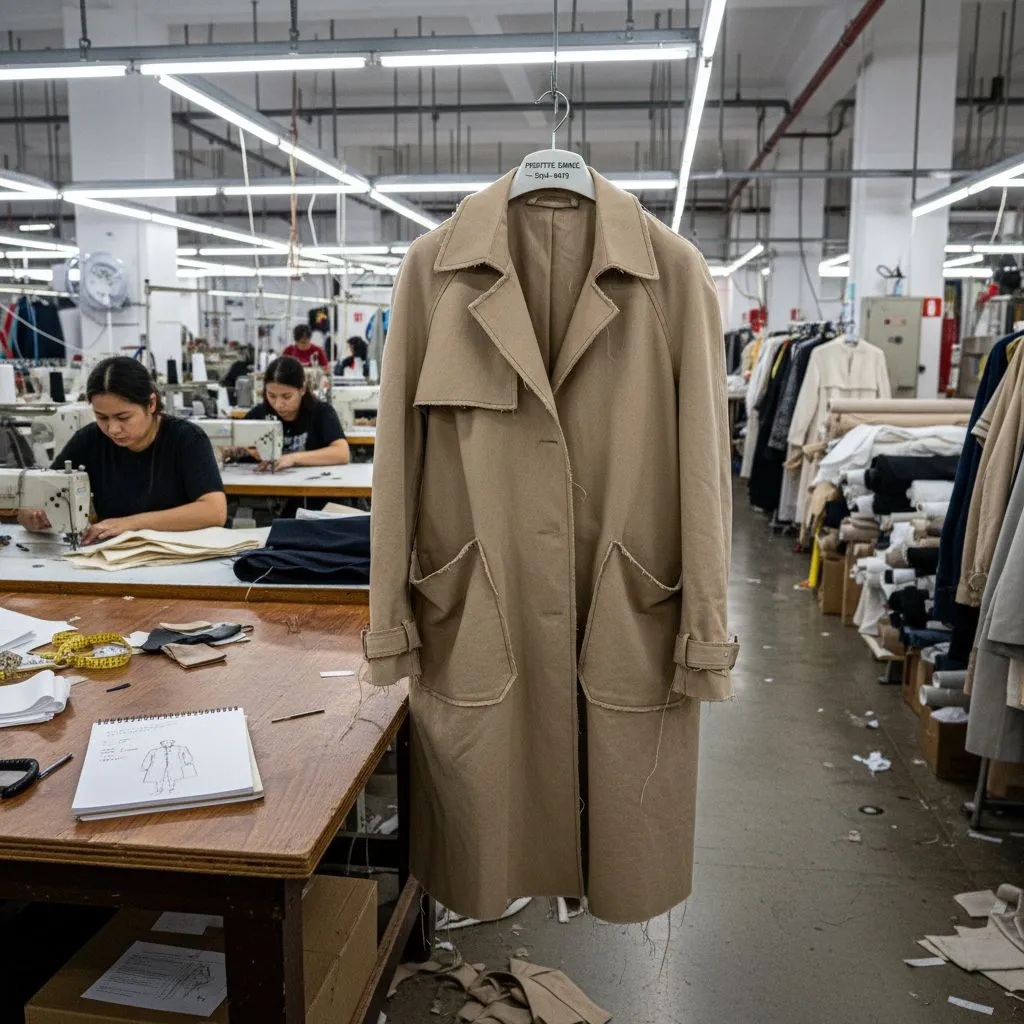
A prototype sample (also called a proto sample) is the first physical sample a factory makes from a buyer’s design request. Its main job is simple: prove the design can be made in real life with real fabric, real stitching, and real construction. Here’s the key detail many people miss: a prototype sample is not meant to be perfect. It can be made in a smaller size, and it may not use the final fabric or full size set yet. It’s mostly for shape, look, and build feasibility.
Types of Garment Samples In Garments Factory:
- Prototype Sample in Garment Production? (And How to Make One Step-by-Step)
- Fit Sample and Why You Need It in Garment Production.
- Size Set Sample: What It Is, Why You Need It.
- Counter Sample in Garment Manufacturing? (And Why Brand Owners Need It)
- Salesman Sample, And When Do You Really Need One?
- Pre-Production Sample (PP Sample) in Garment Manufacturing, and Why It Matters More Than You Think
- Top Production Sample (TOP Sample), and Why Brand Owners Actually Need It
- Shipment Sample in Garment Manufacturing?

Why Prototype Samples Matter (More Than People Think)
A proto sample helps you catch problems early, like:
- A design detail that is too hard to sew at scale
- A pattern that looks good on paper but fits weird on the body
- A trim that can’t be sourced fast enough
- A construction method that will slow production or raise costs
If you skip proto and jump straight to “final-looking” samples, you may feel faster… but you often pay later with rework, delays, and surprise cost increases. Proto is the “cheap mistake” stage.
Prototype Sample vs Other Samples
| Sample Type | Also Called | Main Purpose | When It Happens | What Usually Changes | Typical Approval Focus |
|---|---|---|---|---|---|
| Prototype Sample | Proto / Development Sample | Prove the design can be made in real life (construction + overall look) | First sample stage | Pattern structure, sewing methods, design details, trims | “Can we make this style correctly?” |
| Fit Sample | Fitting Sample | Check fit on body (balance, comfort, measurements) | After proto (often) | Measurements, pattern adjustments, silhouette | “Does it fit well?” |
| Salesman Sample | SMS | Show the product for sales/marketing (often for showrooms) | After design is stable | Mostly appearance details (labels, minor trims) | “Does it look sellable and on-brand?” |
| Size Set Sample | Size Range Sample | Confirm fit/measurements across multiple sizes (S/M/L or full range) | After fit is approved | Grading, size measurements | “Do all sizes match the size chart?” |
| Pre-Production Sample | PP Sample | Confirm the factory can produce bulk exactly as approved | Before bulk cutting | Should be minimal if process is controlled | “This is the final standard for bulk.” |
| Top of Production Sample | TOP Sample | Check first output from real production line | Early in bulk production | Fix line issues (stitch, shade, minor finishing) | “Is bulk production matching PP?” |
| Shipment Sample | Shipping Sample / Final Sample | Keep a reference of what was shipped | At shipment / after packing | No changes record only | “This is what the buyer received.” |

What Should Be Checked on a Prototype Sample?
Keep it simple. A proto sample review should focus on:
Design and shape:
- Does it look like the sketch/reference?
- Are key details placed correctly?
Construction and sewing:
- Are seams logical and strong?
- Are there any “impossible” operations for bulk?
Materials risk:
- Can we source fabric/trims again in bulk?
- Any minimum order quantity (MOQ) issues?
Cost and time risk:
- Does the style require too many steps?
- Will it slow the production line?
The 10 Steps to Make a Prototype Sample (Factory Workflow)
Many factories follow a 10-step basic workflow to develop a prototype sample. “10 steps” sounds clean, but real life isn’t. Some styles need 2–5 rounds of proto edits (especially tailored items, outerwear, or new materials). So think of this as the core path, not a guarantee.
Step 1) Receive the buyer’s idea and requirements

In this first step, the factory collects all information the buyer has about the style, so the sample team doesn’t have to guess later. This usually includes a sketch or reference photos, the target fabric and trims, the intended customer, and any special design details like pockets, zippers, lining, or decoration.
Next, the buyer should provide key technical inputs such as a tech pack, measurement chart, stitching requirements, label/packaging rules, and quality standards if they already have them. If some items are missing, the factory should list the gaps clearly and send questions back right away because missing info at this stage often creates wrong patterns and wasted re-samples.
At the same time, the team confirms practical basics like target sample size, sample quantity, deadline, and shipping address. Finally, the factory should summarize everything in writing (a simple “sample request sheet”) so both sides agree on what will be made before the cutting starts.
Step 2) Design team studies the request
After receiving the buyer’s information, the design team carefully reads and interprets the request to understand what the buyer truly wants not just what they wrote. They check the sketch and reference images to identify the key style points, such as silhouette, proportions, seam lines, pocket shapes, collar style, and overall “look.”
Next, they confirm the fabric behavior needed (soft, stiff, stretchy, lightweight), because fabric choice can change the final shape a lot. If the request includes artwork (print/embroidery), the team reviews placement, size, and file quality to avoid wrong positioning later. They also compare the buyer’s notes with common factory standards to spot anything that looks unclear or risky, like “invisible” details that are hard to produce consistently.
Finally, they create a clear internal plan often a first draft sketch + construction notes so the pattern and sample teams can work with the same understanding. A design team that “assumes” instead of confirming can easily build the wrong version of the style (wrong pocket angle, wrong length, wrong silhouette), and that mistake can cost more time than asking 3–5 questions early.
Step 3) Technical team reviews feasibility
In this step, the technical team checks whether the design can be made smoothly and consistently in a real factory not just “possible in theory.” They review the sketch/tech pack and look for high-risk operations, such as very small pieces, sharp curves, difficult corners, heavy layers, or details that need special machines.
Next, they decide the best construction method (seam types, stitch types, order of sewing) so the sample will match bulk production later. They also estimate how the fabric and trims will behave during sewing, like stretching, puckering, fraying, slipping, or shrinking, because these problems often appear early in sampling.
At the same time, they check whether the factory has the right equipment, skills, and capacity to produce the style at the required quality level. Finally, they list any “must-change” points and recommend adjustments that keep the design look but reduce cost, reduce defects, or reduce production time. If the technical review is skipped, you can end up approving a proto that looks good once but becomes a nightmare in bulk (slow line speed, high defect rate, and endless repairs).
Step 4) Internal meeting: design + technical align
In this step, the design team and technical team sit together to make sure they are building the same product, not two different interpretations. They review the sketch, notes, and any missing details, then agree on the final construction plan for the prototype sample (seam types, stitch types, finishing, and order of operations).
Next, they confirm which details are non-negotiable (must match buyer exactly) and which details are flexible (can be adjusted to improve feasibility or cost). If there are risky parts like tricky pockets, tight corners, heavy layers, or special trims the team discusses options that keep the look but make production more stable. They also align on measurable targets such as sample size, key measurements to control, tolerance, and expected appearance after pressing or washing.
Finally, they document decisions in a simple internal sheet so pattern makers and the sample room don’t work based on verbal instructions only. If this meeting is rushed or undocumented, you’ll often see “silent disagreements” the sample room follows one idea, the designer expects another, and the buyer ends up rejecting the sample for reasons that could have been avoided.
Step 5) Source materials (fabric + trims)
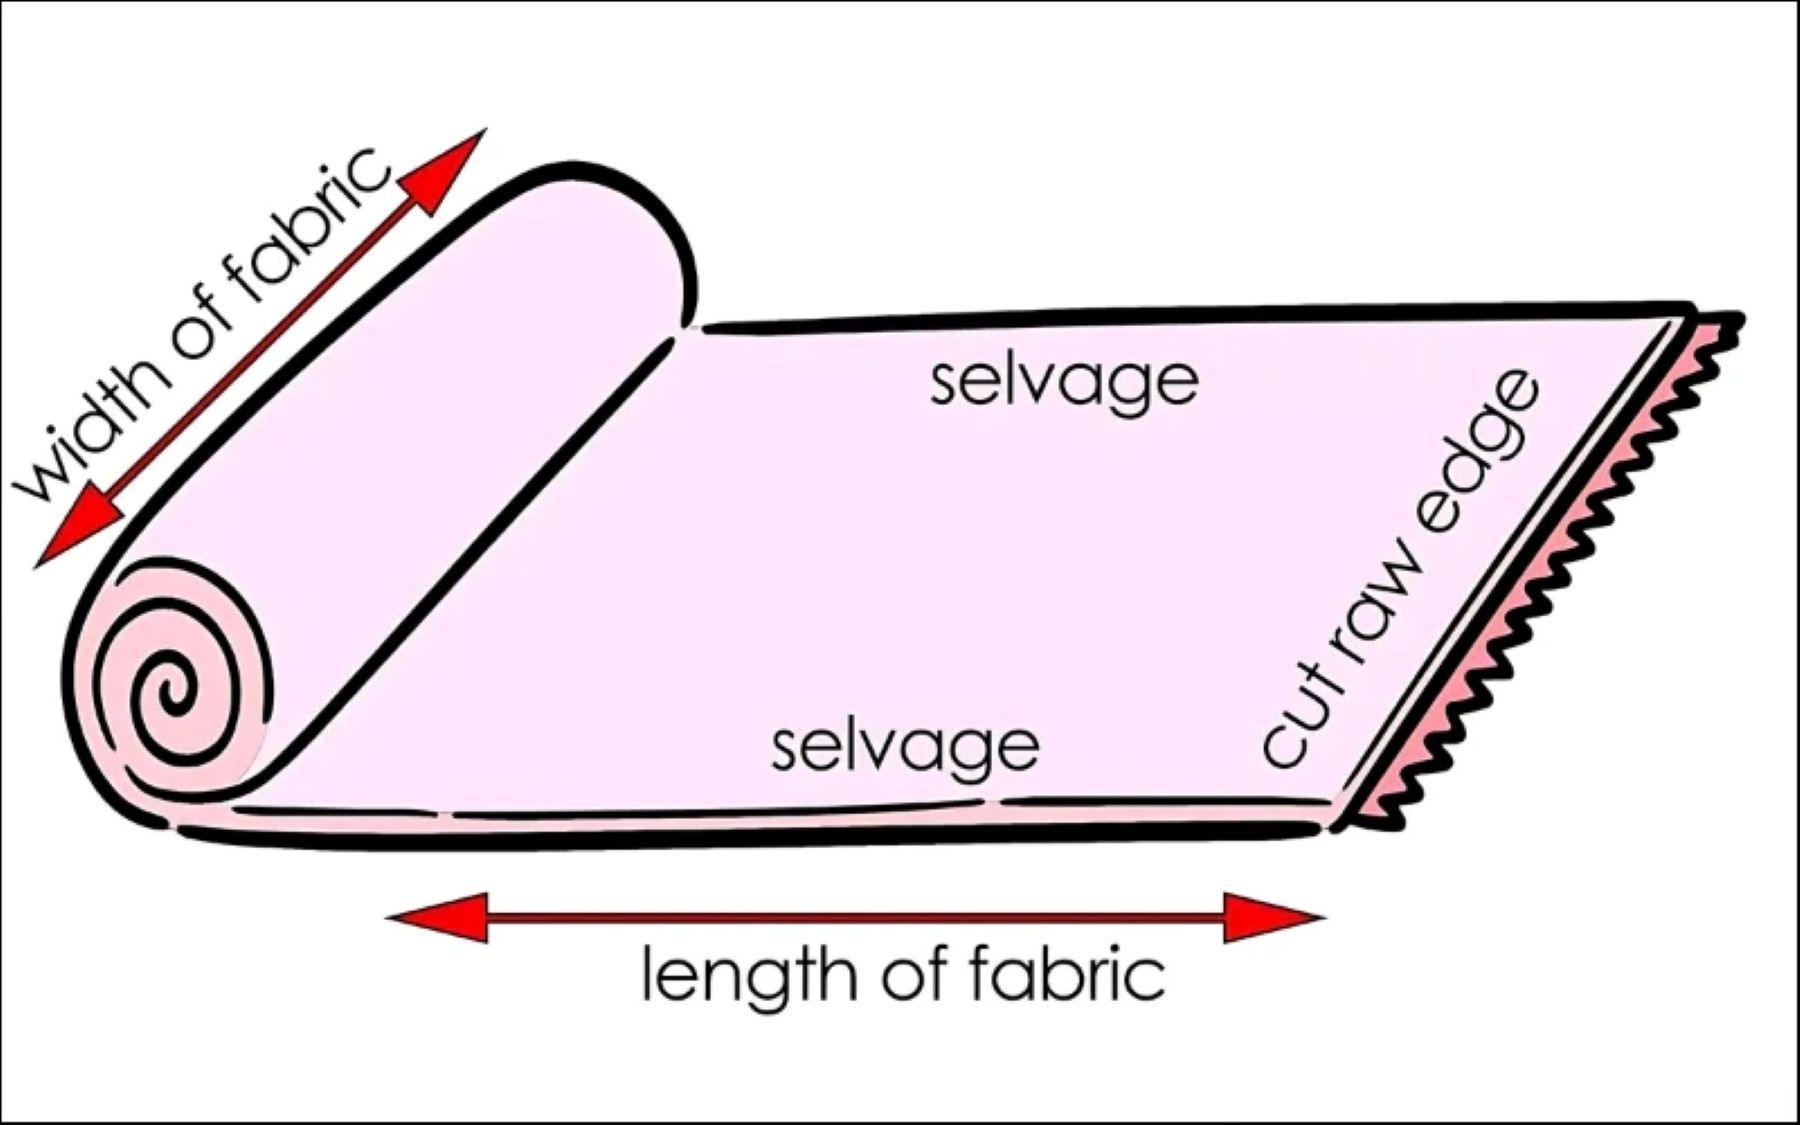
In this step, the sourcing team finds the fabric and trims that match the buyer’s request as closely as possible, so the prototype looks and behaves like the real product. They confirm the fabric specs first such as fiber content, weight (GSM), stretch, thickness, hand-feel, and color because even a small difference can change drape and fit.
Next, they source trims like zippers, buttons, elastic, labels, thread, interlining, and packaging items, and check whether each item is available in the right quality level. At the same time, they review practical limits such as MOQ, lead time, dye lot consistency, and supplier reliability, since a beautiful trim is useless if it can’t be reordered for bulk. If the exact material is not available for proto, they choose the closest substitute and clearly note what is different, so the buyer doesn’t judge the sample unfairly.

Finally, they record supplier details and item codes to make the next sample or bulk order faster and more controlled. Using “similar” fabric without telling anyone can create a fake win your proto looks fine, but the fit and shape may fail later when the real fabric arrives.
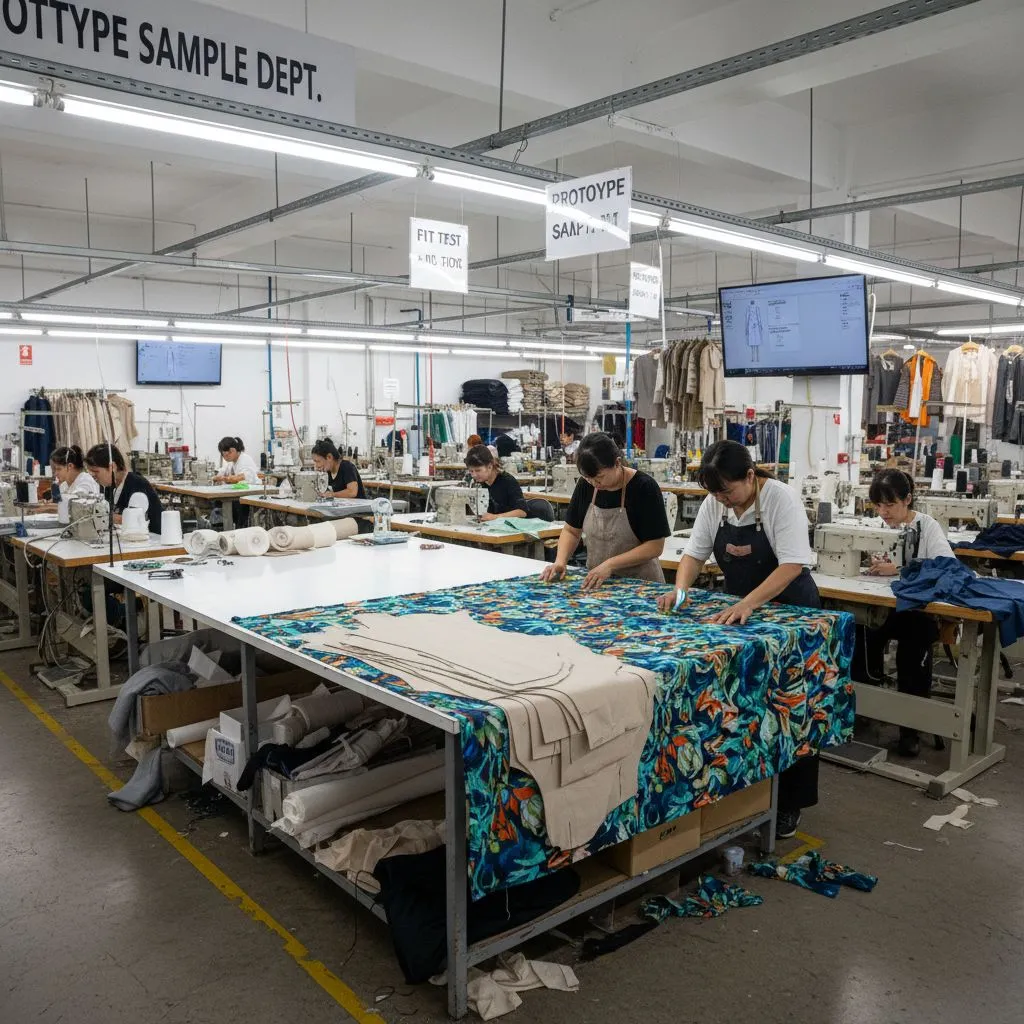
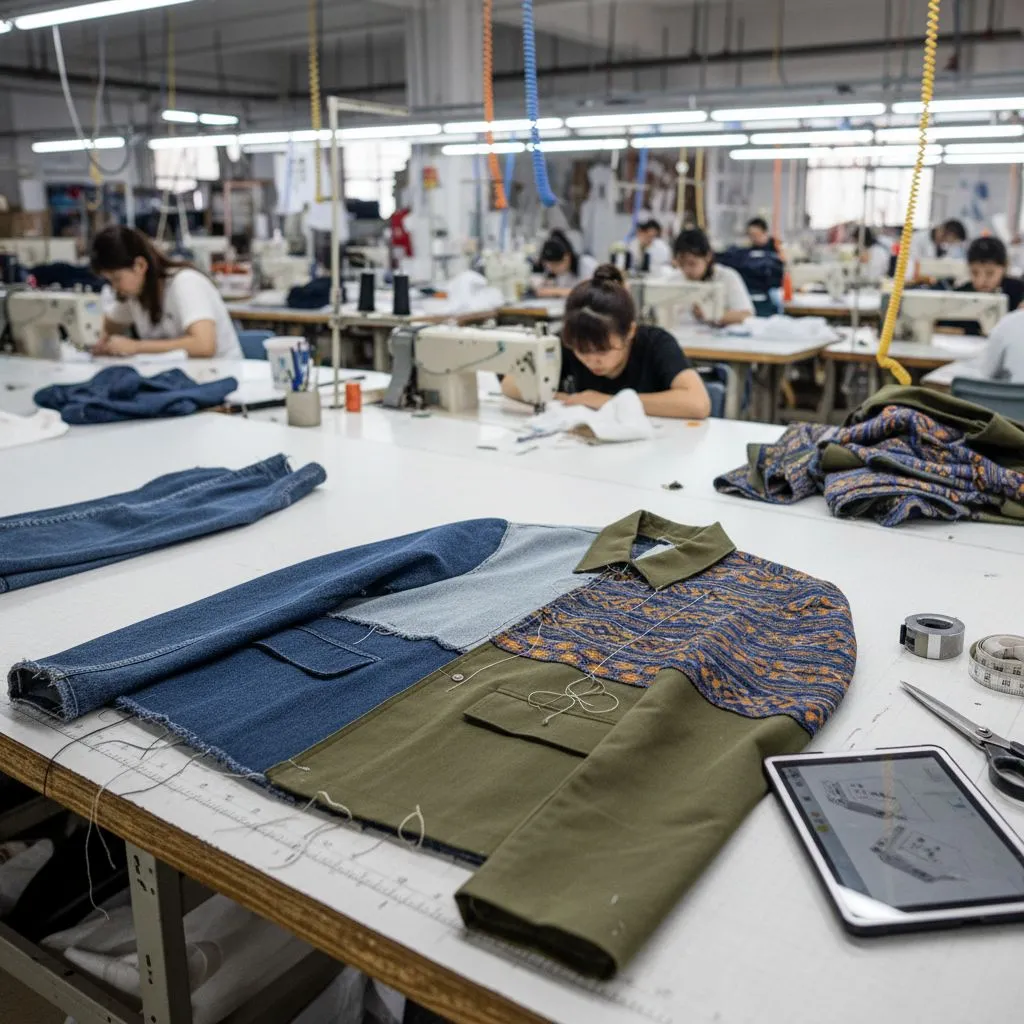
Step 6) Cut, sew, and apply artwork (print/embroidery) if needed
In this step, the sample room turns the plan into a real garment by cutting fabric, sewing the pieces, and adding any artwork required by the buyer. First, the team confirms the correct pattern version and key measurements, then prepares a clean marker or cutting layout to reduce cutting mistakes.
Next, they cut fabric carefully, making sure grain direction, nap, stripes, checks, or fabric stretch are handled correctly, because these small details can change how the sample looks and fits. Then they sew using the agreed construction method seam types, stitch density, and operation order so the prototype reflects how bulk production will be done. If the style includes printing or embroidery, the team applies it at the correct stage (before or after sewing) to avoid problems like misalignment, distortion, or puckering.
Throughout the process, they keep notes on any difficulties, such as fabric slipping, needle damage, or hard-to-control corners, because these are early warnings for bulk risk. Finally, the team performs a quick in-line check to confirm the sample matches the design intent before moving to washing and finishing. If you treat proto sewing like “just make it look okay,” you may hide real production issues so the buyer approves a sample that the factory cannot repeat consistently in bulk.
Step 7) Wash or special finishing (if required)
In this step, the sample is washed or finished if the buyer’s design needs a special look or hand-feel, such as soft wash, garment wash, enzyme wash, stone wash, or wrinkle effect. First, the team confirms the exact finishing requirement, because different washes can change the garment’s color, size, softness, and surface texture. Next, they test the correct method and settings (time, temperature, chemicals, drying) to avoid problems like color bleeding, uneven shade, or unexpected shrinkage. After washing, they measure key points again to see how much the garment changed, since wash can affect length, width, and overall fit.
They also check the garment’s appearance like seams twisting, puckering, or printing/embroidery damage because finishing can reveal hidden construction issues. If the result is not stable, the technical team may adjust pattern allowances or sewing methods to control the final outcome in bulk.
Finally, all wash conditions and results should be recorded clearly, so the factory can repeat the same finish consistently later. Many people think washing is just “make it softer,” but it can completely change fit and color so skipping wash testing at proto stage can lead to big bulk claims later.
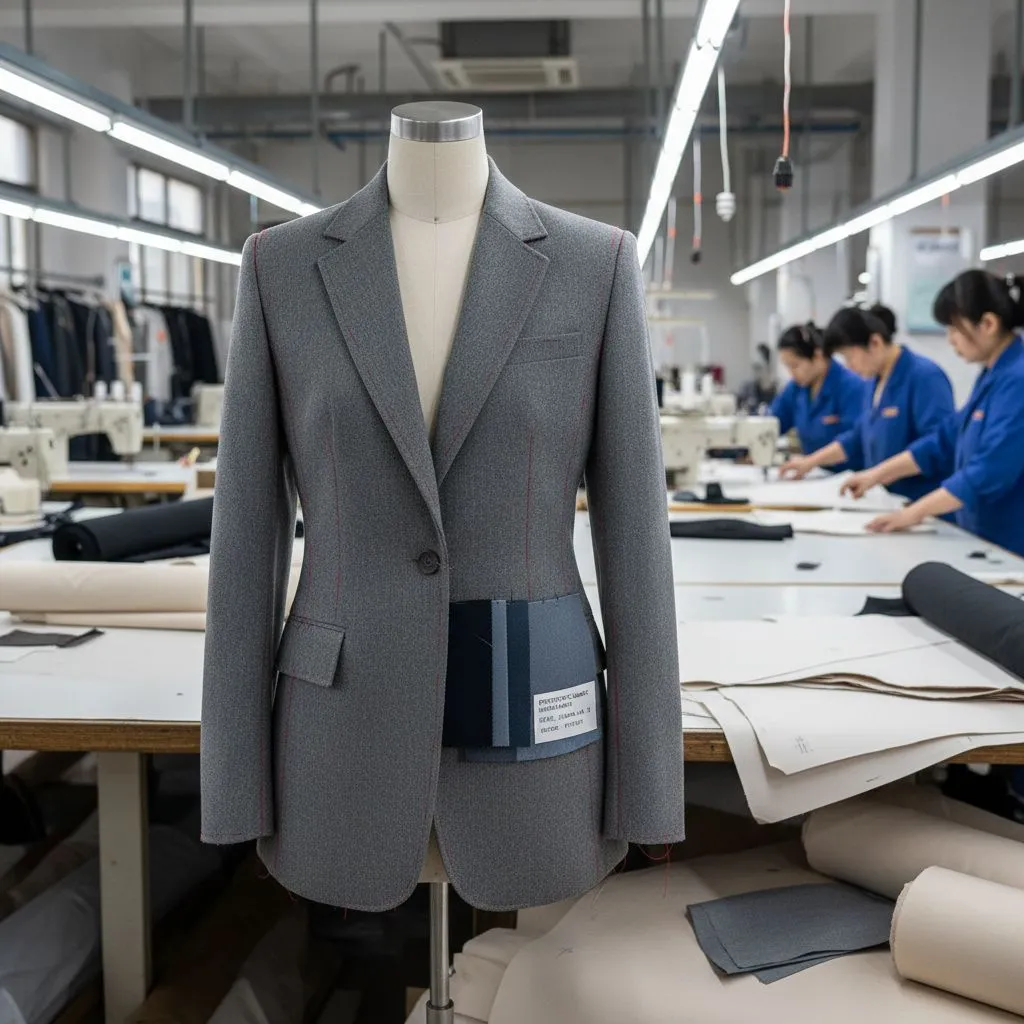
Step 8) Trim threads and press (final appearance)
In this step, the sample is cleaned and pressed so it looks like a real finished product, not a “half-done” sewing piece. First, the team trims all loose threads, removes chalk marks, and checks small details like seam ends, bar-tacks, and label attachments so the sample looks neat.

Next, they inspect for common sewing issues that become more visible after finishing, such as puckering, uneven topstitch, or seam twisting. Then the sample is pressed using the right method for the fabric steam, temperature, pressure, and pressing tools because pressing can improve shape, but it can also damage fabric if done wrong. They shape key areas like collars, cuffs, waistlines, hems, and pleats to match the intended silhouette and “store-ready” look. If the garment includes fusing or interlining, pressing also helps confirm whether bubbling or delamination might happen later.
Finally, the team does a quick visual check under good lighting to make sure the sample is presentation-ready before the internal evaluation. A badly pressed proto can get rejected even if the pattern is fine because buyers often judge with their eyes first, and finishing strongly affects perceived quality.
Step 9) Final internal evaluation
In this step, the factory reviews the finished prototype one last time before sending it to the buyer, to avoid shipping preventable mistakes. First, the team checks overall appearance: silhouette, proportions, and key design details like pockets, collar shape, placket alignment, and symmetry. Next, they measure the most important points (such as chest, length, sleeve, waist/hip) and compare them with the buyer’s spec or the factory’s agreed target, using realistic tolerance.
Then they inspect construction quality seam strength, stitch consistency, clean finishing inside, and whether any areas look weak or hard to repeat in bulk. If there is artwork, they confirm placement, size, and alignment, because even a small shift can cause buyer rejection. The team also reviews material choices and notes any substitutions, so the buyer understands what is “proto-only” versus “final plan.”
Finally, they create a short internal report (issues found + actions + next version plan) to speed up revisions if the buyer requests changes. If you skip this step, you risk sending a sample with simple errors (wrong label position, uneven topstitch, missing bar-tack) and the buyer may lose confidence even if the core design is correct.
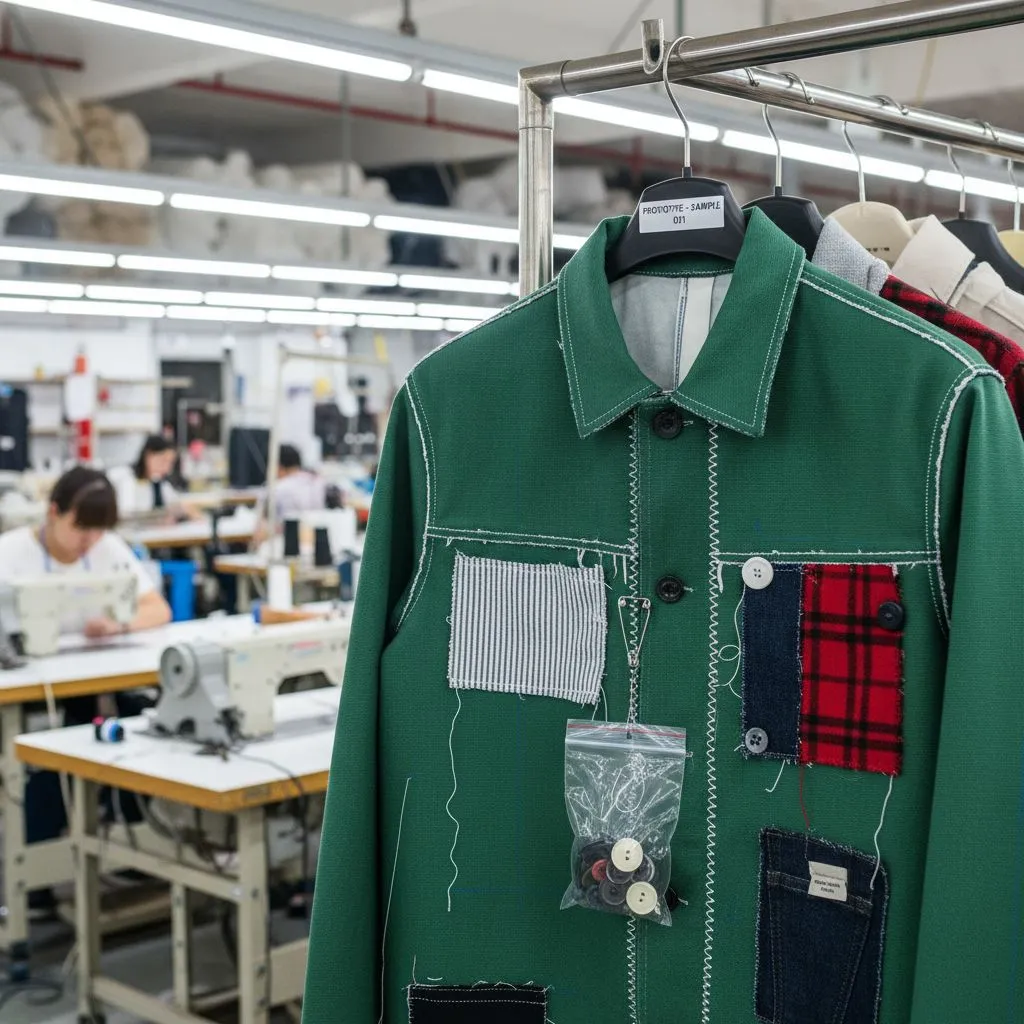
Step 10) Pack and send to the buyer (with documents)
In this step, the factory packs the prototype sample carefully and ships it to the buyer along with the right documents, so the buyer can review it smoothly. First, the team cleans the sample again, checks it is fully complete, then folds it properly to avoid wrinkles, shape damage, or crushed details like collars and pleats. Next, they attach clear identification, such as style number, sample type (PROTO), size, color, version number, and date, so the buyer doesn’t confuse it with another sample.
Then they prepare the document set, which often includes a sample submission form, measurement sheet (if available), material/trim notes (especially substitutions), and any workmanship or construction notes. If artwork is included, they may also add a placement guide or reference image to help the buyer judge correctly. After that, the shipping team confirms the courier method, tracking number, and delivery address, and shares tracking information with the buyer right away.
Finally, they keep internal records (photos + sample comments + document copy) so the next revision or future bulk production can follow the same approved direction. A sample sent without clear labeling or documents can create “false rejection” the buyer may think it’s the wrong size, wrong version, or missing specs, even if the product is actually fine.
Common Mistakes (That Cause Re-samples)
- Making proto without clear notes (then everyone guesses)
- Using wrong fabric (then fit and drape are misleading)
- Skipping internal review (then you ship problems to the buyer)
- Not documenting changes (then the next sample repeats errors)
Final Words / Conclusion
A prototype sample is the first real proof that a design can become a finished garment in the factory. It helps both the buyer and the manufacturer spot problems early before time, fabric, and money are spent on bulk production. By following the 10-step process (from receiving requirements to packing and sending the sample), you reduce misunderstandings, control quality, and speed up approvals.
Still, don’t expect perfection on the first try: a prototype sample often needs a few rounds of updates, and that’s normal in professional garment development. The smartest approach is to keep everything clear—specs, materials, decisions, and feedback—so each next sample gets closer to “approved for production.” If you want faster sampling with fewer revisions, the best investment is always the same: clear requirements + strong internal review + accurate materials.