
What Is RCA (Root Cause Analysis) in Garment Defect Handling?

Garment defects rarely happen without a reason. A skipped stitch, broken seam, incorrect measurement, puckered placket, oil stain, shade problem, or crooked pocket may appear to be a simple quality problem. But behind almost every repeated defect is a combination of causes involving the operator, machine, method, material, measurement system, workplace condition, or management control. This is where Root Cause Analysis (RCA) becomes important. Root Cause Analysis is a structured problem-solving method used to identify why a defect happened, why the existing controls did not prevent it, and what should be changed so the same problem is less likely to happen again. In garment manufacturing, RCA helps factories move beyond simply repairing defective pieces.
- Instead of: Find Defect → Repair Garment → Continue Production
- A stronger system works like this: Find Defect → Contain Problem → Investigate Cause → Correct Process → Verify Result → Prevent Recurrence
RCA is therefore not only a quality-control tool. It is an important part of quality assurance, production improvement, cost reduction, and continuous improvement.
=> Read More: Top 8 Garments Production Problems That May Affect Your Factory Output.
What Exactly is Root Cause Analysis (RCA)?
RCA stands for Root Cause Analysis. The purpose is to find the underlying reason a problem occurred rather than stopping at the most obvious explanation. For example, imagine an inline inspector finds repeated skipped stitches at a side seam. A weak conclusion may be: “The operator was careless.”
But that does not explain why the defect happened. A deeper investigation may find:
- Needle size was unsuitable for the fabric
- Needle was damaged
- Machine timing was incorrect
- Thread tension was unstable
- Operator had not been trained for the new fabric
- Machine setting standard was not available
- First-piece approval did not check stitch formation properly
- Inline QC discovered the issue too late
The real root cause may therefore be a machine-setting or process-control problem, not simply an operator problem. That difference matters because the solution will be very different.

=> Read More: +15 Common Fabric Defects & How to Spot Them Early, Why They Are So Dangerous
Effective RCA must answer four critical questions:
- Why did the defect happen at this specific step?
- Why was the existing control system unable to prevent it?
- Why was the defect not detected earlier in the line?
- What systemic change is required to stop it forever?

RCA is a systematic method used to identify the “source” of a problem. In garment production, it helps teams look past easy answers like “operator mistake” to investigate deeper issues such as incorrect machine setup, material instability, or flawed methods. A successful RCA process ensures that technical solutions are applied at the source to stop the defect from recurring.
A strong RCA process can help factories:
- Reduce defect recurrence
- Reduce rework
- Reduce repair labor
- Reduce fabric and trim waste
- Improve line efficiency
- Improve first-pass quality
- Improve consistency
- Reduce shipment risk
- Improve buyer confidence
- Strengthen factory procedures
The goal is not simply to make today’s defective garment acceptable. The goal is to make tomorrow’s production more stable.
=> Read More: What Happens When Defects Are Found During Garment Production?
The 6M Framework for Apparel Root Cause Analysis
To ensure a 360-degree view of the problem, professional factories utilize the 6M Framework. This ensures no category of potential failure is overlooked.
- Man (People): Was the operator specifically trained for this operation? Was there excessive speed pressure?
- Machine: Was the needle size correct for the fabric? Was the thread tension calibrated and standardized?
- Method: Is there a documented SOP (Standard Operating Procedure)? Are the seam allowances clearly defined?
- Material: Does the fabric exhibit unpredictable stretch or shrinkage? Were different fabric lots mixed?
- Measurement: Are the measuring tapes calibrated? Do production and QC use the same measurement points?
- Environment (Mother Nature): Did high humidity affect the fabric behavior or machine performance?
=> Read More: Defect Categories in Garment Inspection (Critical / Major / Minor)

The Standard RCA Process in Garment Factories
Step 1: Precise Defect Definition
When a serious or repeated defect is found, the first priority is usually to stop more defective pieces from moving forward. This is called containment.
Containment may include:
- Stop the affected operation where justified
- Separate suspected pieces
- Hold affected bundles
- Identify the affected production period
- Check nearby WIP
- Check finished garments already produced
- Check other operators using the same method
- Inform production and quality teams
Containment is not the root-cause solution. It simply limits the damage while the investigation takes place.
For example: Problem is Repeated skipped stitches on waistband. Immediate containment:
- Stop affected machine
- Hold garments sewn since last confirmed good check
- Inspect affected waistband seams
- Move work temporarily if an approved alternative machine is available
Only after containment should the team determine why the defect happened.
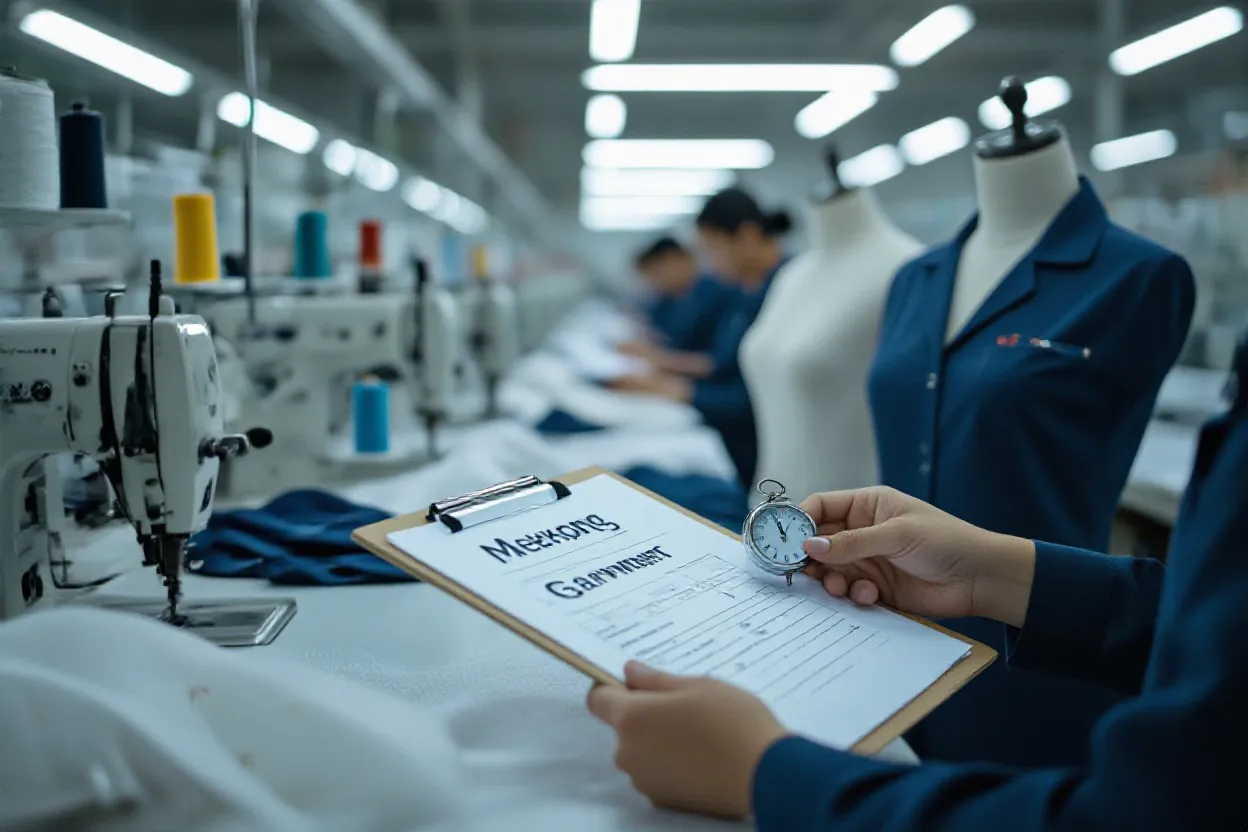
Before analysis, the defect must be described with technical precision. Vague descriptions lead to weak solutions. A clear definition includes the exact defect type, its specific location on the garment, the frequency of occurrence, and the specific production line involved.
Step 2: Define the Defect Clearly
RCA becomes weak when the problem statement is vague.
Avoid descriptions such as:
- Sewing bad
- Measurement wrong
- Operator problem
- Quality not good
- Collar proble
The stage where a defect is found is often not where it originated. RCA must trace the garment back to the earliest possible process step. Identifying why the inline inspection failed to catch the issue is just as important as finding the source of the error itself.
Instead, describe the issue specifically. A useful defect definition may include:
- Defect name
- Exact location
- Style number
- Color
- Size
- Production line
- Operation
- Machine
- Operator or workstation
- Quantity checked
- Quantity affected
- Time defect first appeared
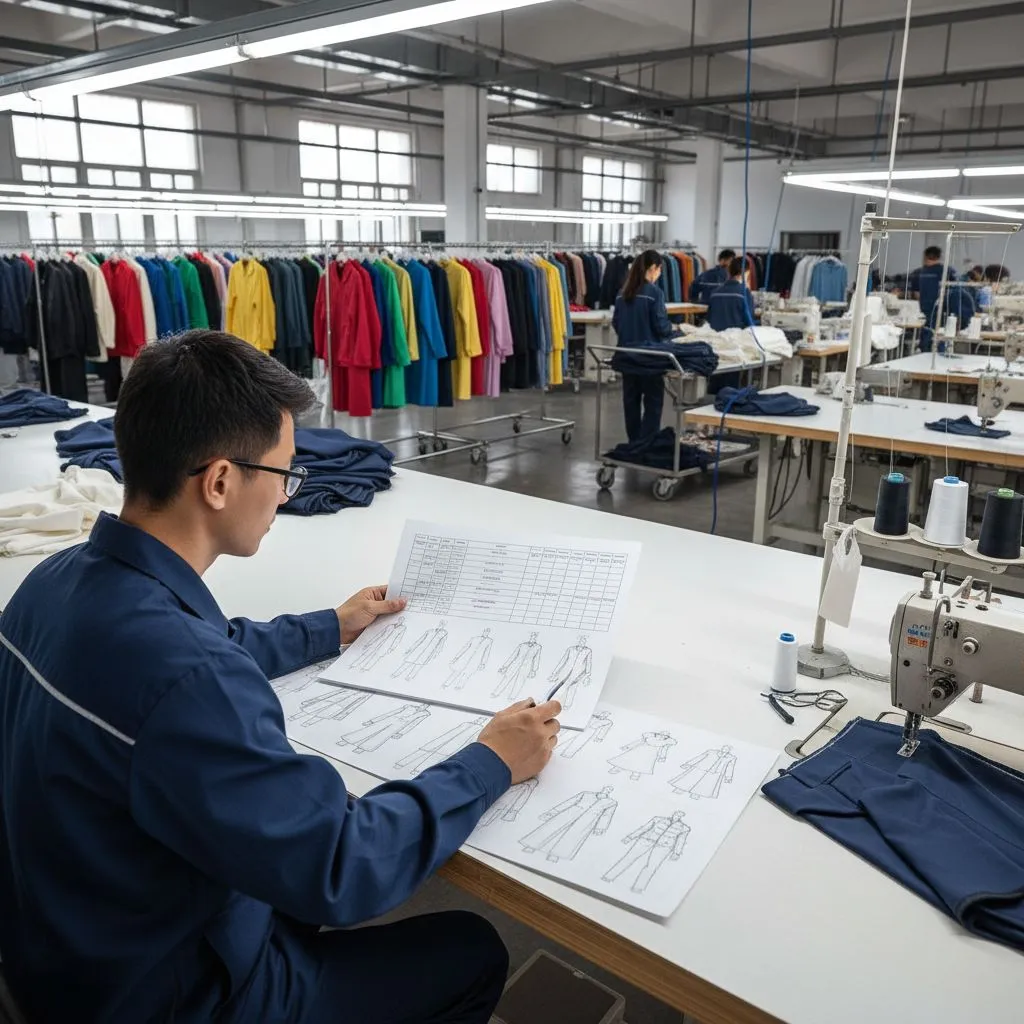
For example:
- Poor Problem Description: Sleeve measurement incorrect.
- Better Problem Description: Sleeve opening on Style A125, size M, navy color, Line 4 measured 1.5–2.0 cm wider than specification on 18 of 50 garments checked after coverstitch hemming.

Now the investigation has a much clearer starting point.
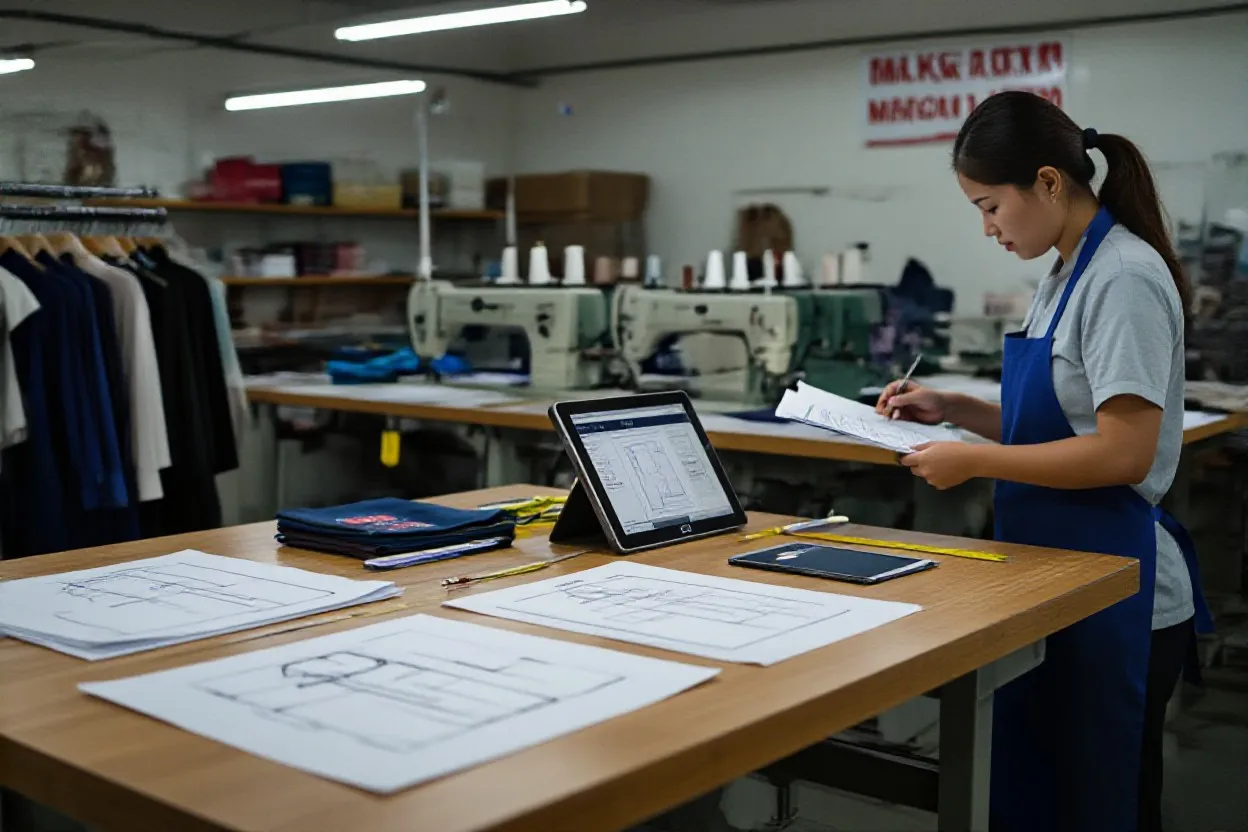
Step 3: Understand the Size of the Problem
Before deciding what caused a defect, collect data. Questions may include:
- How many pieces are affected?
- Is the defect on one operator or several?
- One machine or several?
- One size or all sizes?
- One fabric lot or multiple lots?
- One production hour or the entire shift?
- One line or multiple lines?
- Did the problem begin after a machine adjustment?
- Did the defect increase after changing fabric rolls?
This helps prevent teams from guessing. => For example: If a skipped-stitch problem occurs only on one machine, machine condition becomes a stronger investigation area. If it occurs across six machines only when using one fabric lot, the material may require closer investigation.
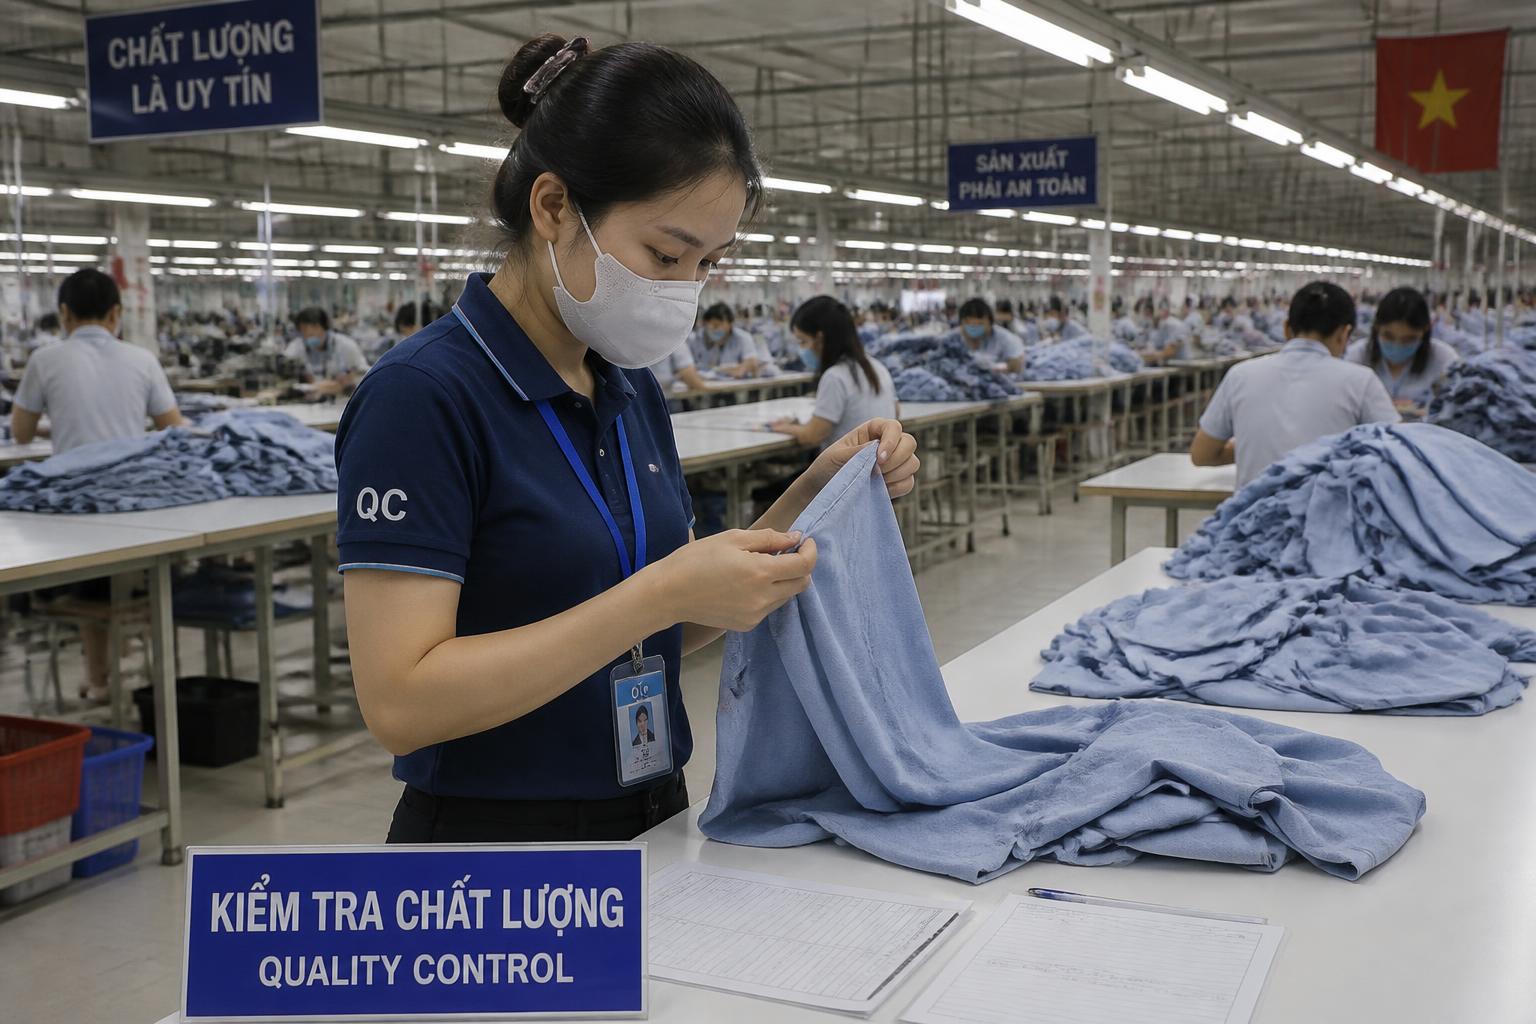
Step 4: Trace the Defect Back to Its Origin
The location where a defect is found may not be the location where it was created.
For example: A measurement problem found during final inspection may have started during
- Pattern making
- Fabric relaxation
- Cutting
- Sewing
- Washing
- Pressing

A shade mismatch found after sewing may have started during:
- Fabric receiving
- Shade segregation
- Spreading
- Bundle numbering
RCA should trace the process backward until the earliest likely source is identified.
- A useful question is: “At what process step could this defect first have been created?”
- Then ask: “At what process step should we have detected it?”
Step 5: Use the 6M Framework
One of the most practical tools for garment RCA is the 6M framework.
The exact terminology may vary between factories, but it usually groups potential causes into six areas:
- Man / People
- Machine
- Method
- Material
- Measurement
- Environment
The value of 6M is that it prevents the team from automatically blaming one category.
Turning RCA into Preventive Action
The ultimate goal of RCA is not a report, but a Preventive Action. While a “Corrective Action” fixes the immediate garment, a “Preventive Action” changes the system. This might involve updating the Tech Pack, standardizing machine setup charts, or implementing “mistake-proofing” tools (Poka-yoke) on the sewing line.
How to Measure RCA Success:
- The specific defect does not return in the next production lot.
- A documented change has been made to the process or SOP.
- The solution is verifiable and built into daily operations.
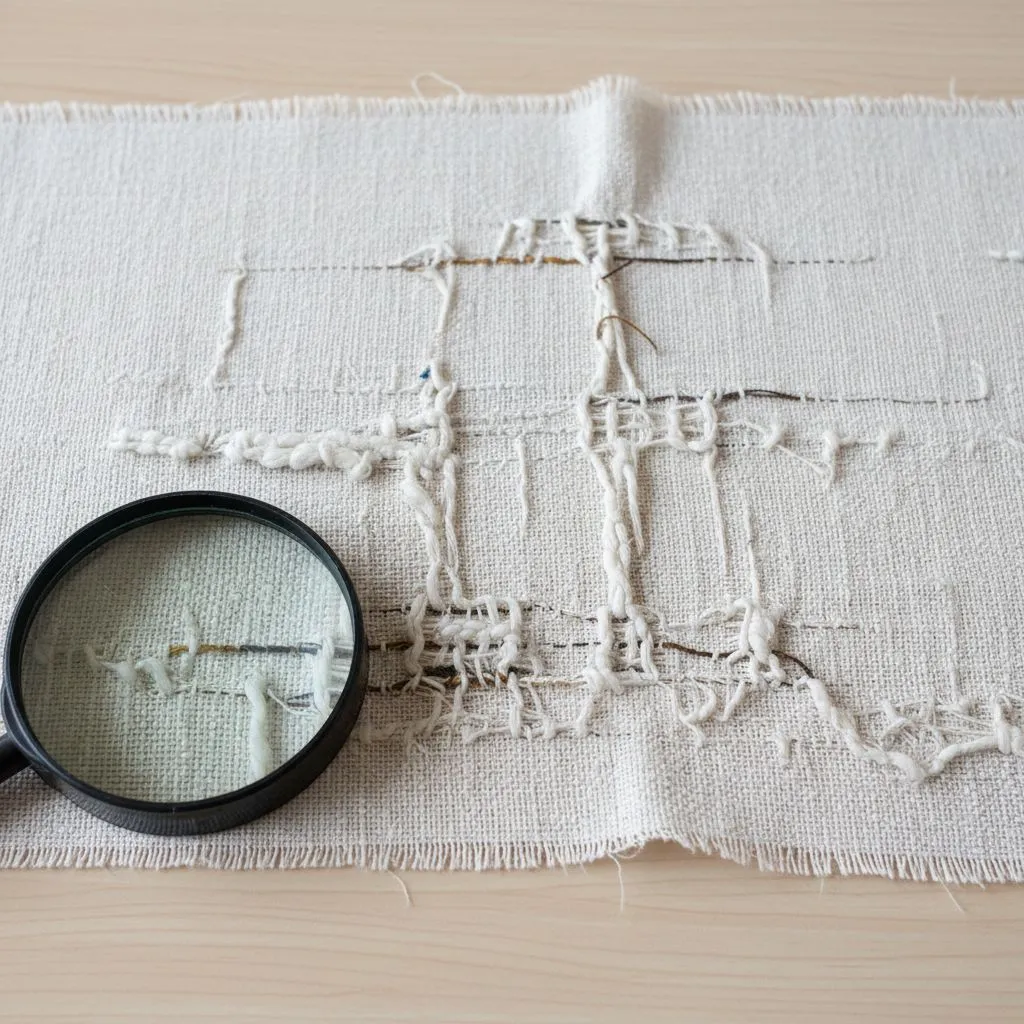
Example 1: Skipped Stitches
Defect:
Skipped stitches on side seam.
Immediate Containment:
- Hold affected bundles
- Stop affected machine
- Inspect recent production
Possible 6M Causes
- People: Operator unfamiliar with material.
- Machine: Needle worn or timing incorrect.
- Method: Machine-setting standard missing.
- Material: Dense or difficult fabric construction.
- Measurement: Not highly relevant to primary defect cause.
- Environment: Not likely unless specific evidence exists.
Investigation
- The team changes the needle and checks timing.
- After adjustment, skipped stitches disappear.
- The team also finds that the machine-setting sheet did not specify the approved needle for this fabric.
Root Cause
Machine was operating with an unsuitable/worn needle because the operation lacked a standardized needle-setting requirement and verification.
Action
- Replace needle
- Confirm approved needle type/size
- Update machine-setting sheet
- Check similar machines
- Train mechanic and line supervisor
- Verify defect rate after change
This is much stronger than: “Tell operator to be careful.”
Example 2: Garment Measurement Too Short
Defect
Finished body length is 2 cm shorter than approved specification.
Possible Causes
- Cutting length incorrect
- Pattern incorrect
- Fabric shrinkage
- Sewing seam allowance excessive
- Washing shrinkage
- Pressing process
- Wrong measurement method
Investigation
The team checks:
- Approved pattern
- Cut panels
- Sewing measurements
- Pre-wash garments
- Post-wash garments
Pre-wash body length is within tolerance.
After washing, garments become significantly shorter.
Fabric shrinkage results are higher than expected.
Root Cause
Bulk fabric shrinkage behavior was different from the value used during pattern development, and pre-production controls did not identify the variation before bulk cutting.
Actions
Possible actions may include:
- Hold affected production
- Recheck fabric shrinkage by lot
- Adjust pattern where technically appropriate
- Segregate lots
- Update material approval requirements
- Add shrinkage confirmation before bulk cutting
Again, the solution depends on verified evidence.
Example 3: Uneven Pocket Position
Defect
Chest pocket position varies from garment to garment.
Investigation
The factory finds:
- Pattern position is correct
- Measurements are correct
- Operators use visual positioning
- No template is provided
- Pocket placement is checked only at final inspection
Root Cause
Pocket placement depended on operator visual judgment because the operation lacked a positioning template and early control point.
Corrective/System Action
- Introduce positioning template
- Define reference points
- Update work instruction
- Train operators
- Check first five pieces at line start
- Add inline verification at planned frequency
The goal is to make correct placement easier and more repeatable.
Example 4: Oil Stain on Finished Garments
Defect
Oil marks repeatedly found near one seam.
Investigation
- The team maps the location of the stains.
- Most marks appear after one sewing operation.
- The machine is inspected and an oil leakage point is found.
Root Cause
Machine lubrication system was leaking, and preventive maintenance did not detect the condition before production.
Actions
- Repair machine
- Hold and inspect affected WIP
- Clean machine
- Review preventive maintenance checklist
- Add leakage check before line start where appropriate
- Verify production after repair
The RCA should address both the machine condition and the maintenance control.
Example 5: Repeated Seam Puckering
Defect
Side seam puckering appears after sewing.
Possible Causes
- Thread tension too high
- Feed mismatch
- Thread shrinkage
- Fabric instability
- Stitch density unsuitable
- Needle/thread combination
- Pressing
Investigation
- Trial samples are made under controlled settings.
- Reducing thread tension and adjusting differential/feed control significantly improves appearance.
- The team also finds that setup values were not standardized when the fabric changed.
Root Cause
Machine setup was not adapted and standardized for the new fabric characteristics.
Action
- Establish approved machine settings
- Record settings by operation/fabric
- Train mechanics and line supervisors
- Approve first pieces
- Verify during bulk
Conclusion / Final Words
If your RCA conclusion is simply “the operator needs to be more careful,” your quality system is still vulnerable to human error. Leading garment factories build systems where consistent quality is a result of the process, not just effort. Root Cause Analysis is the technical engine that drives that continuous improvement. By mastering the 6M framework and the standard RCA steps, brands protect their margins, their schedules, and their global reputation.