+15 Common Fabric Defects & How to Spot Them Early, Why They Are So Dangerous

In garment manufacturing, fabric is the foundation of the final product. Even with perfect patterns and skilled operators, a single hidden fabric defect can destroy an entire order. The real danger is timing: defects often surface only after cutting or sewing, when fixes become prohibitively expensive. For factories supplying export brands to the U.S. and EU, early fabric inspection is not just an option—it is a survival system. This guide breaks down the most common fabric flaws and how to build an inspection process that works under production pressure.
Why Fabric Defects Are So Dangerous in Garment Production
Fabric defects affect far more than appearance. A fabric problem can influence:
- Garment measurements
- Sewing efficiency
- Shade consistency
- Seam performance
- Print appearance
- Washing results
- Final inspection
- Customer complaints
- Shipment date
Some defects are obvious when the roll is opened.
Others remain hidden until:
- Fabric is relaxed
- Panels are cut
- Garments are sewn
- Products are washed
- Fabric is stretched
- Garments are pressed
This is why relying only on visual inspection at the end of production is risky. A stronger system is: Incoming Fabric Inspection → Testing → Shade Segregation → Relaxation → Spreading Control → Cutting
The 4-Point Fabric Inspection System
The 4-point system is the global standard for measuring fabric quality. It standardizes judgment by assigning penalty points based on defect size, making quality measurable and enforceable. At Mekong Garment, we use this to ensure that only compliant materials enter our cutting room.
- Scoring: Defects are scored from 1 to 4 points based on their length/size.
- Calculation: Total points are calculated per 100 square yards of fabric.
- Limit: The standard acceptance limit is typically 40 points per 100 square yards, unless otherwise specified by the buyer.

Common Fabric Defects
| Fabric Defect | How to Spot It | Main Risk |
|---|---|---|
| Slubs | Uneven thick yarn areas | Poor appearance |
| Thin Places | Transparent or weak areas | Tearing, low opacity |
| Holes | Light inspection | Panel rejection |
| Barre | Horizontal bands | Visual inconsistency |
| Bowing | Curved crosswise lines | Misaligned garments |
| Skewing | Diagonal grain | Twisting after wash |
| Roll Shade Variation | Shade grouping | Mixed-color garments |
| Side-to-Side Shading | Compare full width | Panel shade variation |
| End-to-End Shading | Compare roll sections | Mixed shade bundles |
| Patchy Dyeing | Large-area visual inspection | Irregular appearance |
| Off-Shade | Compare to approved standard | Dye-lot rejection |
| Dye Streaks | Continuous roll inspection | Large unusable areas |
| Print Misregistration | Check print edges | Poor print appearance |
| Blurred Print | Compare artwork detail | Loss of design quality |
| Print Repeat Problem | Measure repeat | Matching and cutting waste |
| Oil Stains | Strong lighting | Permanent stains |
| Surface Contamination | Visual inspection | Appearance rejection |
| Permanent Creases | Relax or condition test | Visible panel marks |
| Width Variation | Periodic measurement | Higher consumption |
| GSM Variation | GSM testing | Inconsistent feel and weight |
| Shrinkage Variation | Wash test | Measurement failure |
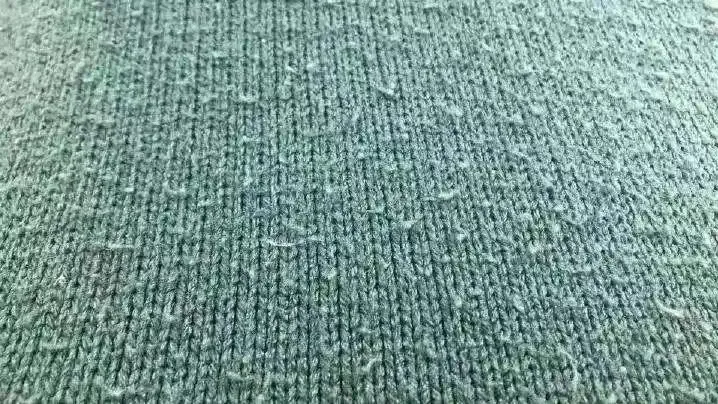
| Pilling | Visual or laboratory testing | Poor wear appearance |
| Snags | Angled visual inspection | Surface damage |
| Elastane Damage | Stretch and recovery check | Fit failure |
| Spirality | Wash evaluation | Twisted garment |
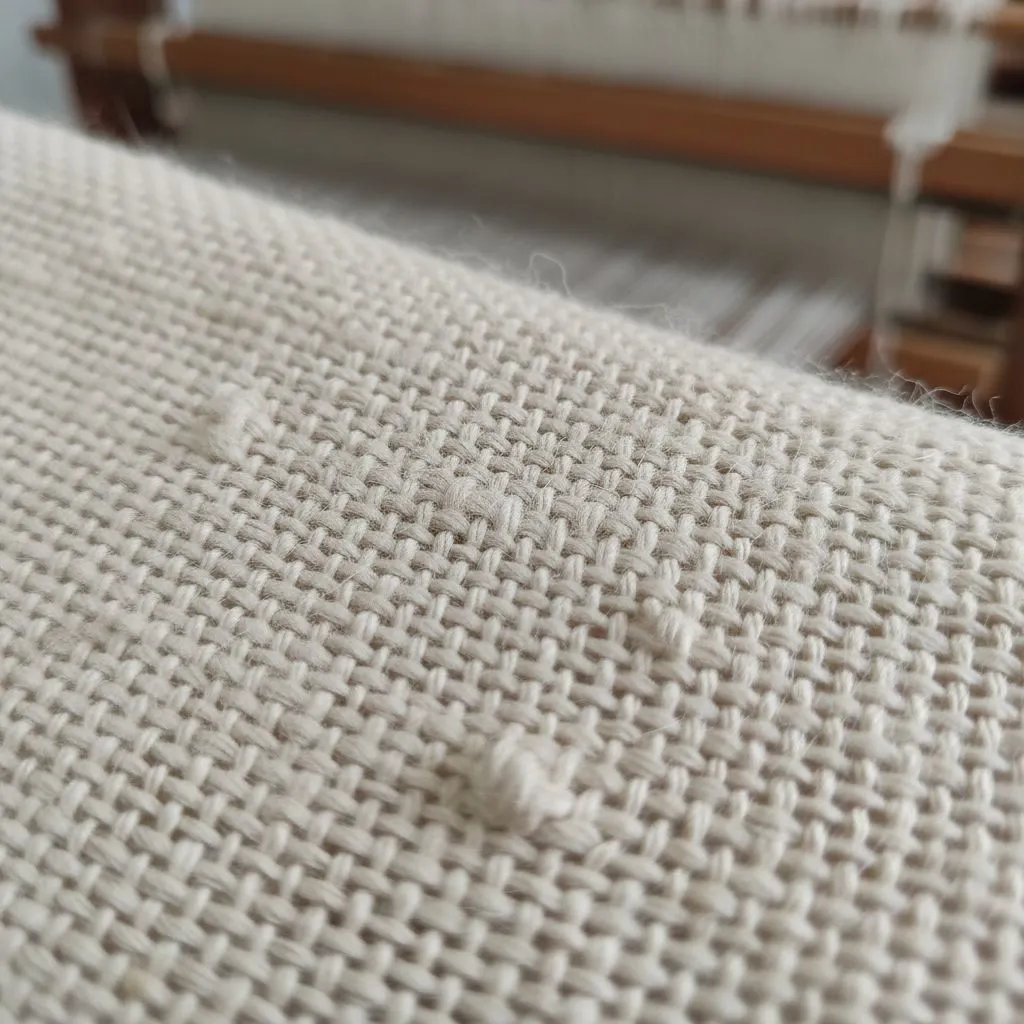
1. Slubs and Thick Yarn Defects
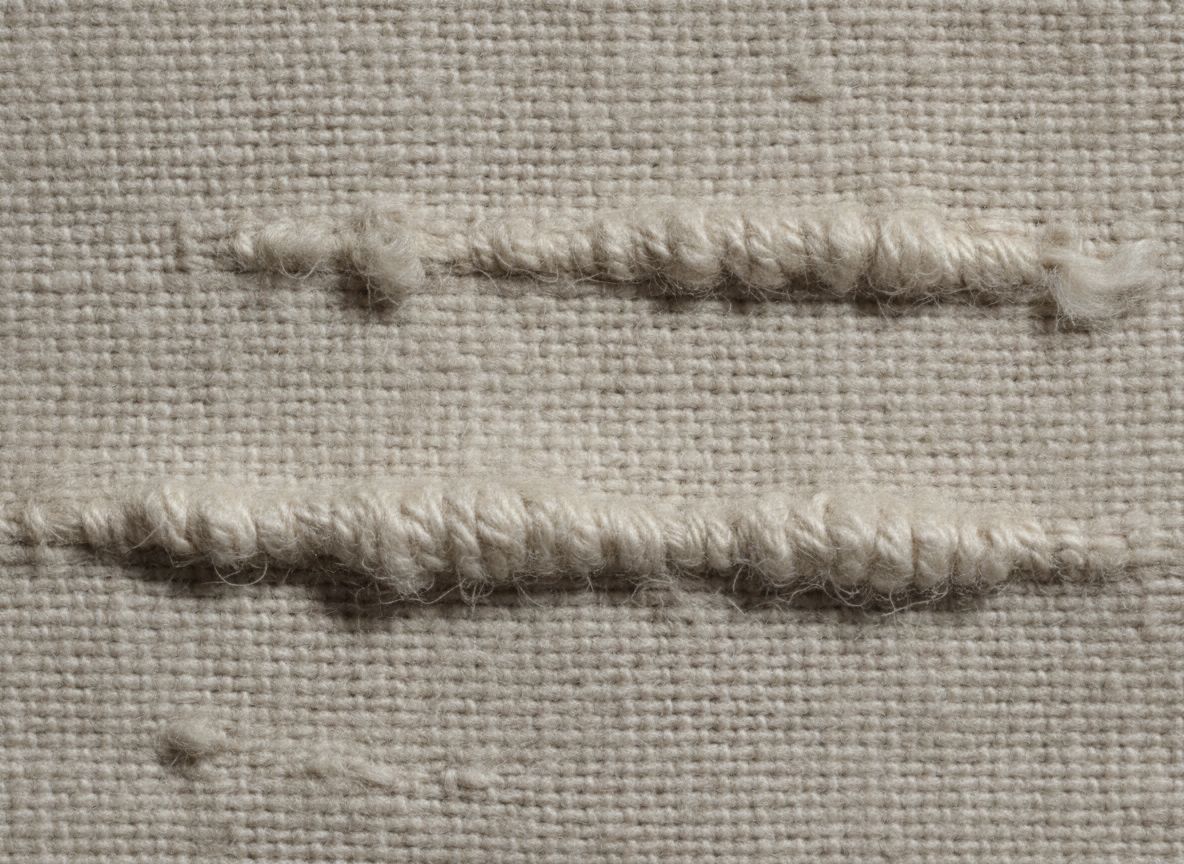
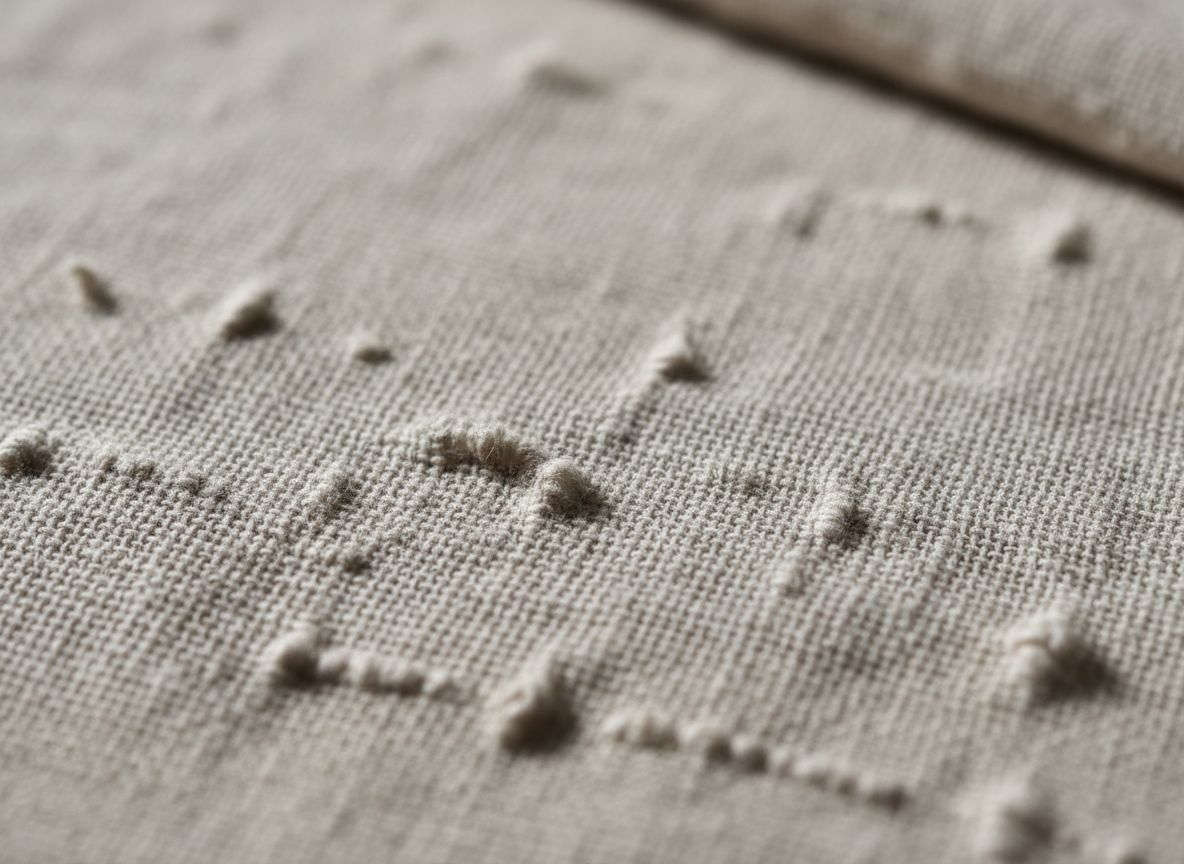
A slub is a locally thicker area in the yarn. It may appear as:
- Small lumps
- Thick streaks
- Irregular yarn sections
- Raised surface areas
Some fabrics intentionally use slub yarn as a design feature. Therefore, inspectors must first determine whether the slub is: Intentional texture or Unwanted yarn irregularity
How to Spot It Early
Inspect the fabric under good lighting and look across the surface at an angle. Irregular thick areas become easier to see when light creates shadows.
Why It Is Dangerous
Unwanted slubs can:
- Affect garment appearance
- Create uneven printing
- Cause localized thick areas
- Affect sewing at seams
- Become visually obvious on solid-color garments
A defect that looks small on the roll may become very noticeable when positioned on the garment front.
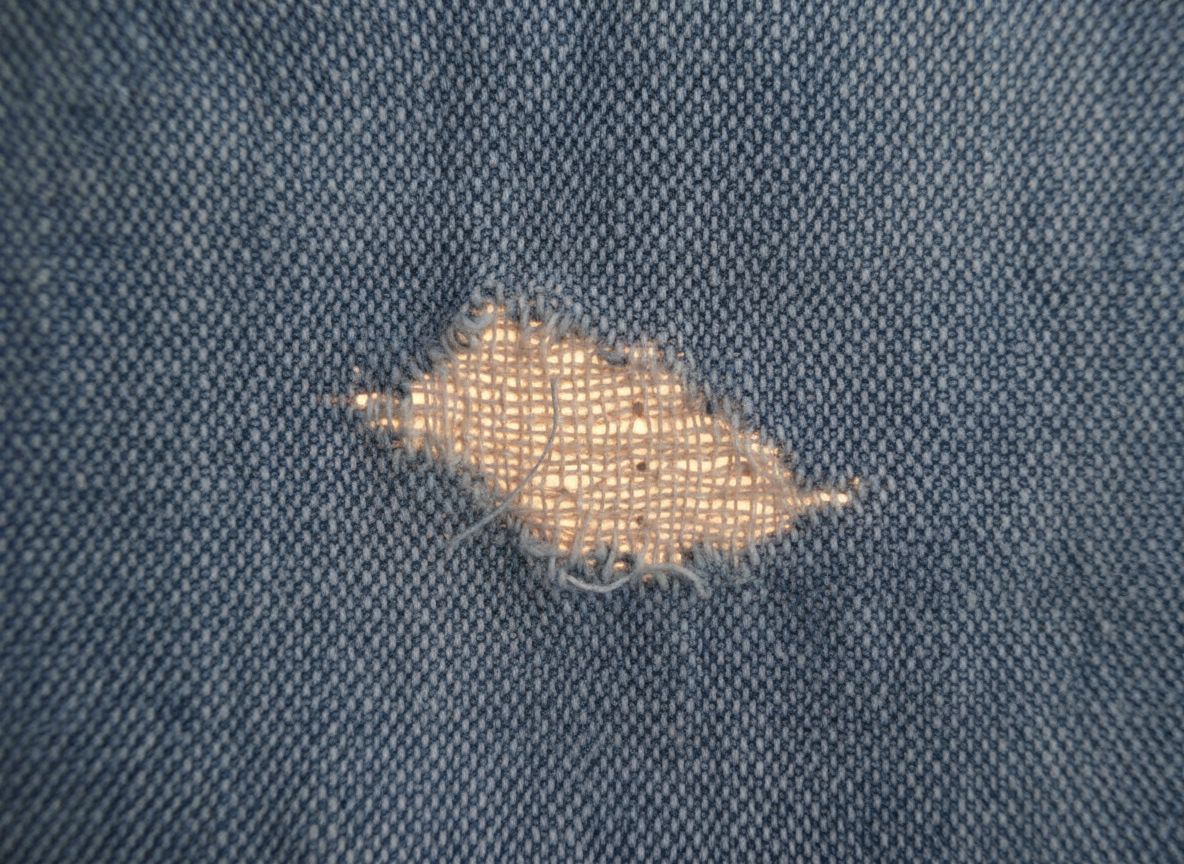
2. Thin Places and Missing Yarn
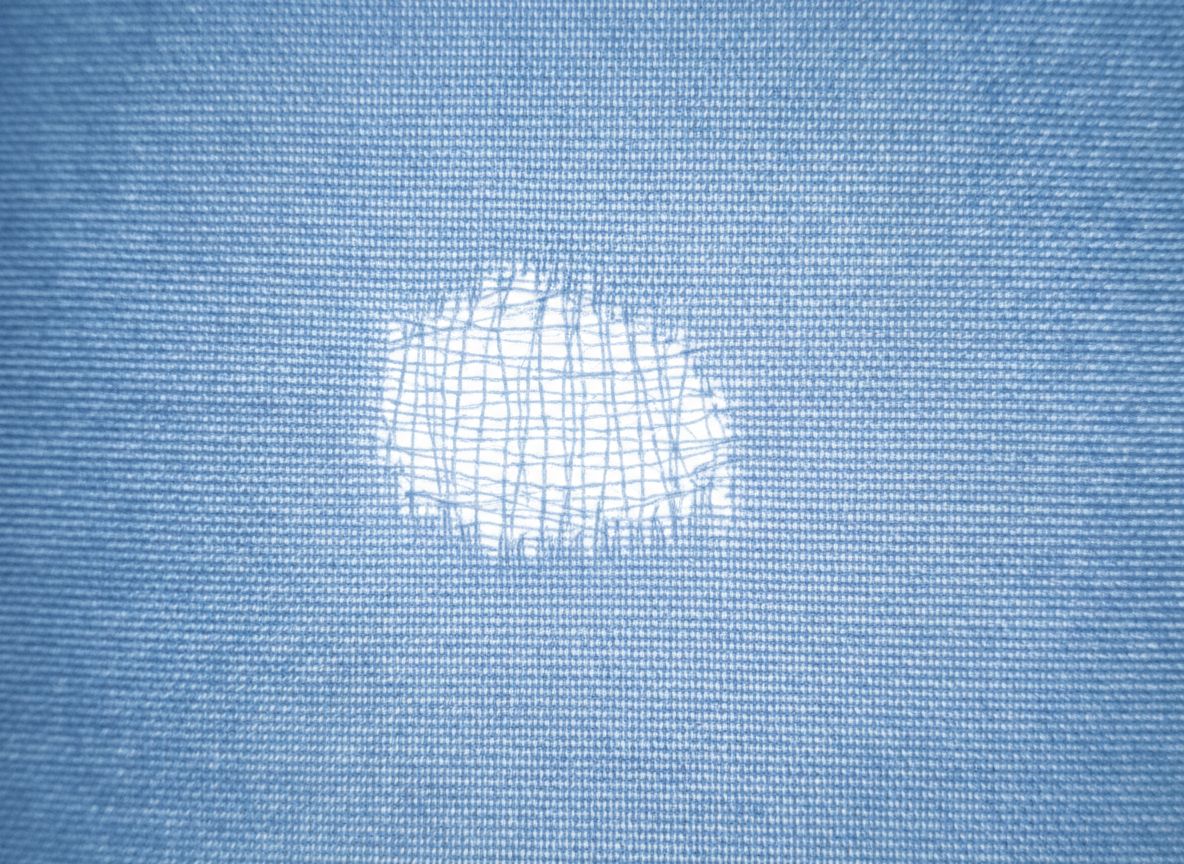
Thin places occur when the fabric has fewer yarns than intended or when yarn tension or yarn supply is irregular. In woven fabric, this may appear as a thin band. In knits, it may look like a weak or partially transparent area.
How to Spot It Early
Use transmitted light if practical. Hold or inspect the fabric against a light source and look for sections that appear more transparent than surrounding areas.
Why It Is Dangerous
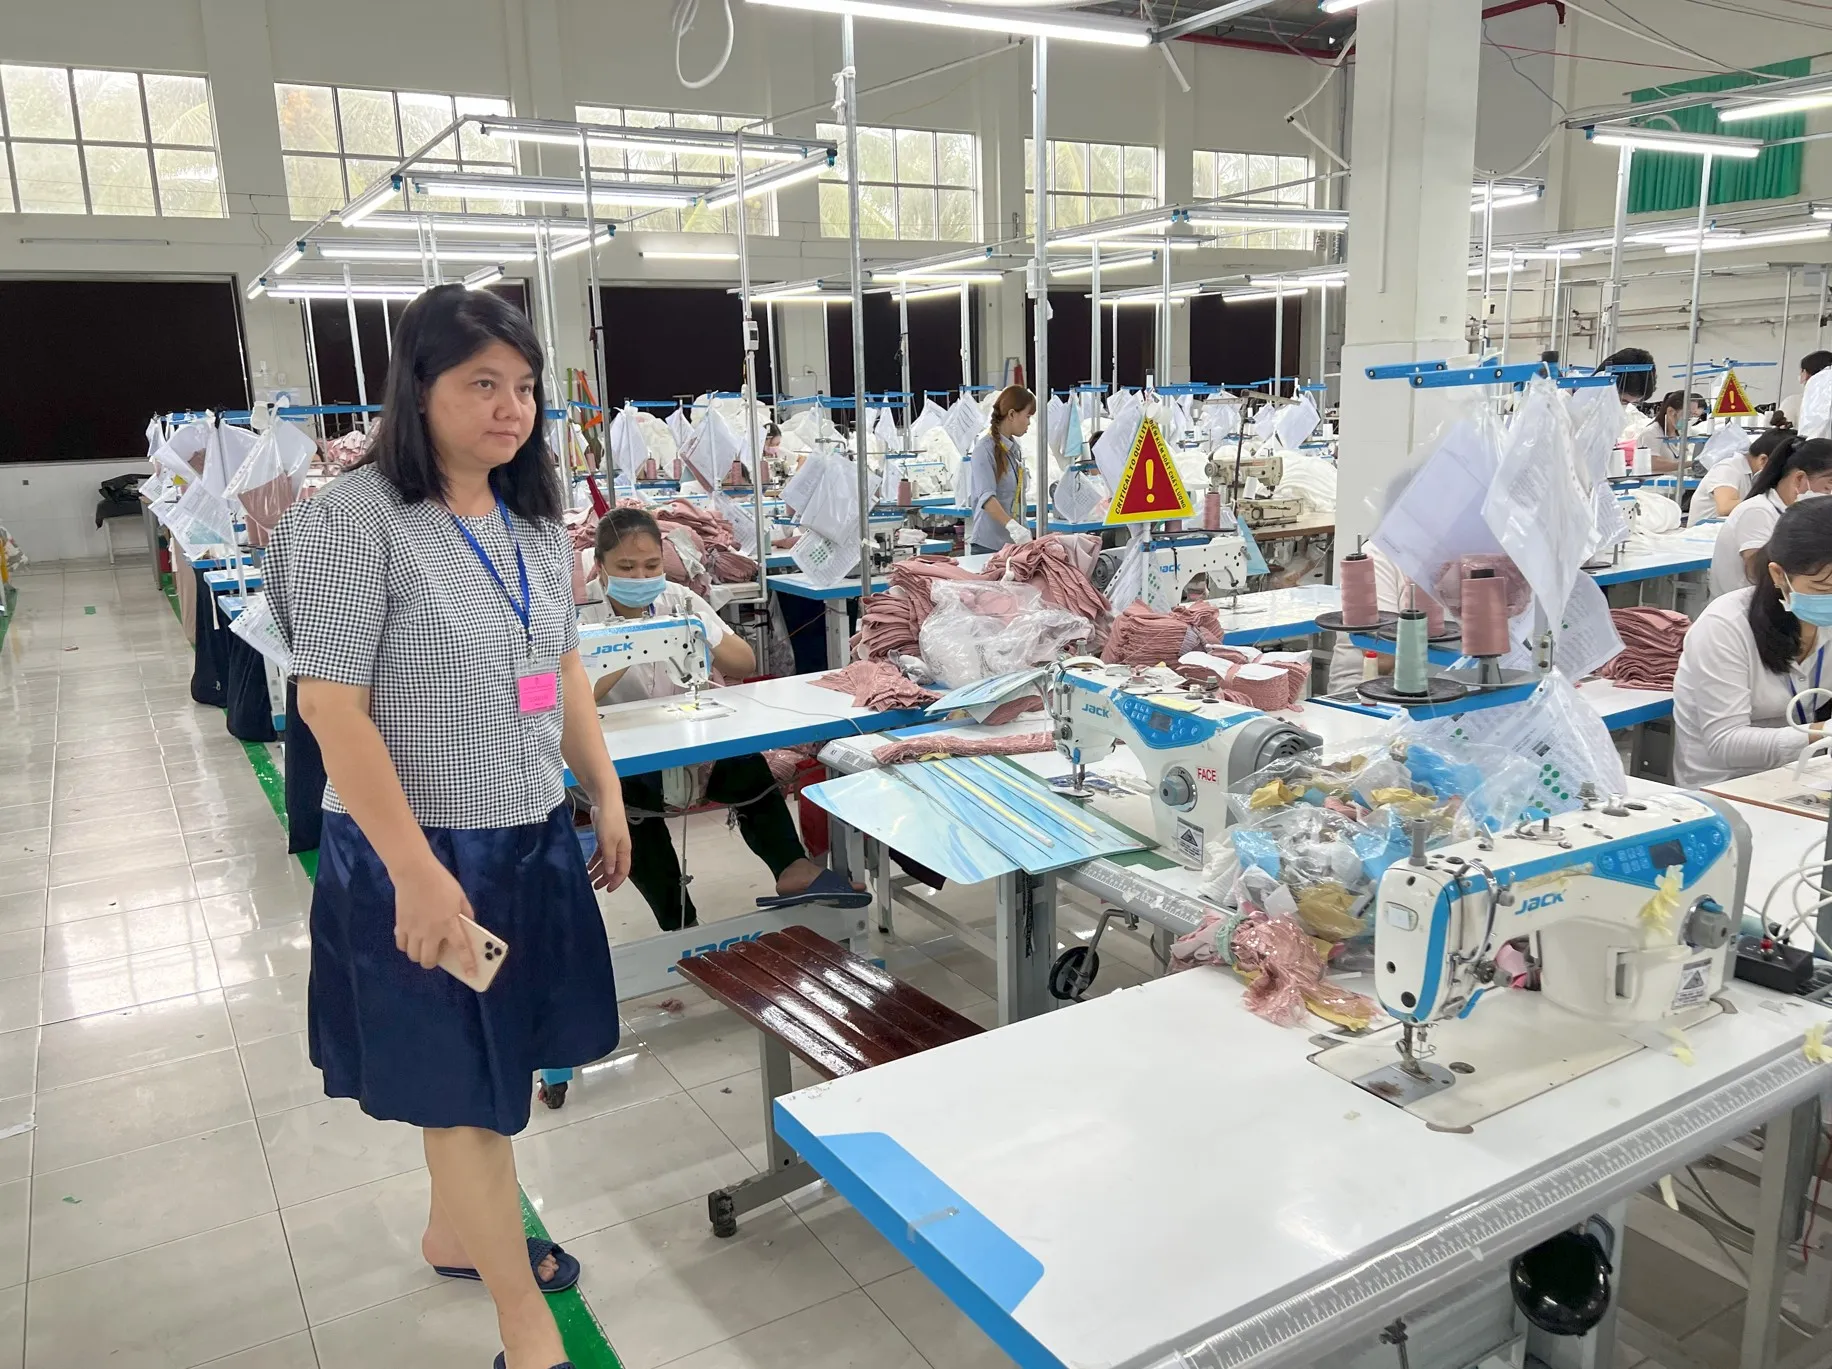
Thin areas can:
- Reduce fabric strength
- Tear during sewing
- Become holes after washing
- Show through more clearly after garment use
- Affect opacity
For lightweight products, even a small thin area can cause rejection.
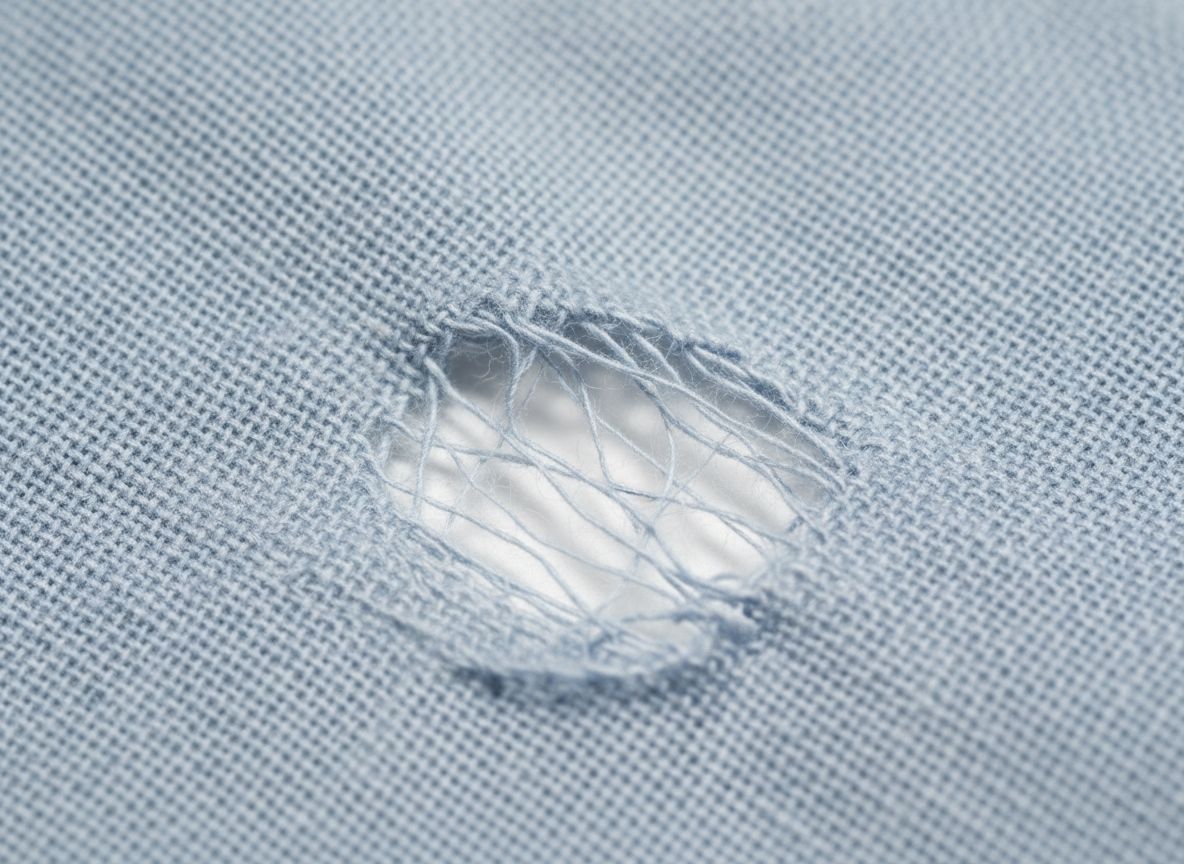
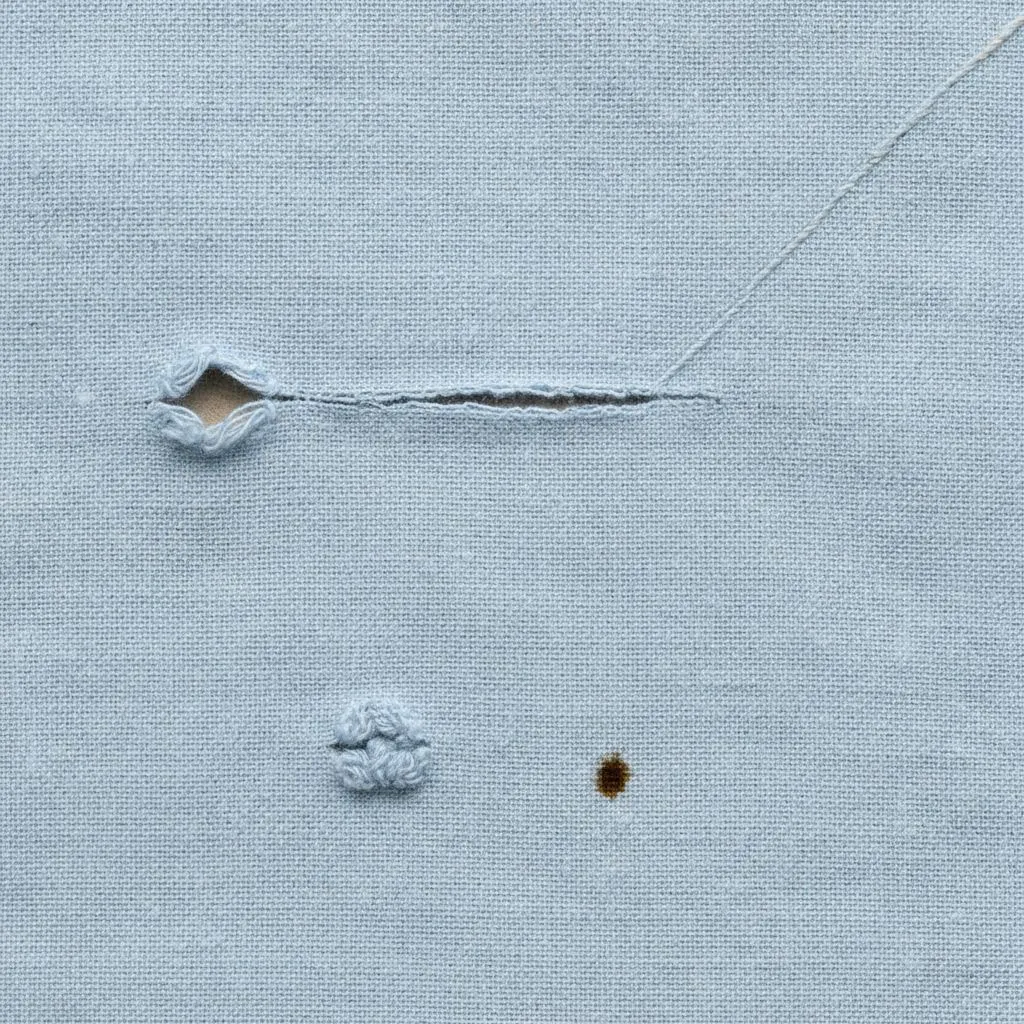
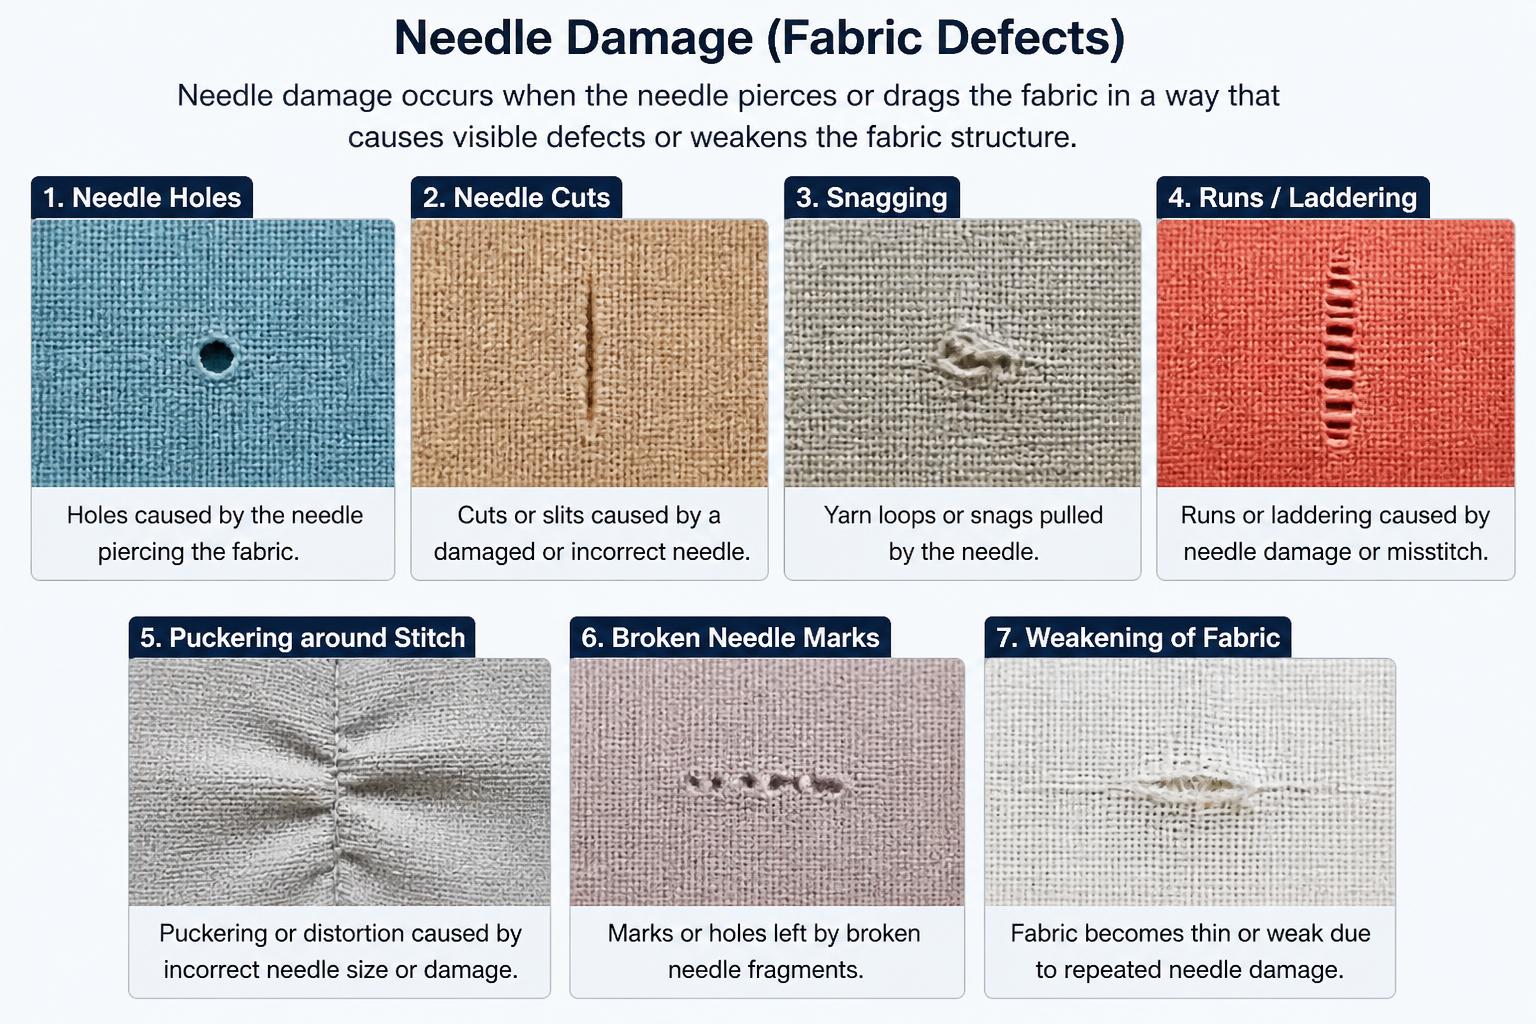
3. Holes and Needle Damage
Holes can result from:
- Knitting problems
- Broken yarns
- Machine damage
- Rough handling
- Storage damage
Some holes are easy to see, while small needle-like holes may be difficult to detect on the roll.
How to Spot It Early
Inspect fabric over a lighted inspection table where possible. Small holes often become visible when light passes through.
Why It Is Dangerous
A hole cannot usually be corrected through normal garment sewing. If it enters cutting, the factory may need to:
- Recut panels
- Replace components
- Stop sewing
- Sort bundles

A small hole located on a front panel can make the entire garment unusable.
4. Barre Effect in Knitted Fabric
Barre is a striped or banded appearance seen mainly in knitted fabrics. It may be caused by variation in:
- Yarn characteristics
- Yarn count
- Yarn tension
- Fiber properties
- Dye affinity
- Knitting conditions
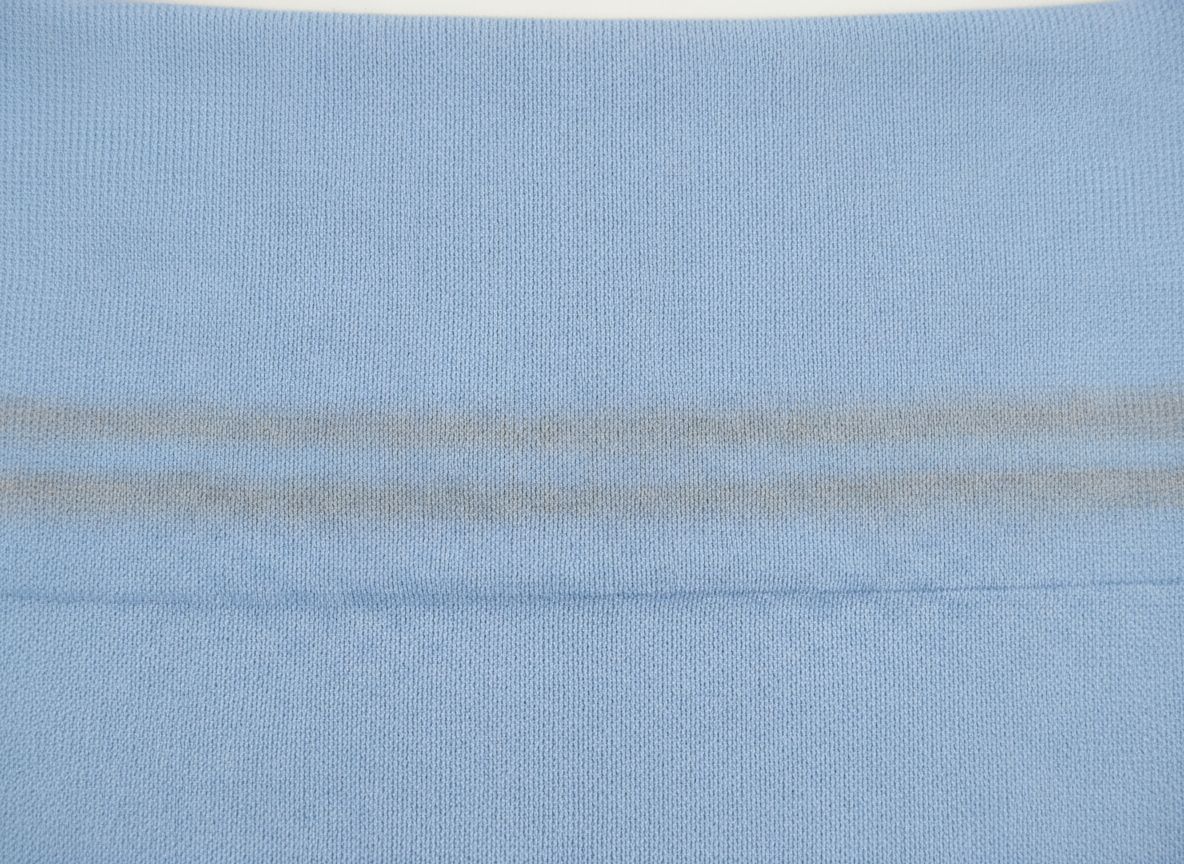
It often appears as horizontal bands across the fabric.
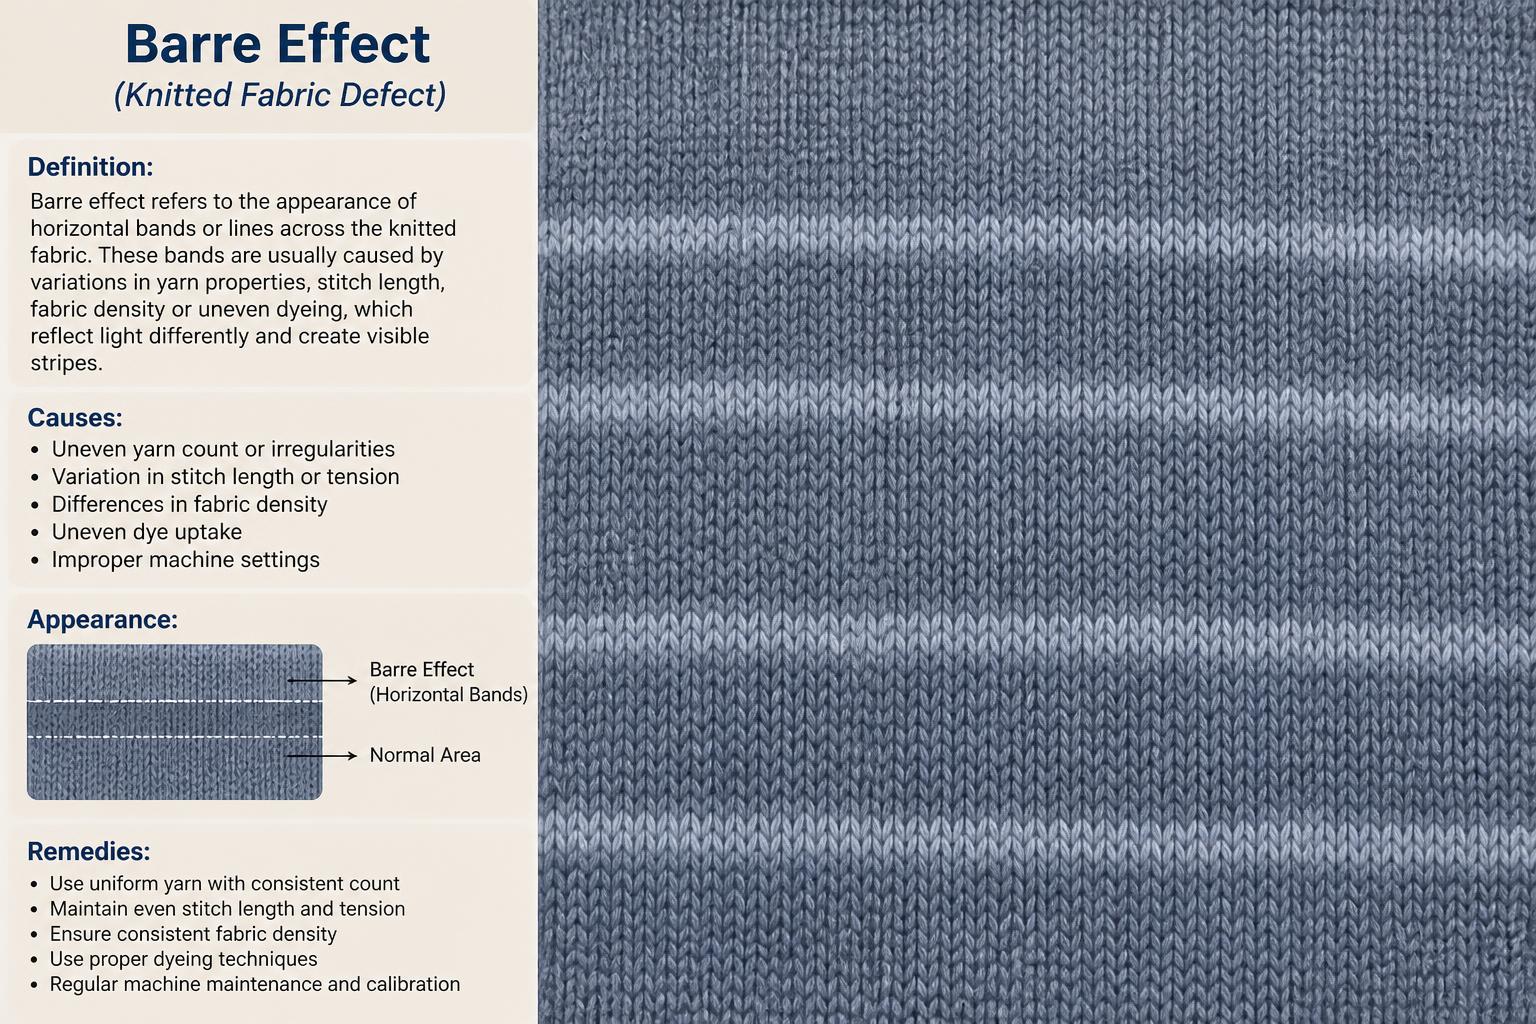
How to Spot It Early
Inspect the fabric under uniform lighting and from different viewing angles. Barre sometimes becomes more obvious after dyeing or washing.
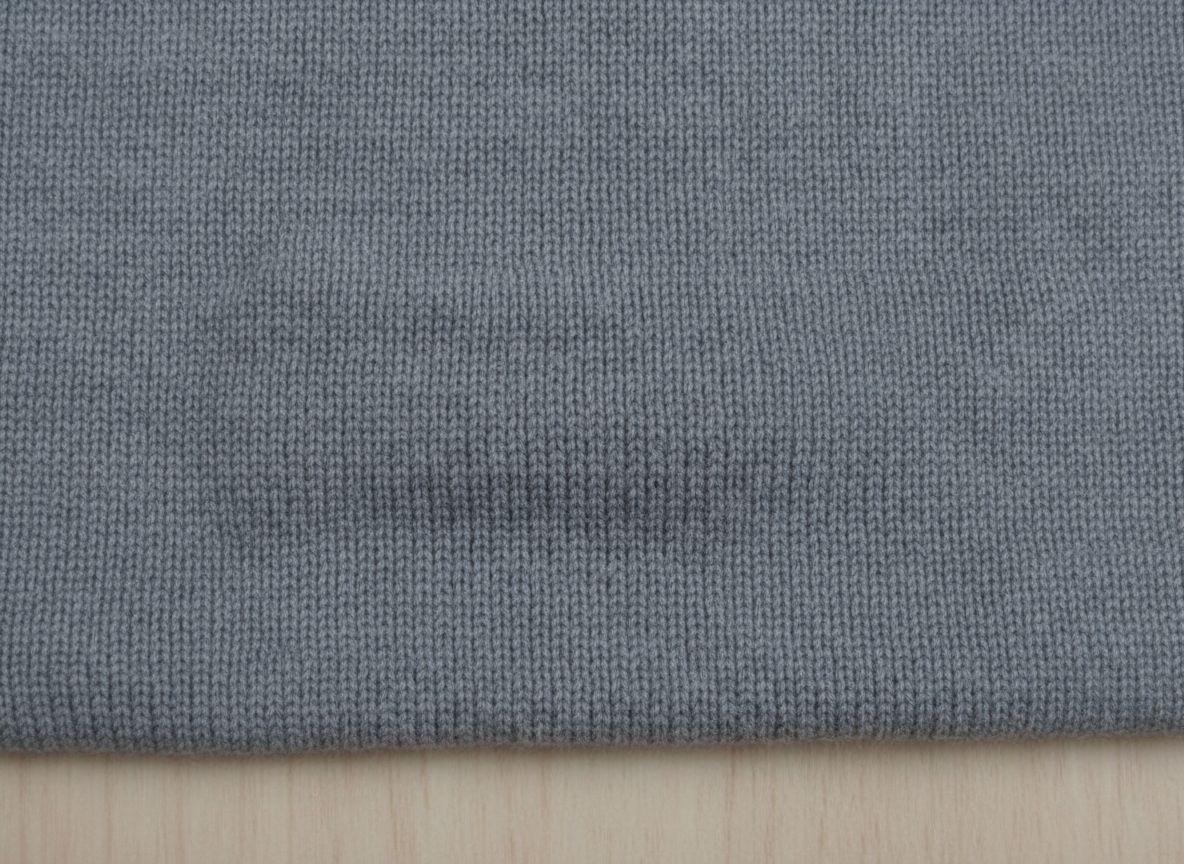
Why It Is Dangerous
Barre can affect entire rolls rather than isolated areas. If cut panels from different zones are assembled together, garments may show visible stripes or shade differences. That makes it especially risky for:
- Plain T-shirts
- Polos
- Leggings
- Dresses
- Large solid-color panels
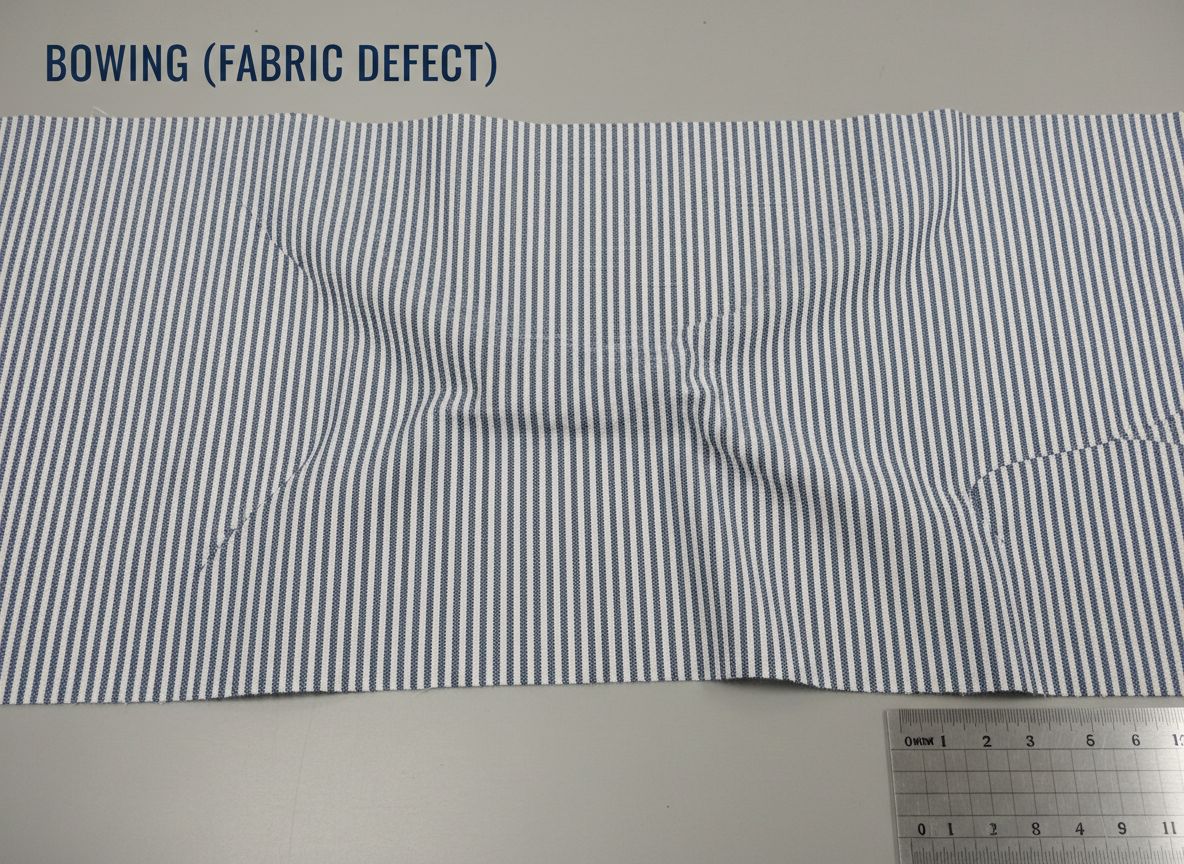
5. Bowing
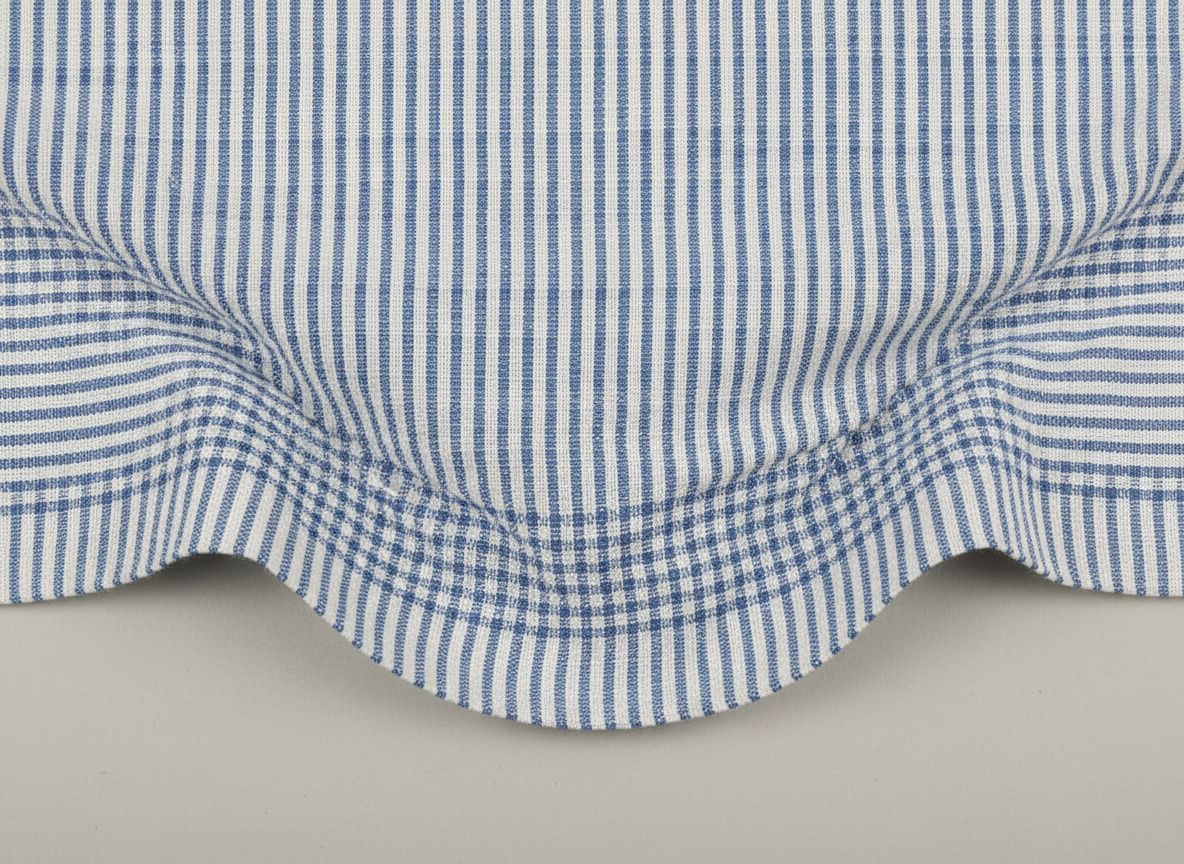
Bowing occurs when weft yarns or course lines curve across the fabric width instead of running straight. Imagine a horizontal line that bends like an arc. That is bowing.
How to Spot It Early
Inspect:
- Plaids
- Stripes
- Horizontal lines
- Grain direction
A straight ruler or reference line can help reveal the curve.
Why It Is Dangerous
Bowing can cause:
- Crooked stripe appearance
- Misaligned garment panels
- Distorted hems
- Uneven print placement
- Visual asymmetry
It becomes especially serious in striped or checked garments.
6. Skewing
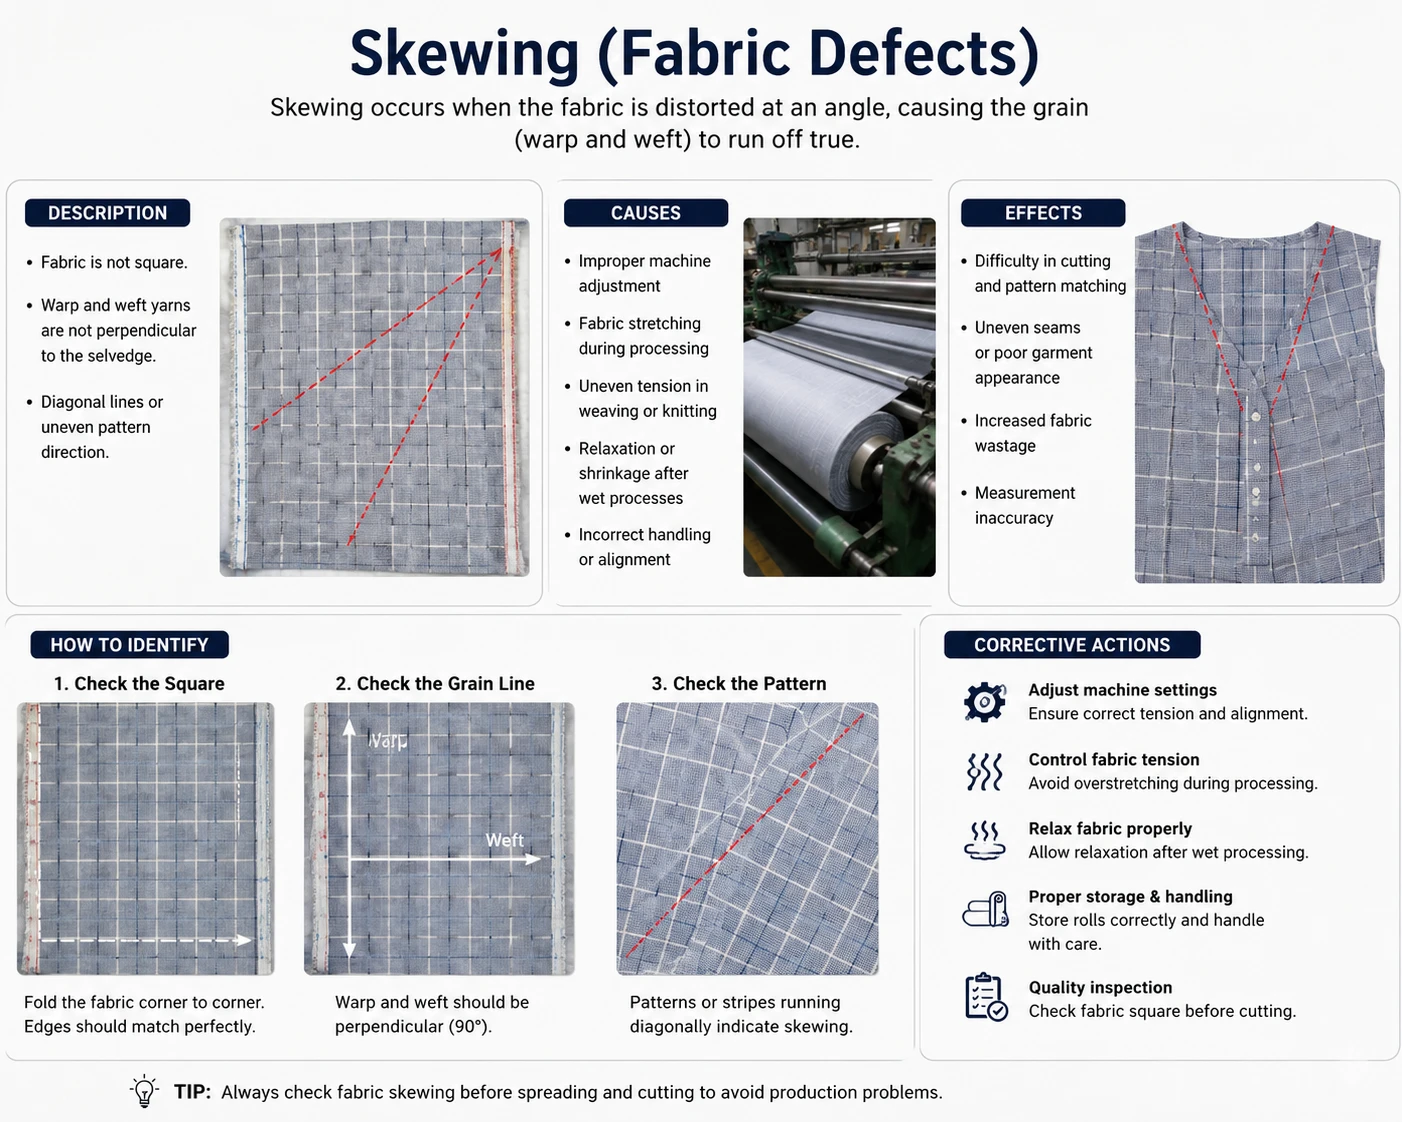
Skewing happens when the fabric grain or course direction shifts diagonally instead of remaining square. This is particularly important in knitted fabric.
How to Spot It Early
Check the relationship between:
- Wales and courses in knit fabric
- Warp and weft in woven fabric
Compare the grain direction with the fabric edge.
Why It Is Dangerous
Skew can cause garments to twist after washing. Common examples include:
- T-shirt side seams rotating forward
- Pant legs twisting
- Sleeves rotating
- Hem alignment changing
A garment may look acceptable before washing but become visibly distorted afterward.
7. Shade Variation Between Rolls
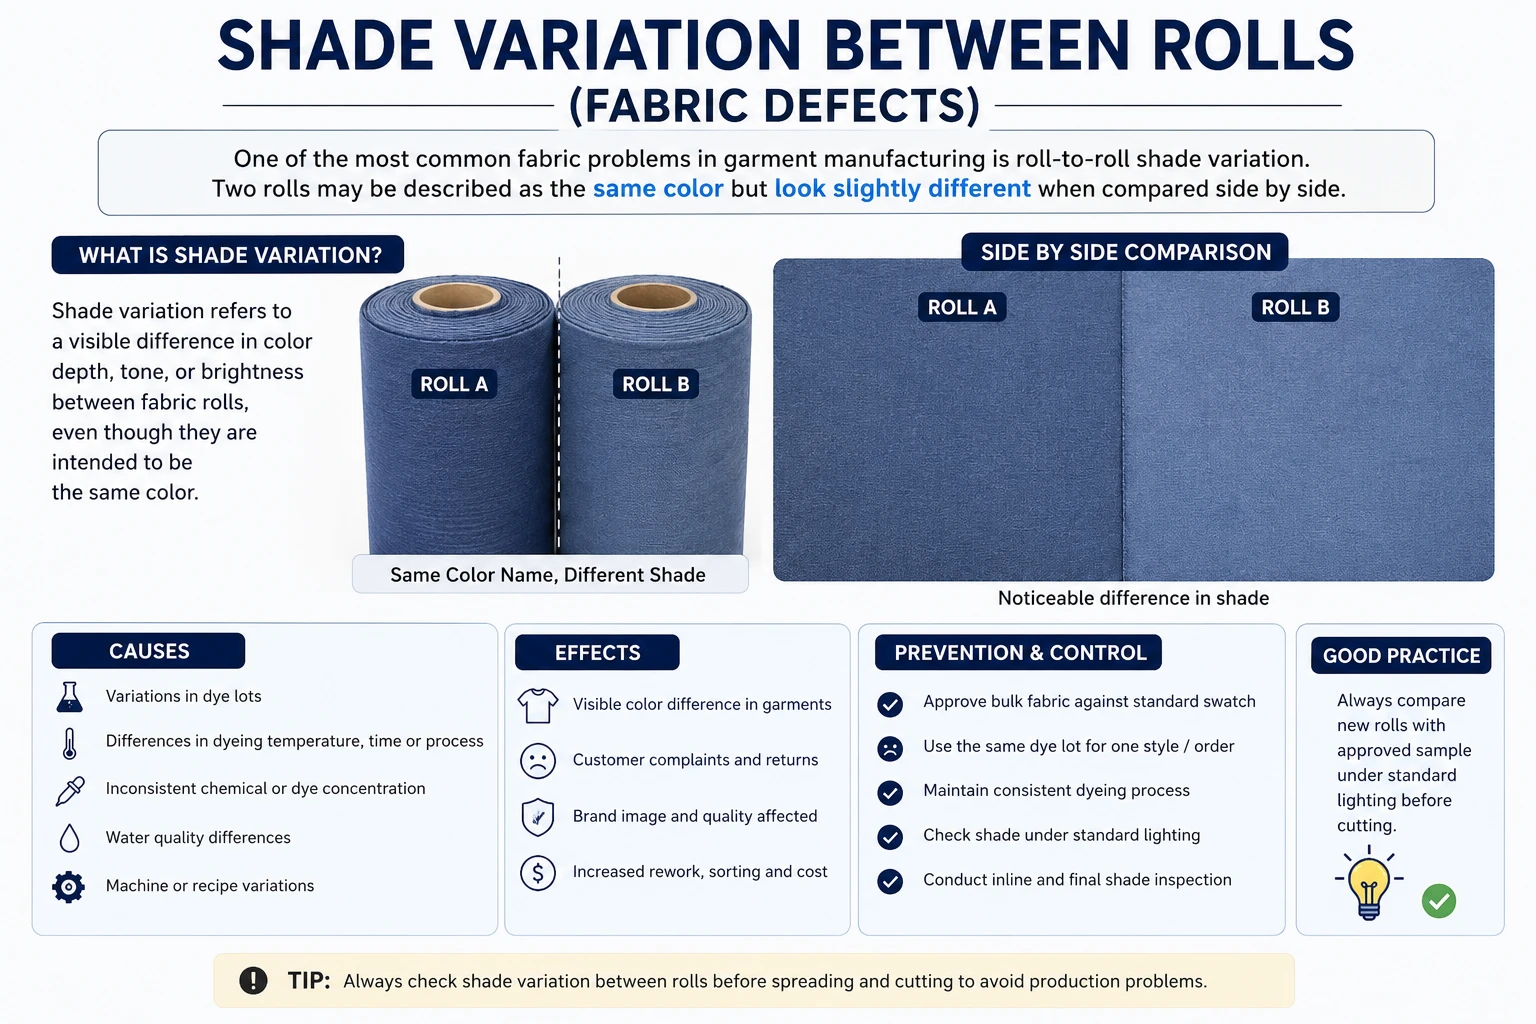
One of the most common fabric problems in garment manufacturing is roll-to-roll shade variation. Two rolls may be described as the same color but look slightly different when compared side by side.
How to Spot It Early
Use shade grouping before cutting. Factories may compare representative pieces under controlled lighting conditions against:
- Approved lab dip
- Approved bulk standard
- Buyer-approved color reference
Why It Is Dangerous
If different shades are mixed within one garment, the result can look defective. For example:
- Front panel from Shade A
- Back panel from Shade B
- Sleeve from Shade C
Even small differences may become obvious once the garment is assembled.
8. Dyeing and Shade Discrepancies
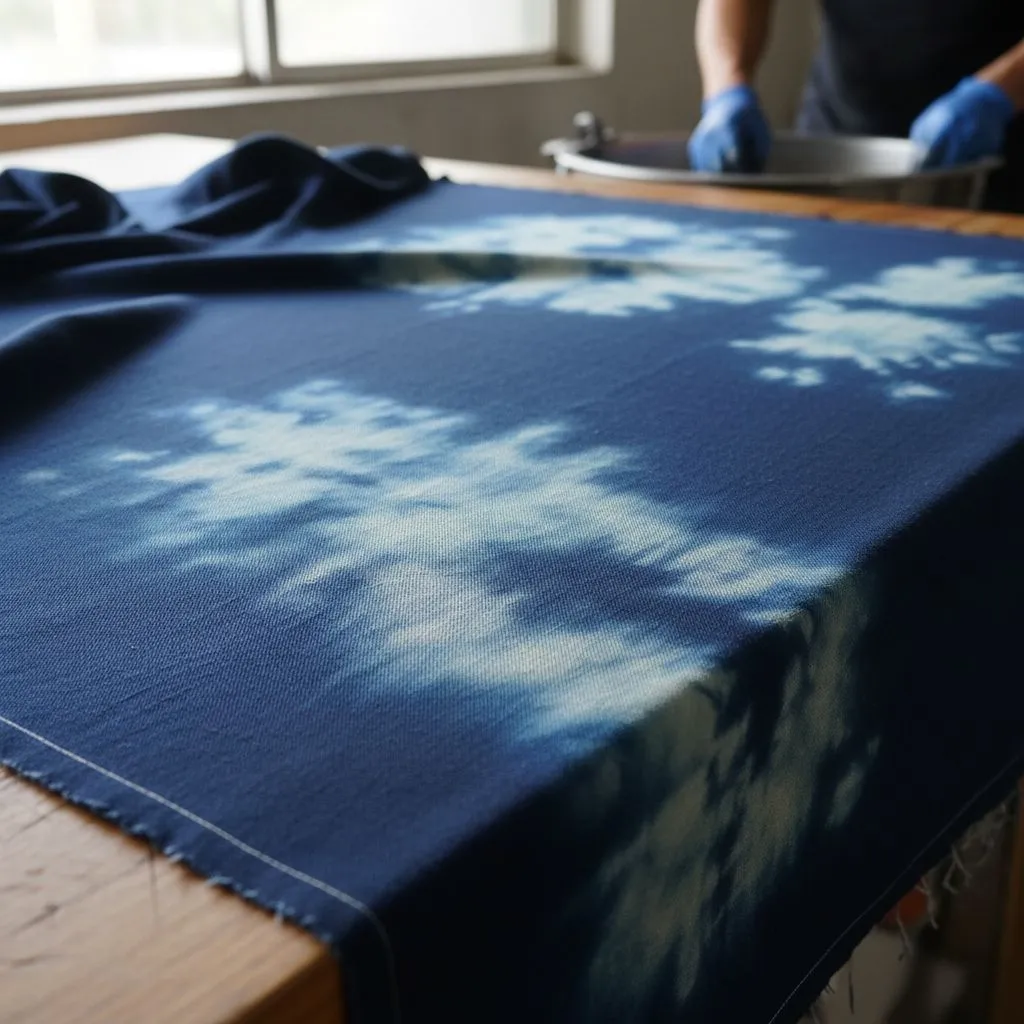
Color consistency is non-negotiable for retail brands. Shade defects are particularly costly because they often affect entire dye lots or multiple rolls.
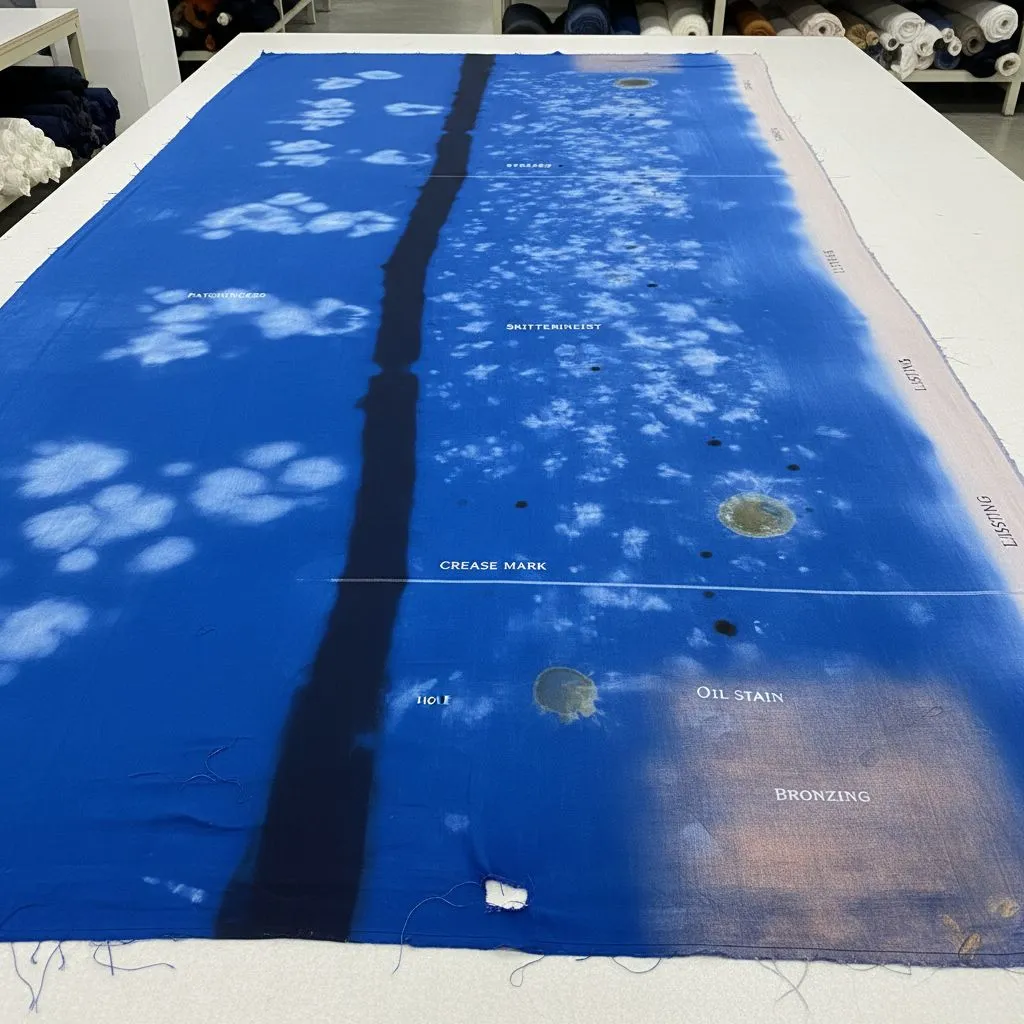
- Off-shade: The fabric does not match the approved Lab Dip standard.
- Shading Streaks: Uneven dye concentration across the width or length of the roll.
- Patchy Dyeing: Blotchy areas that become visible once the garment is assembled.
9. Printing and Surface Contamination
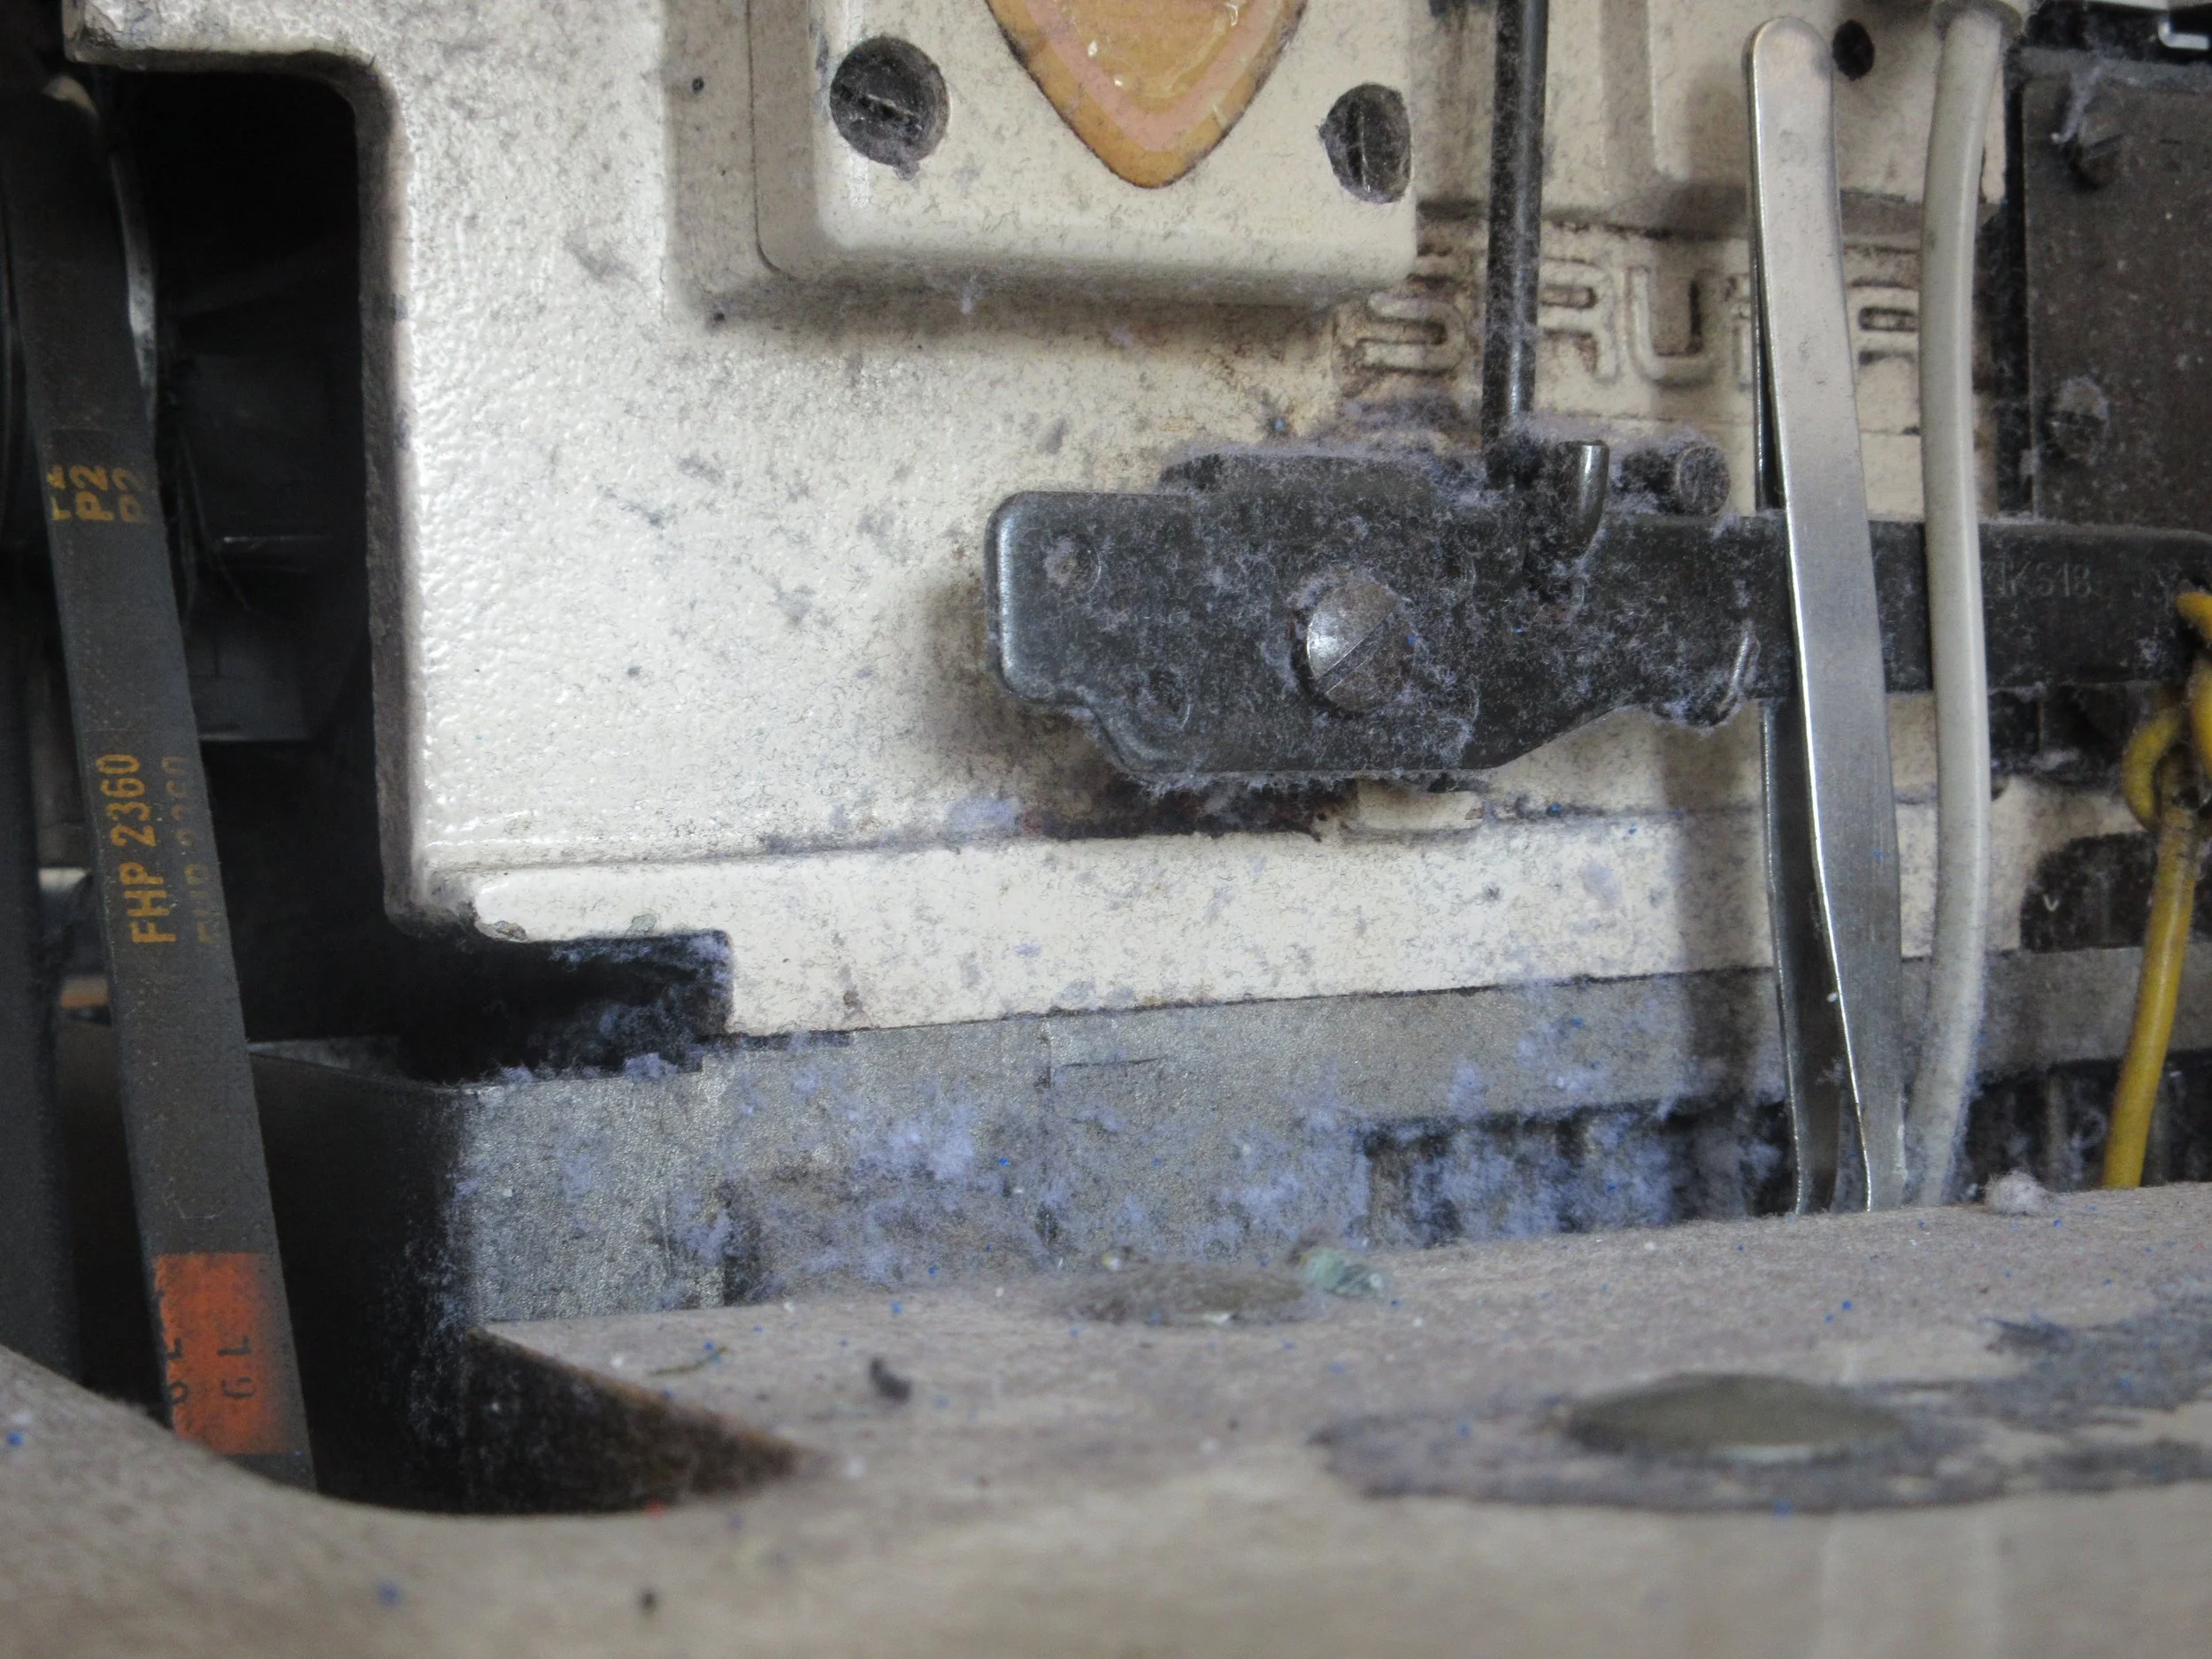
Printed fabrics create a strong visual impact; therefore, any misalignment is immediately spotted by consumers. Additionally, machine-related contamination like oil stains can lead to total shipment rejection.
- Print Misregistration: Colors or layers fail to line up correctly.
- Oil/Heat Stains: Marks left by machinery or improper storage handling.
- Blurred Edges: Loss of detail in complex print designs.
Setting Up a Professional Inspection Line
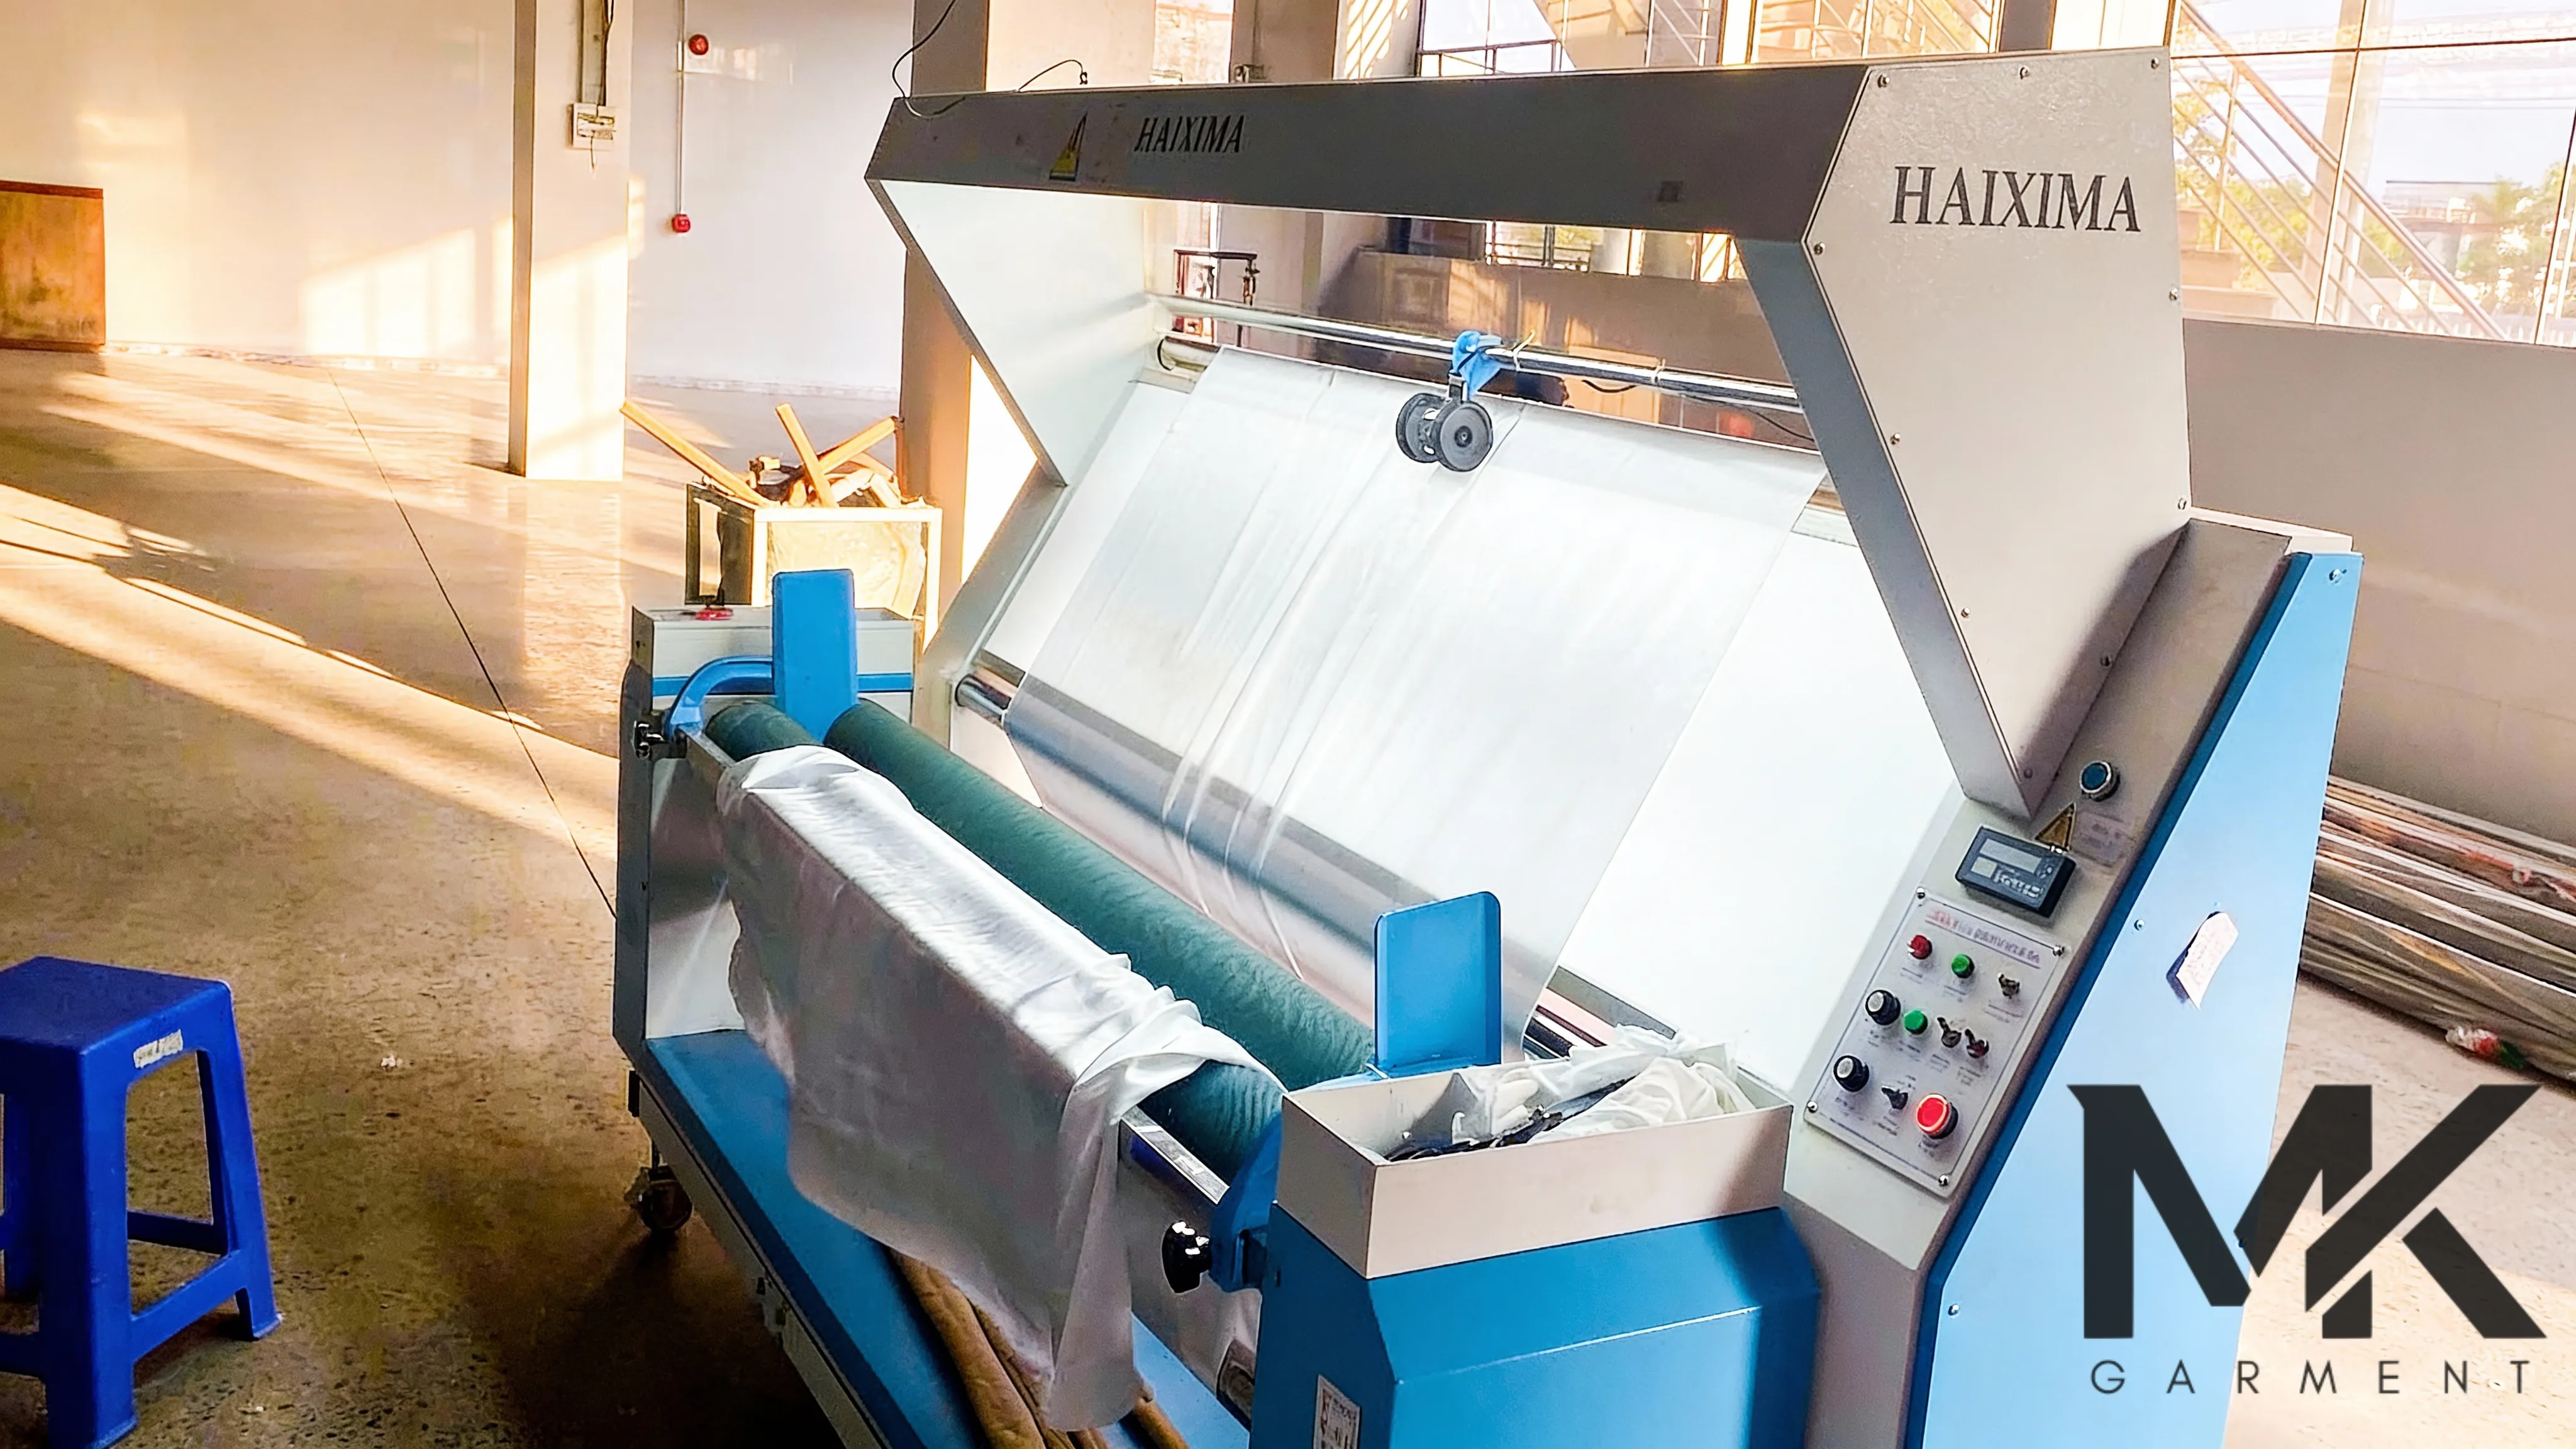
You do not always need expensive machinery, but you do need technical consistency. A professional inspection line focuses on:
- Balanced Lighting: Strong, even illumination across the entire fabric width.
- Controlled Speed: Running fabric slow enough to spot subtle defects, not just obvious ones.
- Defect Mapping: Recording exact locations of flaws so cutting teams can avoid them during the marker layout.
Lighting Matters
Color and surface defects can appear differently under different light sources. Factories should use the buyer’s agreed lighting requirements for shade evaluation where applicable.
Poor lighting can cause inspectors to miss:
- Shade differences
- Stains
- Barre
- Print problems
- Surface irregularities
Inspection lighting should be:
- Even
- Stable
- Appropriate to the task
Use Defect Mapping
Defect mapping records where problems appear within the roll. For example: Roll 08 – 37.5 yards – Oil Stain – Right Side
This information can help the cutting team:
- Avoid localized defects
- Separate defective sections
- Plan splices or marker placement according to procedure
Simply writing: “Fabric defective”. Provides very little useful information.
Conclusion / Final Words
Fabric defects are silent profit killers that explode late in the production cycle. By implementing a rigorous 4-point inspection system and training staff to identify flaws before the first cut, we protect margins and brand reputations. Early detection is the only way to ensure export-quality results. Don’t let a hidden defect ruin a perfect design; build your quality on a tested foundation.