Process Flow Chart for Garments Sewing Department
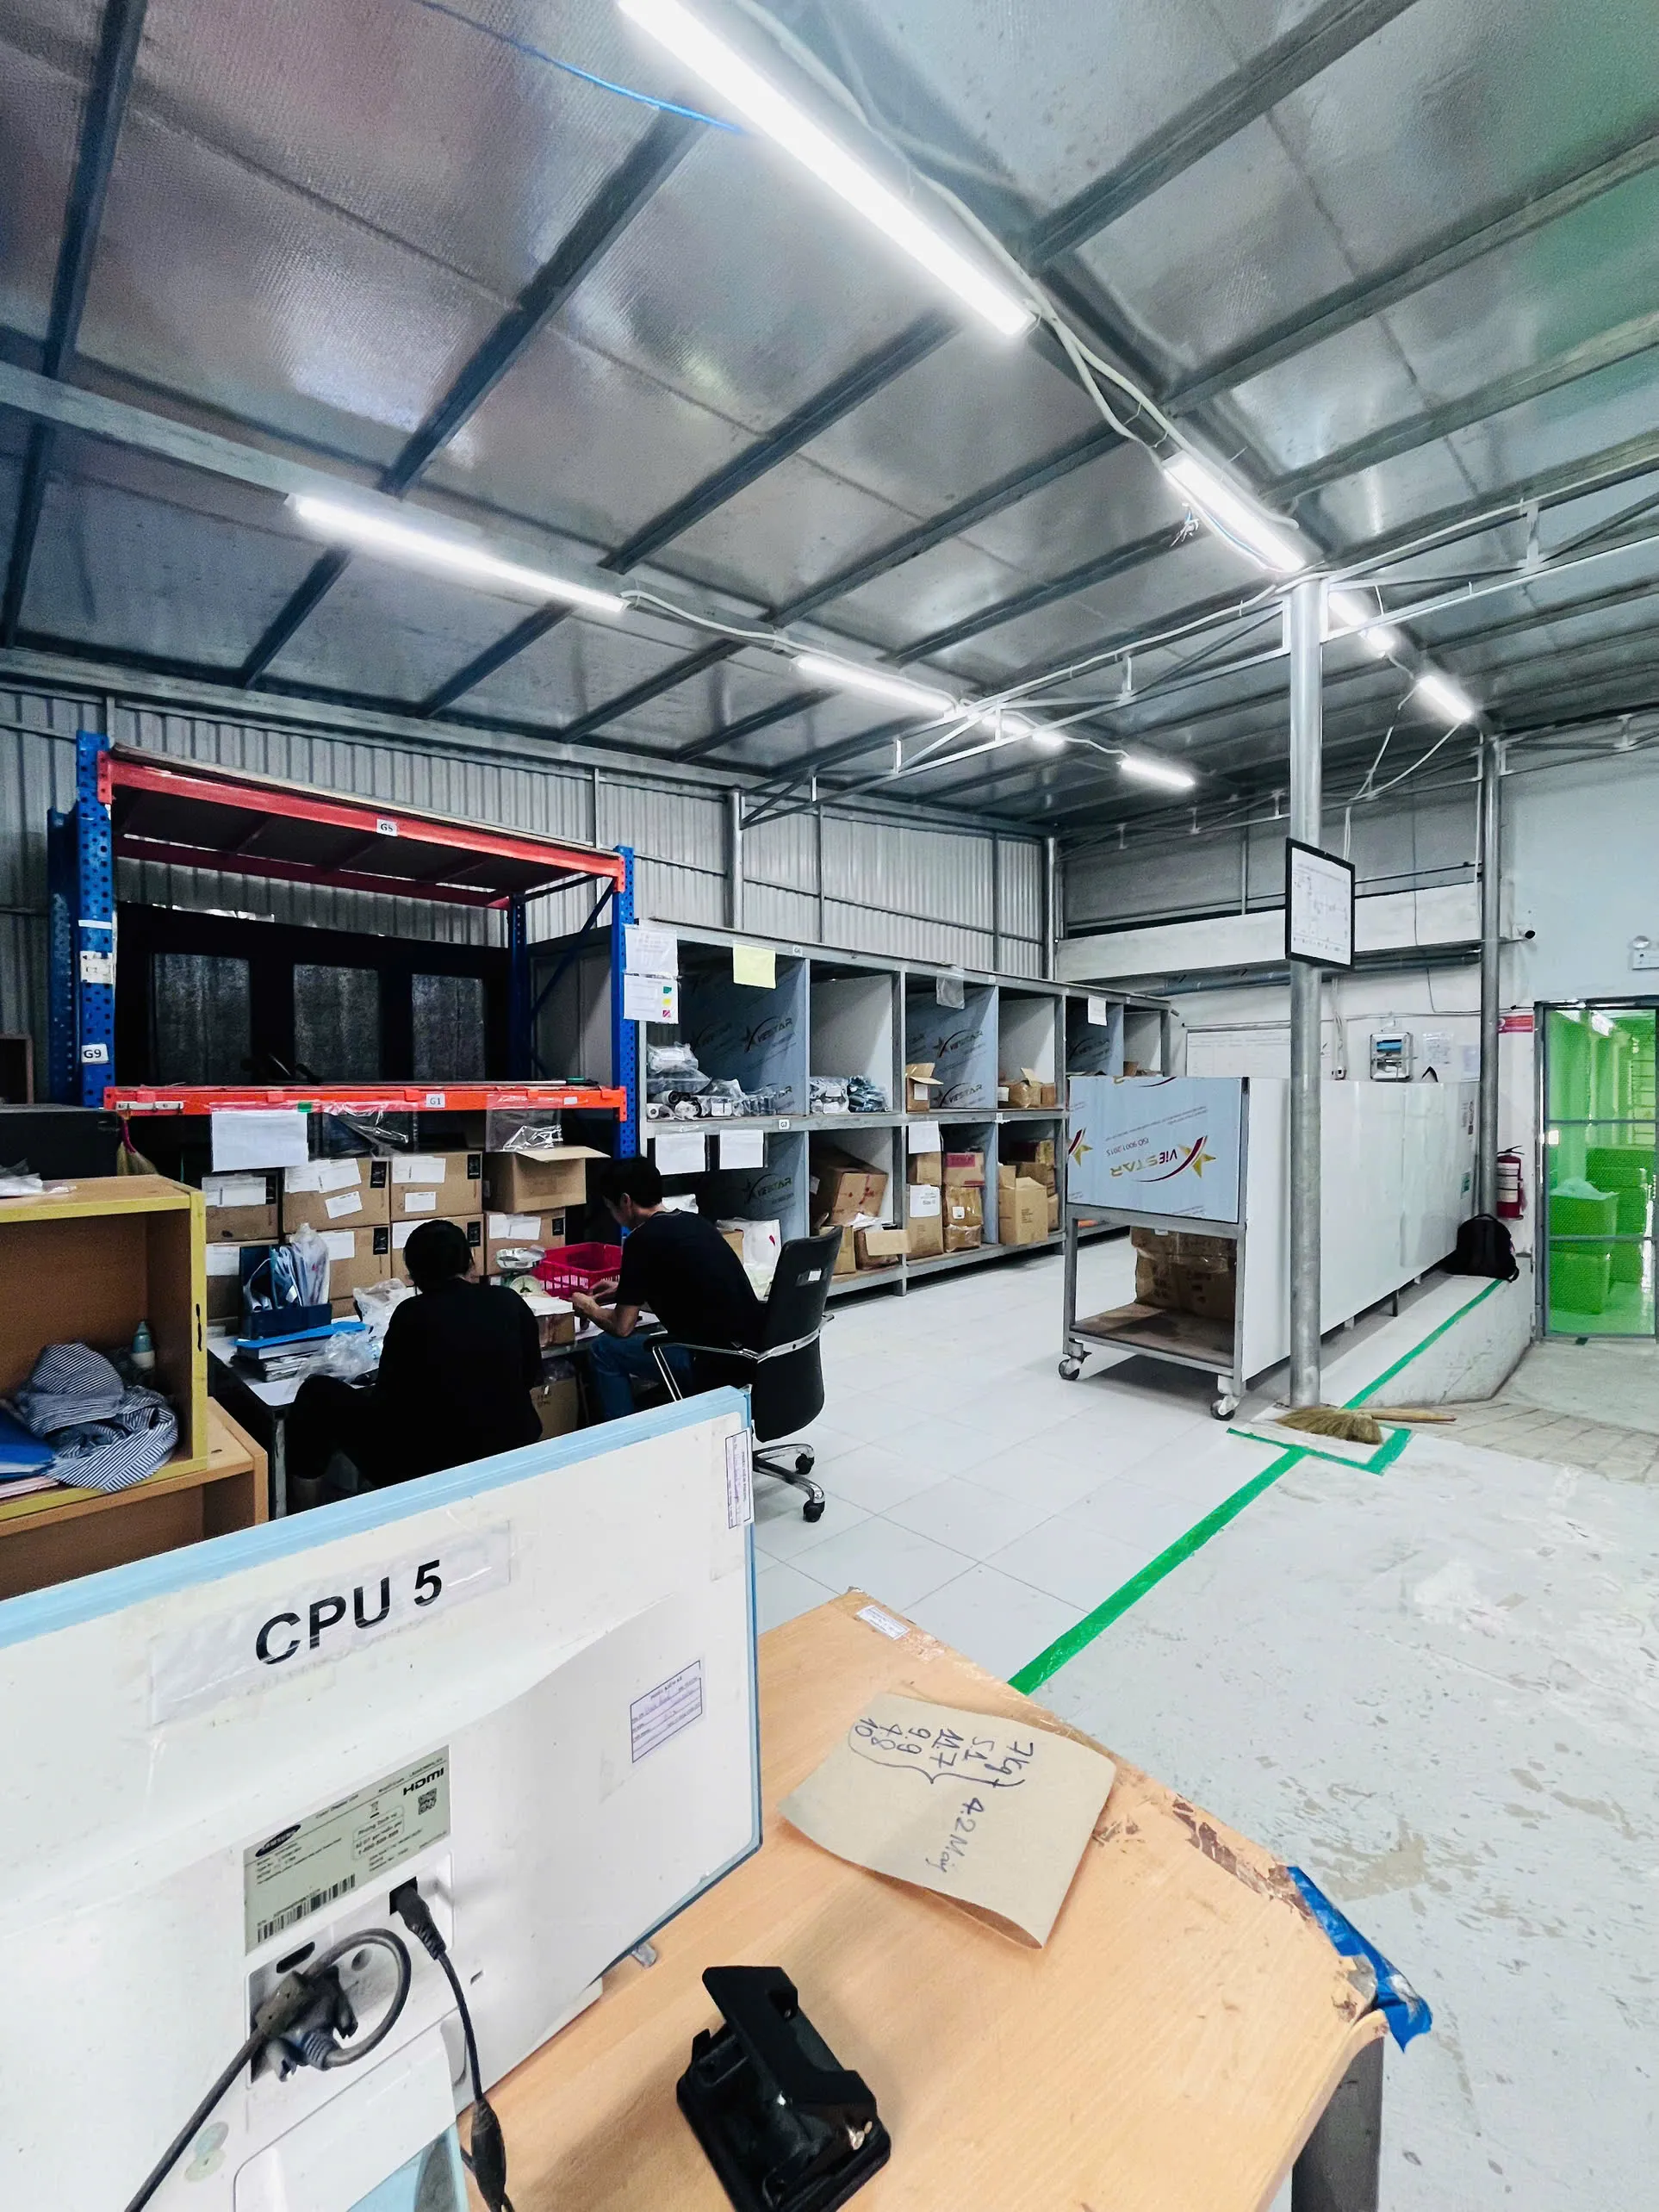
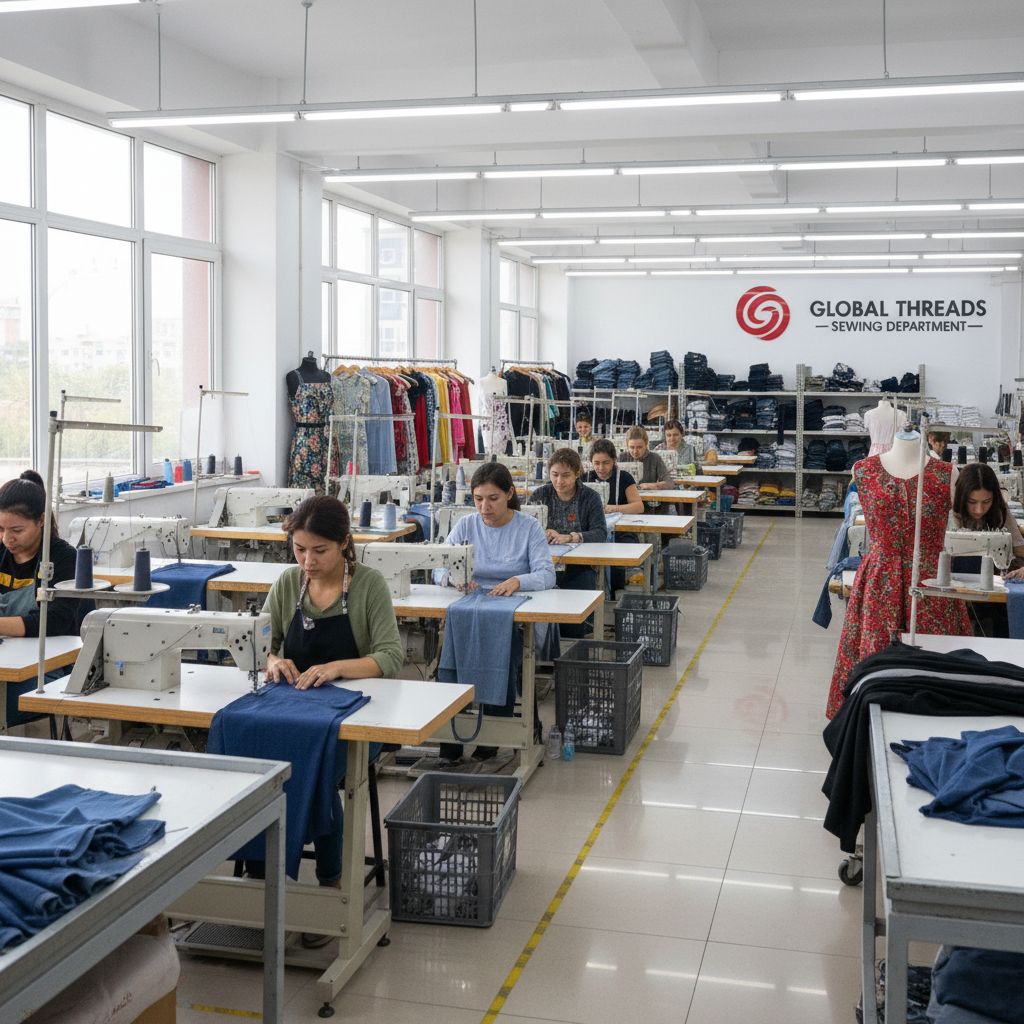
The sewing department is one of the most important sections in garment manufacturing. It is the place where cut fabric parts are joined together with stitches to turn separate components into a complete garment. A well-organized sewing process helps factories control quality, improve productivity, reduce delays, and meet shipment deadlines.
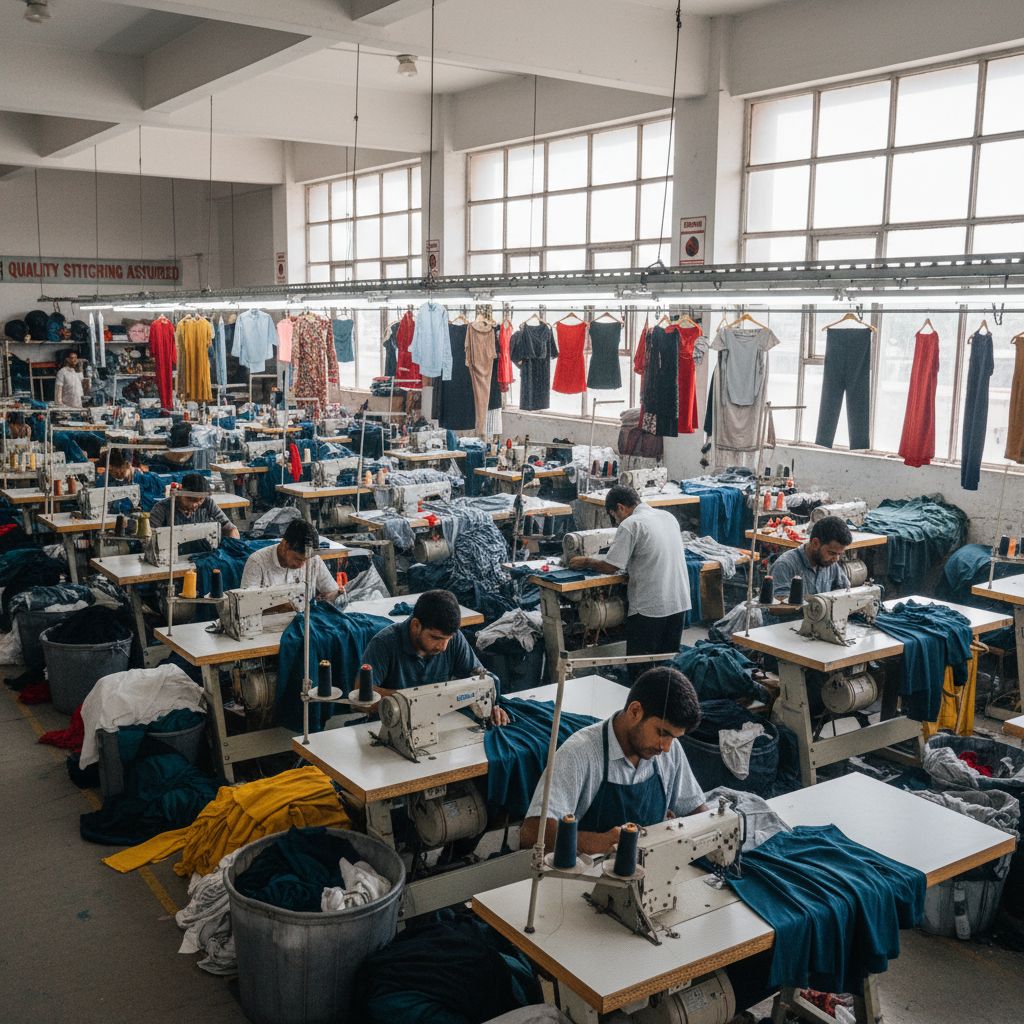
A clear process flow chart is very useful for the sewing department because it shows each step in order. It helps the production team, supervisors, and operators understand what needs to be done before, during, and after sewing. In this article, we will explain the process flow chart for the garments sewing department and the role of each step in the workflow.
What Is Sewing in Garment Manufacturing?
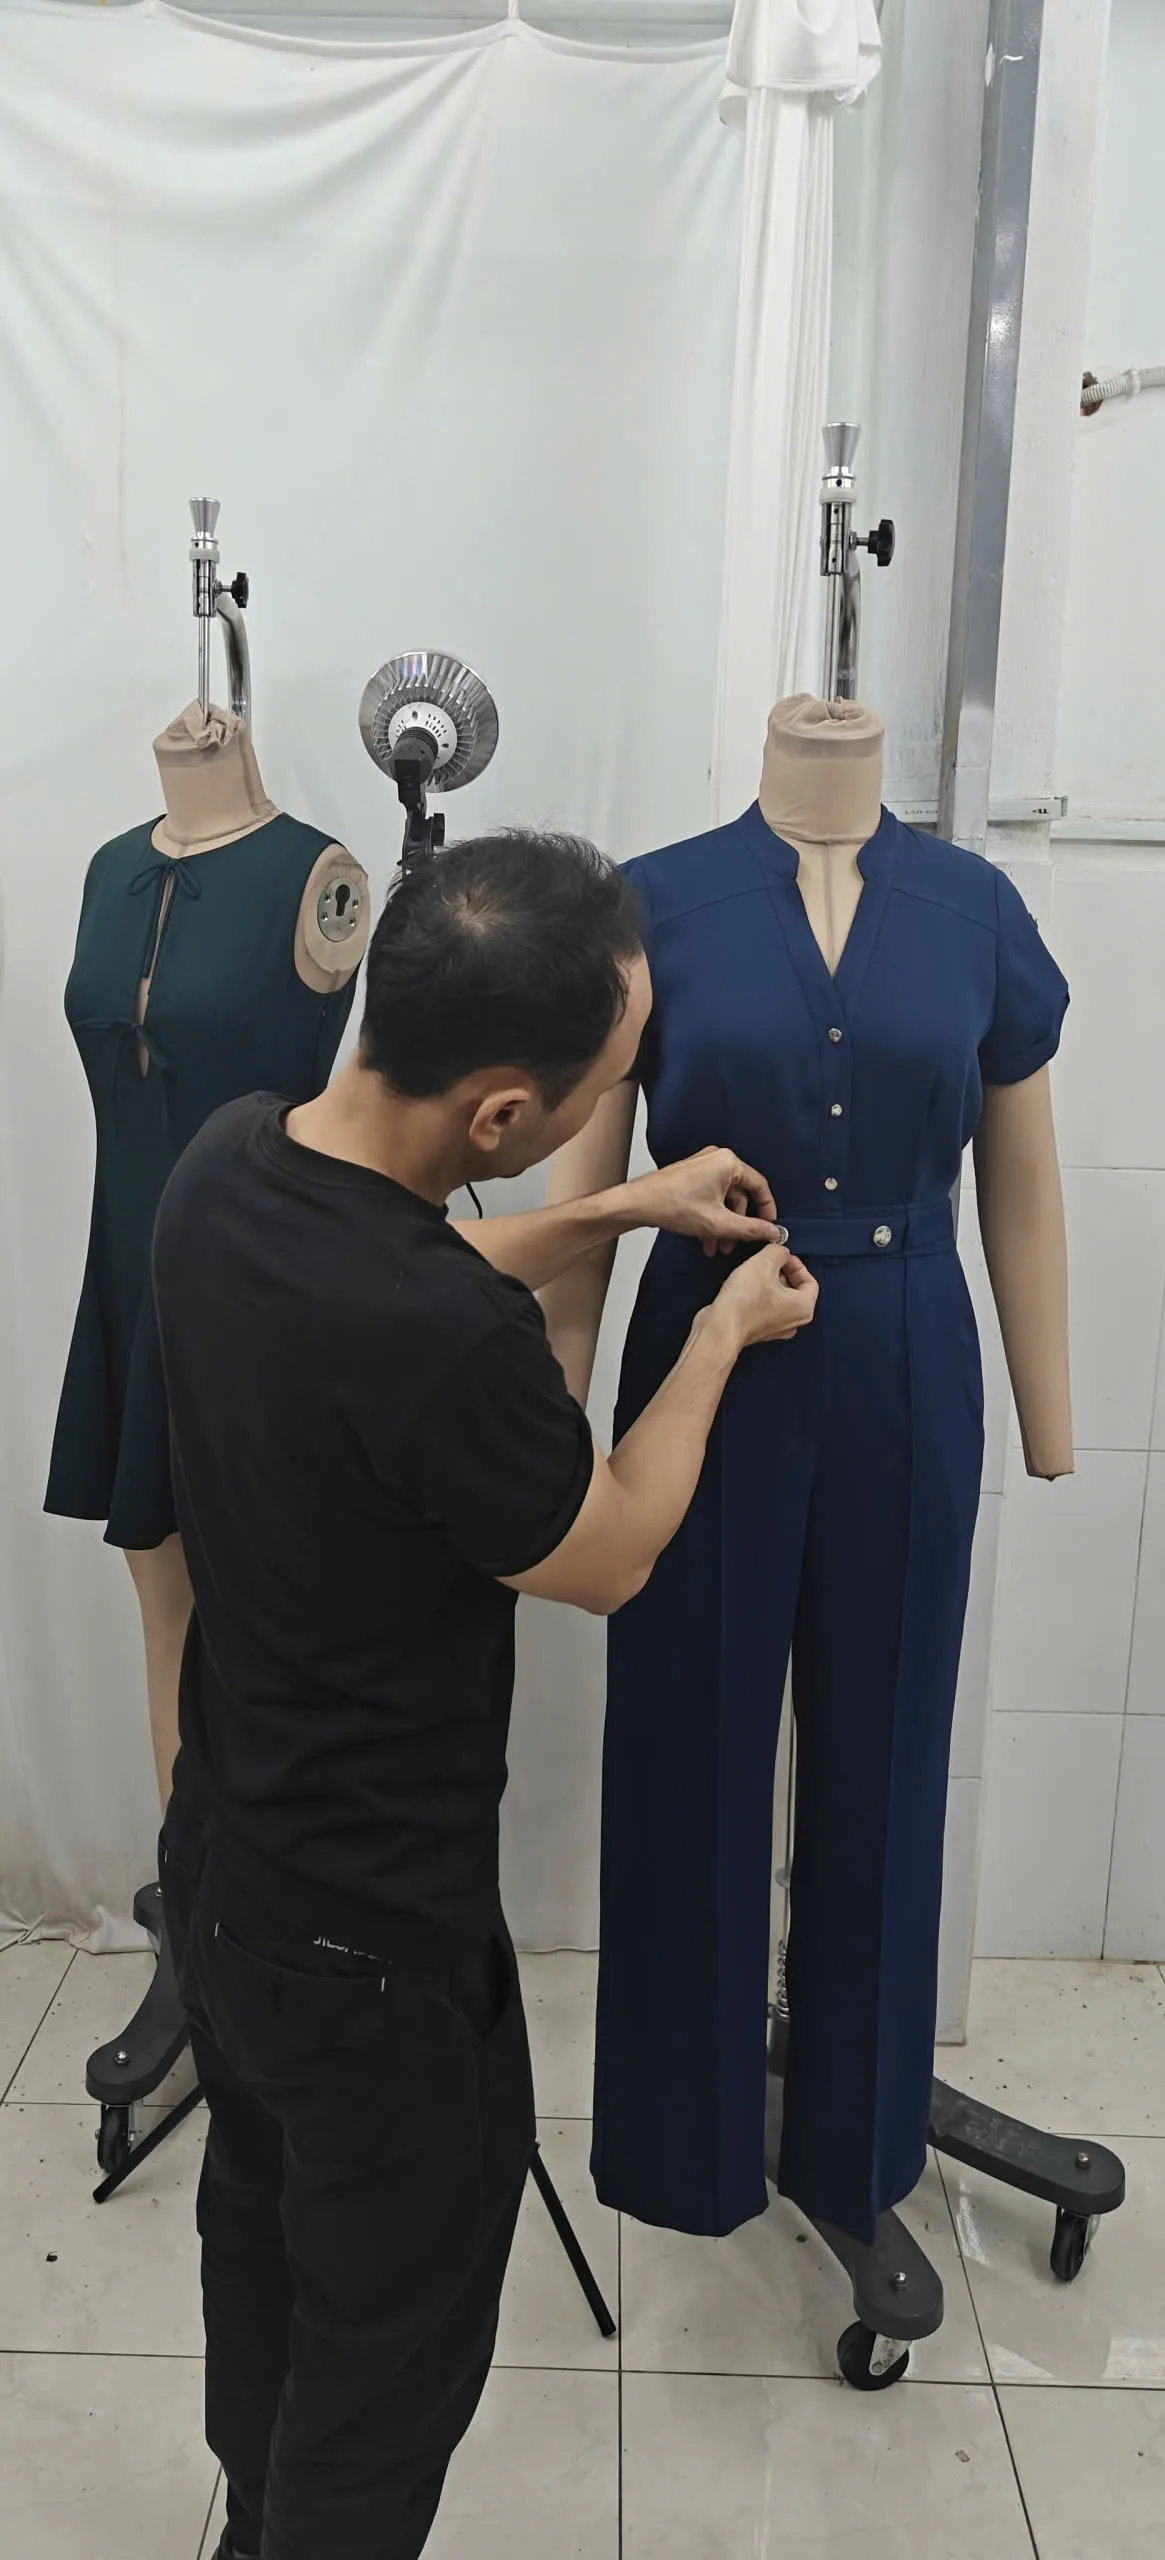
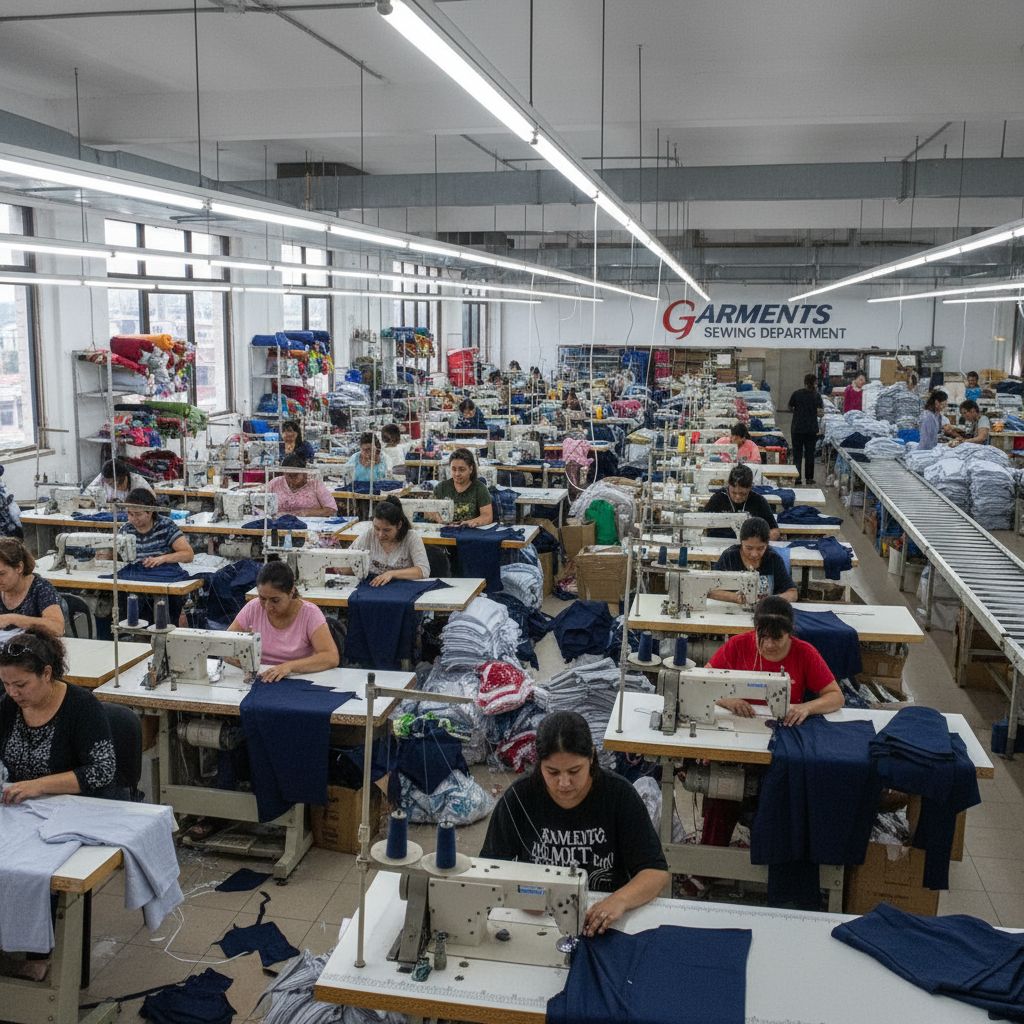
Sewing is the process of joining two or more garment parts together by using needle, thread, and sewing machines. The sewing department does not only involve machine operation; it also includes product analysis, line planning, machine setup, manpower arrangement, and quality checking before garments move to finishing.

Why the Sewing Process Flow Chart Is Important
- Helps achieve production targets on time
- Reduces bottlenecks and supports line balancing
- Improves in-line quality monitoring and reduces defects
- Ensures machine and operator utilization are maximized
Process Flow Chart for Garments Sewing Department
The structured sequence for sewing production activities involves 15 critical steps to maintain a controlled production environment:
| S/L | Process Step | Purpose / Job Description |
|---|---|---|
| 1 | Product Analysis | Study design, construction, and sequence before starting. |
| 2 | Set Up Production Target | Fix targets based on quantity, deadline, and complexity. |
| 3 | Machine Layout Setup | Arrange machines in sequence according to operations. |
| 4 | Operator Layout Setup | Assign manpower according to skill level and machines. |
| 5 | QC Check of Product | Review workmanship and stitch quality standards. |
| 6 | Line Balancing | Distribute work evenly to reduce bottlenecks. |
| 7 | Line Setup | Prepare attachments, folders, and bundles for bulk start. |
| 8 | Distribution of Processes | Divide all sewing operations clearly among the team. |
| 9 | Cutting Parts Received | Verify bundle identity, size, and color from Cutting. |
| 10 | Parts Distribution | Issue cut parts to correct workstations in sequence. |
| 11 | Garment Sewing | Sew components step by step until fully assembled. |
| 12 | Online QC Check | Inspect during sewing to detect defects early. |
| 13 | Online Quality Audit | Systematic review of workmanship and compliance. |
| 14 | Output Monitoring | Count output and check against planned targets. |
| 15 | Final Sewing Quality Check | Final inspection of each garment before finishing. |
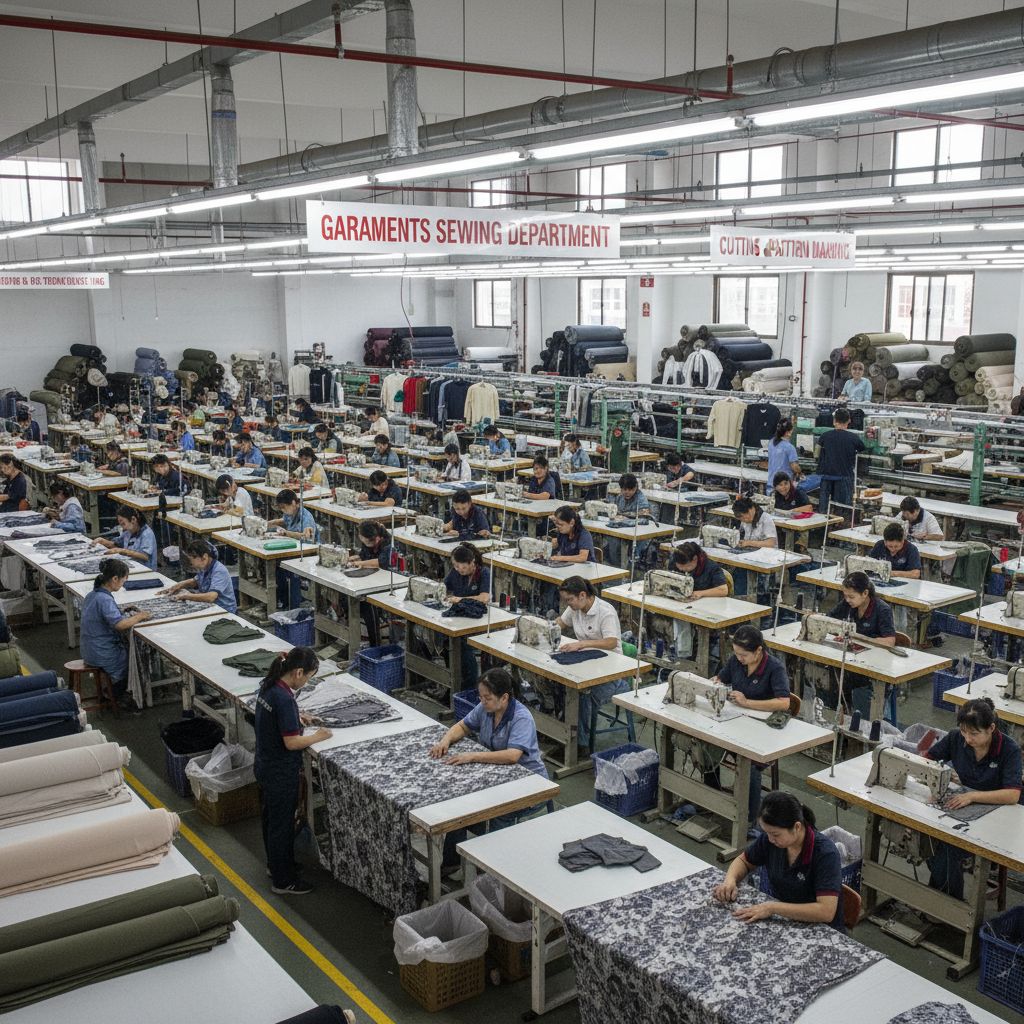
Key Success Factors and Common Problems
To ensure a smooth operation, factories must focus on Skilled Operators, Proper Machine Maintenance, and Effective Communication. Even with a flow chart, common problems like high rework percentages or machine breakdowns can occur. Continuous monitoring and correct work studies are essential to improve both efficiency and output.

Conclusion
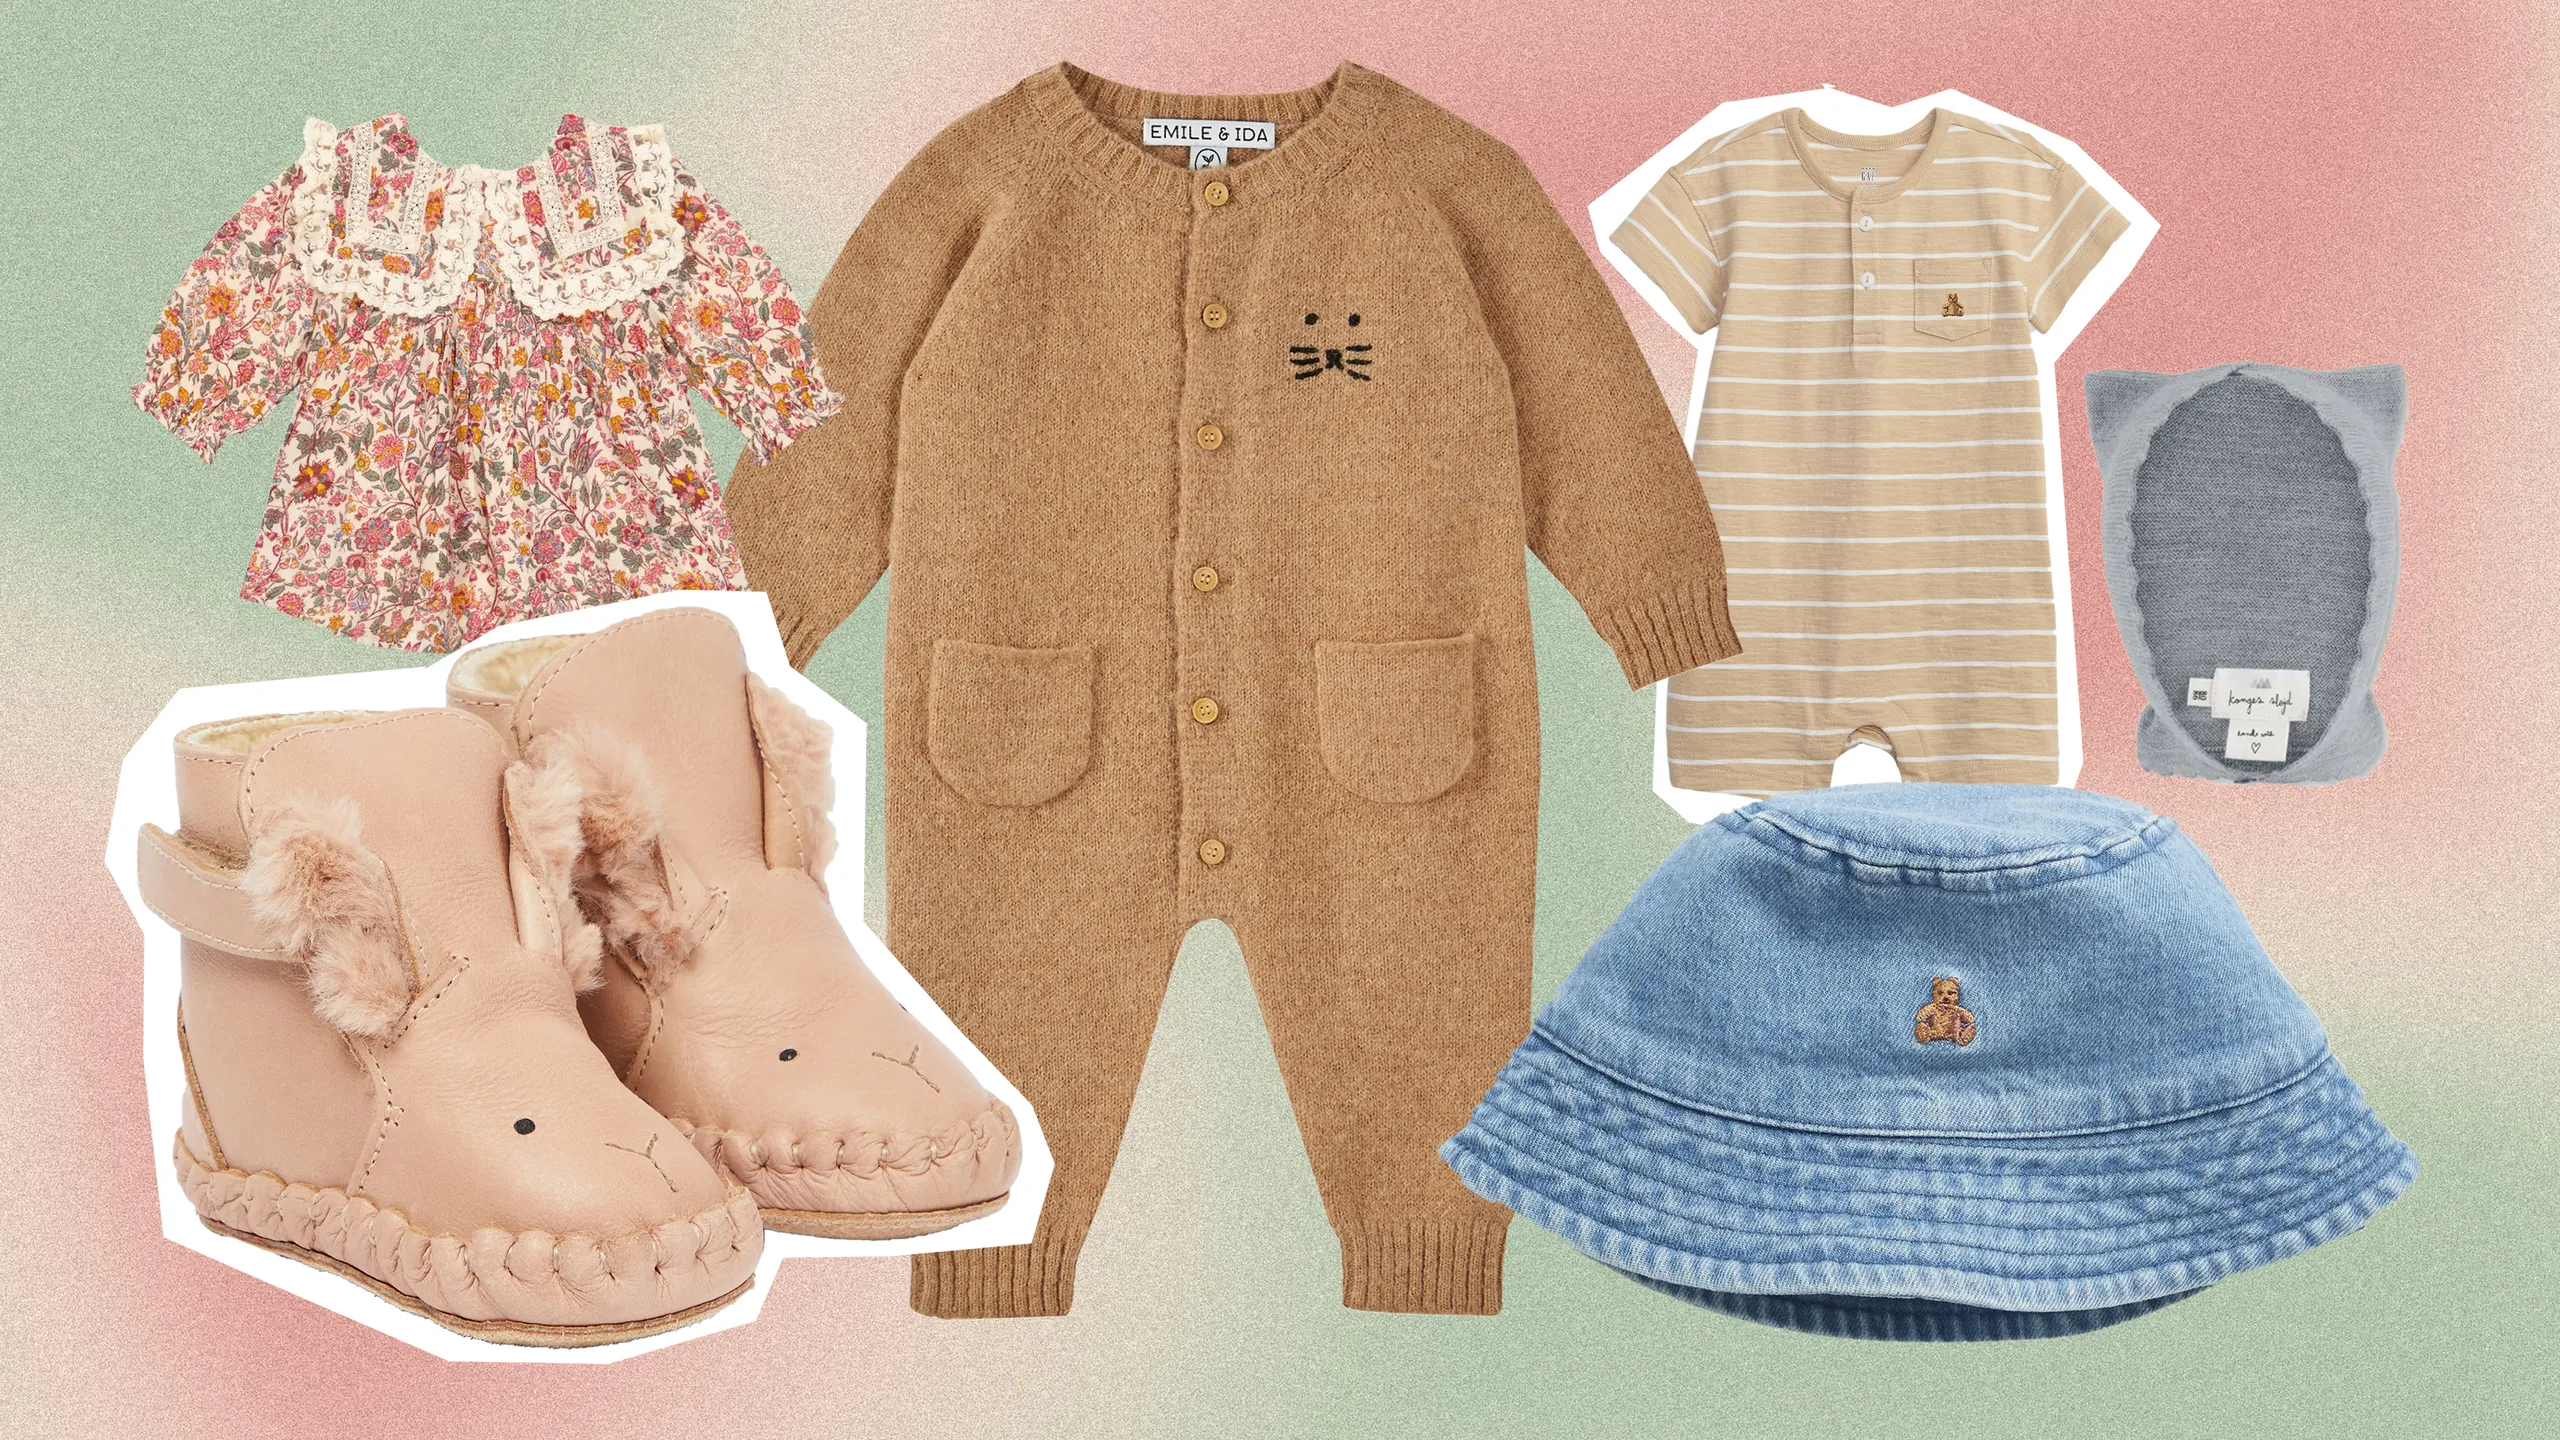
The sewing department is the heart of garment assembly. A proper process flow chart helps organize all major steps, from product analysis to final quality checking. By following a clear sequence, garment factories can reduce errors, improve efficiency, and deliver high-quality products within the required shipment deadlines.