A straight silhouette means your shoulders, waist, and hips are similar in width. You can create curves and a defined waist with smart styling: use belts, wrap shapes, peplums, and high‑rise bottoms. Add volume at shoulders and hips with ruffles or wide legs, and use textured fabrics to break straight lines.
How to Know If You’re Rectangle-Shaped
You typically have shoulders, waist, and hips within about 1–2 inches of each other, producing a straight silhouette with minimal waist indentation. You often gain weight evenly across the torso and limbs, keeping your proportions balanced.

| Feature | Description |
|---|---|
| Measurements | Shoulders, waist, and hips within ~1–2 inches. |
| Silhouette | Straight line; little natural waist definition. |
| Weight Distribution | Gains evenly across the entire body. |
| Fit Issues | Tops and dresses often appear boxy without styling. |
| Styling Advantage | Responds perfectly to structure and proportion play. |
Core Styling Goals
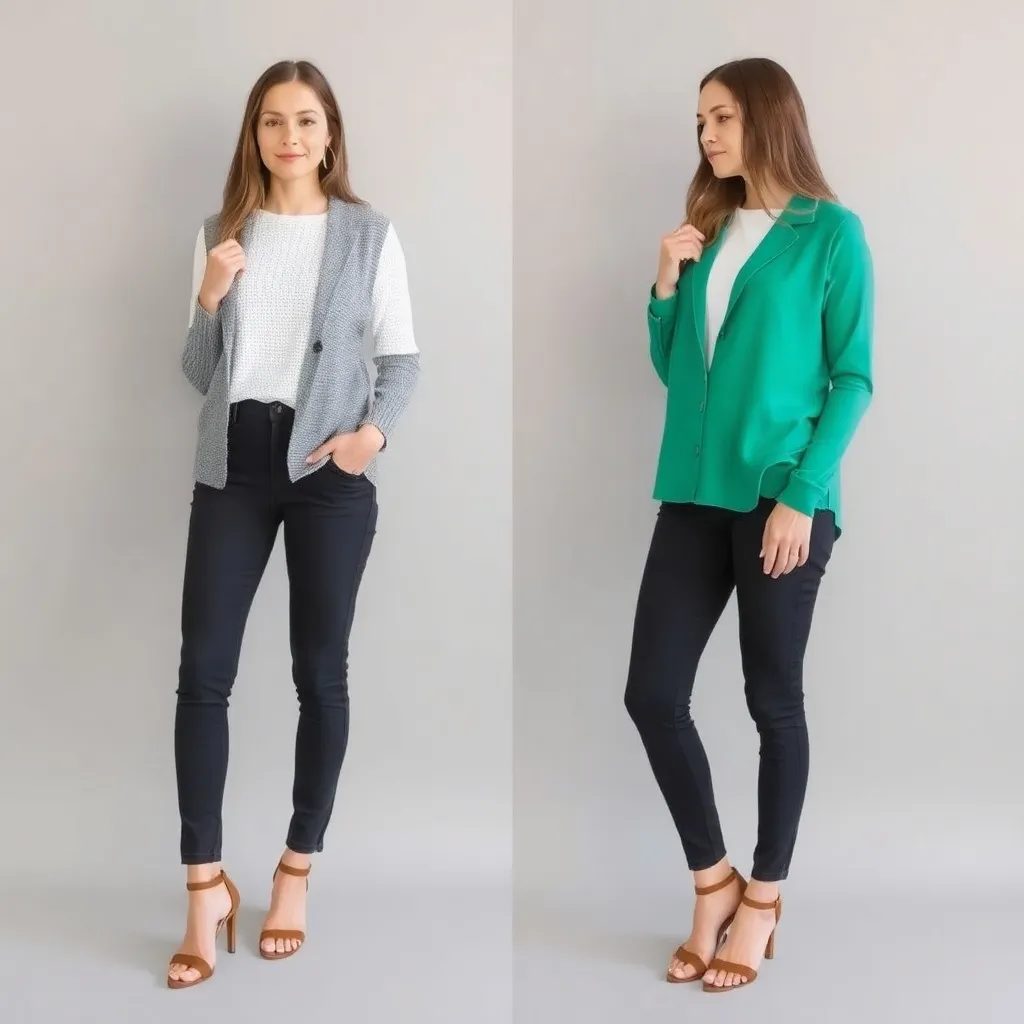
Your goal is to add visual curves and define the midsection. Use peplum tops, wrap dresses, and shoulder details to create a narrower-looking waist.
- Define the waist: Use belts (2–3 inches wide), ties, and wrap shapes.
- Add volume: Use ruffles at shoulders or flares at the hips (5–8 cm).
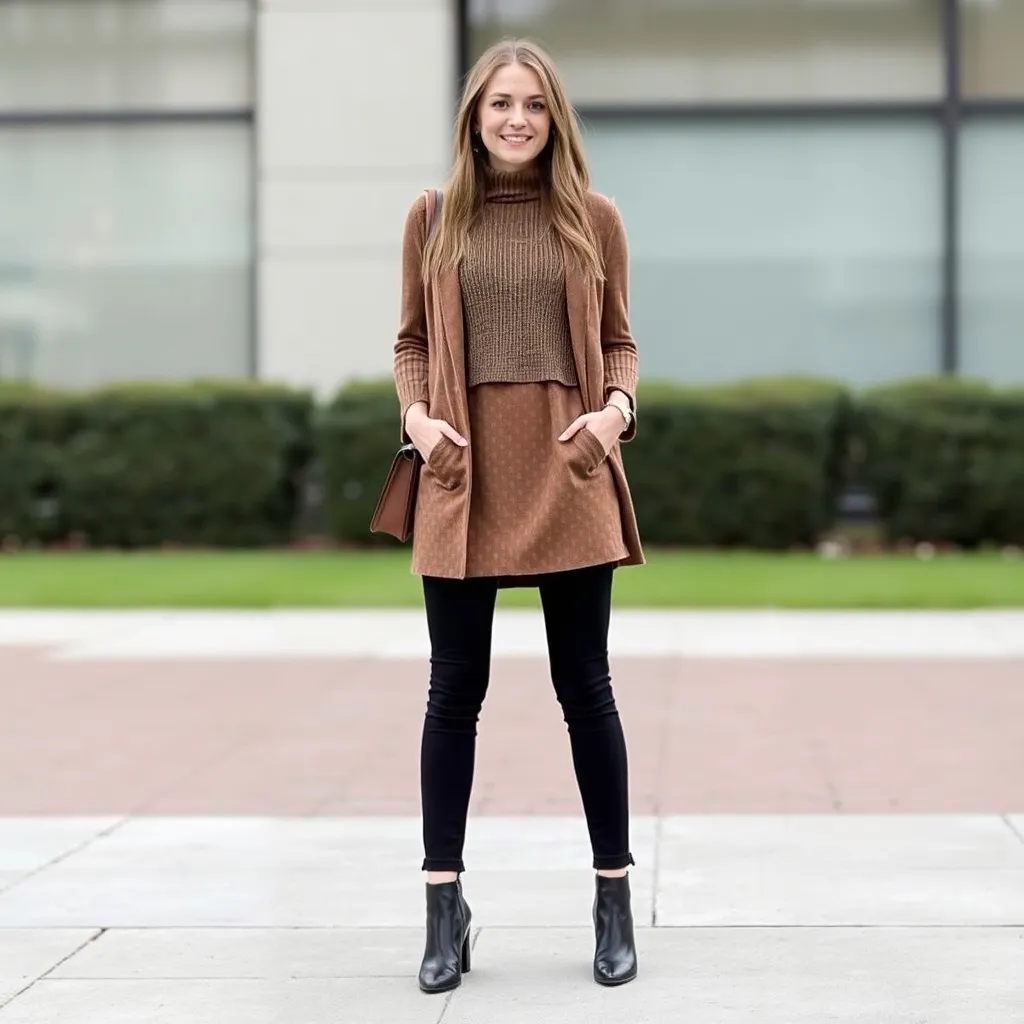
- Use layers: Create depth with cropped jackets over cinched tops.
- Break lines: Mix textures (tweed, rib knit) and color-blocking.

Defining the Waist & Creating Curves
Place a belt at your natural waist to lift the torso. Pair this with high-rise bottoms (rise of 10–12 cm) to lengthen the leg line. Look for princess seams and waist darts in blazers—these construction points pull fabric toward the midline to create a nipped-in appearance.

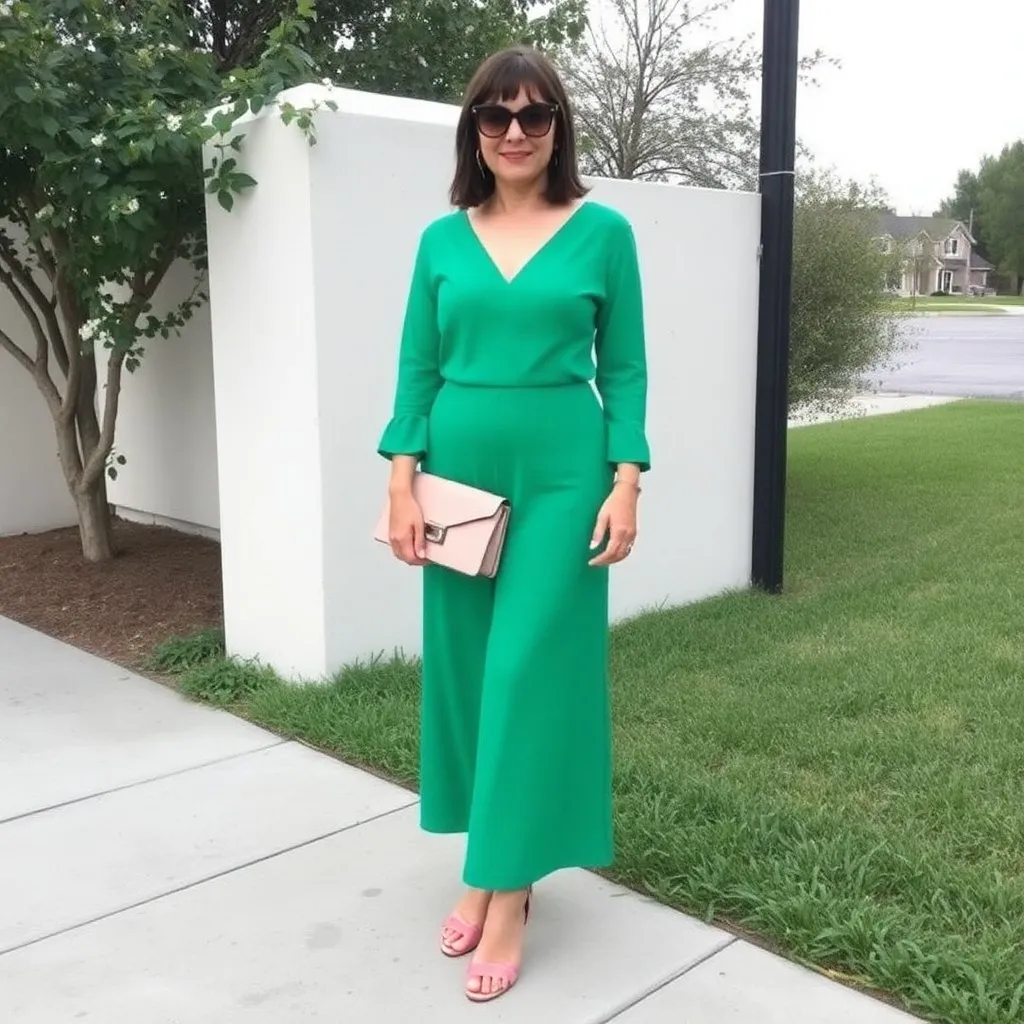
Use puff sleeves or small shoulder pads (5–10 mm) to add width at the top. This makes the waist look smaller by comparison. Balance this with an A-line skirt or wide-leg pants to simulate an hourglass silhouette.
What to Wear (and Why)
Tops & Knitwear
- Peplum & Wrap tops: Introduce a clear waistline and hip flare.
- Shoulder details: Ruffles and puff sleeves broaden the top line.
- Crop tops: Fall just above the waist to raise the visual waistline.
- Ribbed knits: Paneled constructions help fabric sculpt rather than cling.
Bottoms, Dresses & Jumpsuits
- Flared & Wide-leg pants: Add width from mid-thigh down to balance the torso.
- Paperbag waists: Create a focal point at the midsection.
- Wrap & Fit-and-flare dresses: Instant definition and hip volume.
- High-rise cuts: Sit 2–3 inches above hipbones to lift the waist.
What to Avoid
Steer clear of items that erase your curves or make your frame look “unbroken”:
- Overly boxy cuts: Blazers and tunics with zero waist shaping.
- Shapeless fabrics: Thin, limp jerseys that cling without structure.
- Incorrect waistlines: Low-rise bottoms that drop the waist and lengthen the torso excessively.
Final Word
Focus on defining your waist and creating curves. At Mekong Garment, we translate these principles into every pattern—from strategic seaming to fabric selection. When your clothes shape your silhouette with purpose, your confidence naturally follows.