Custom t-shirts can get expensive fast. One extra print location. A few extra colors. A “premium” fabric you didn’t really need. Suddenly the quote hurts. But here’s the truth: saving money doesn’t mean buying cheap shirts. It means spending on what people notice and cutting what they don’t, without wrecking comfort, print durability, or fit. This guide shows practical ways to lower cost while still getting shirts you’re proud to hand out, sell, or wear.
1) Start With the Real Cost Drivers (So You Don’t Cut the Wrong Thing)
Most people try to save money in the wrong places. They downgrade the shirt… but keep the expensive design choices.
Usually, the biggest cost drivers are:
- Blank shirt type (fabric, weight, brand tier)
- Decoration method (screen print vs DTG vs embroidery vs heat transfer)
- Number of print colors
- Number of print locations
- Order quantity (price breaks)
- Artwork complexity (separations, setup, digitizing)
If you want to save money and keep quality, your best moves are often:
- reduce setup-heavy choices (extra locations, too many colors)
- optimize quantity
- choose the right blank, not the cheapest blank
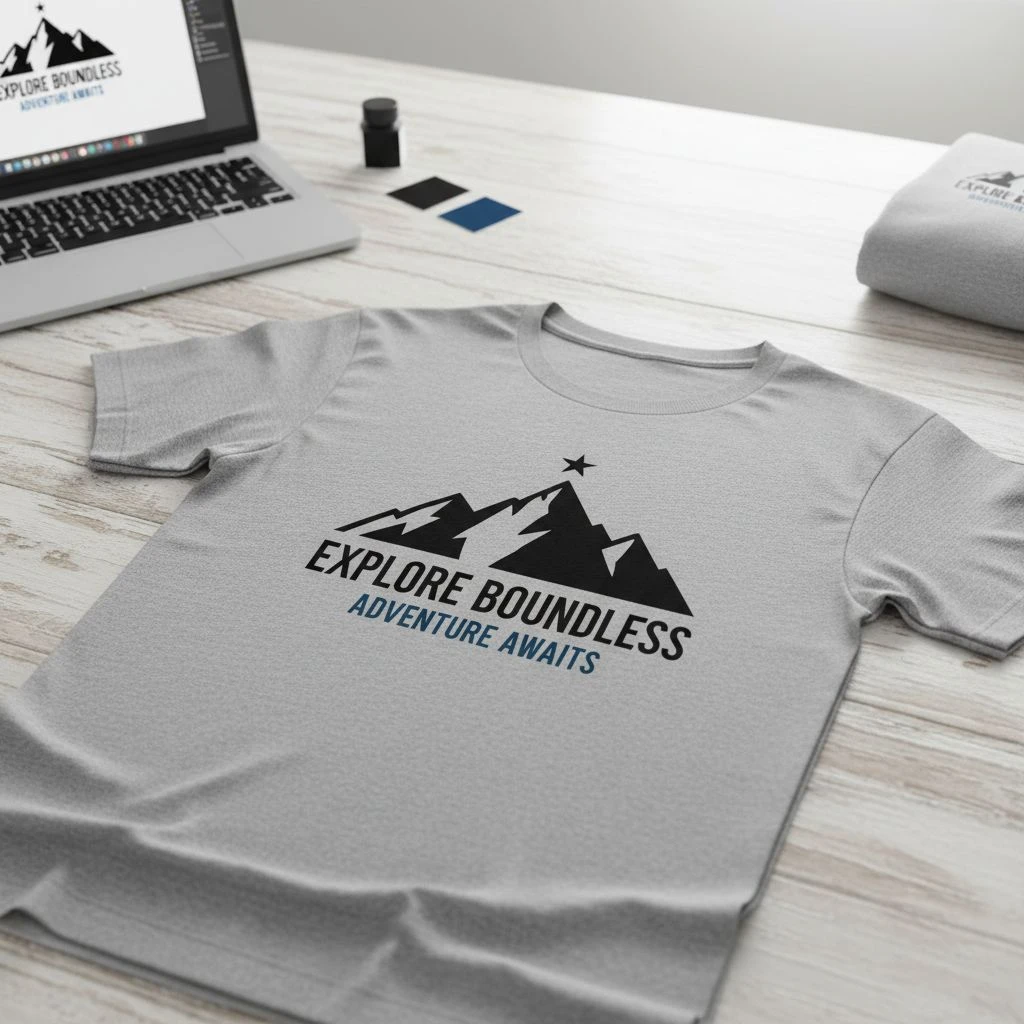
2) Pick a Shirt Blank That Prints Well and Holds Up
The trap: “Cheapest blank = best deal”

A cheap shirt can cost you more later:
- cracking prints
- shrinkage complaints
- neck stretching
- returns or reprints
Better approach: choose “value-premium”
These tend to deliver the best cost-to-quality ratio:
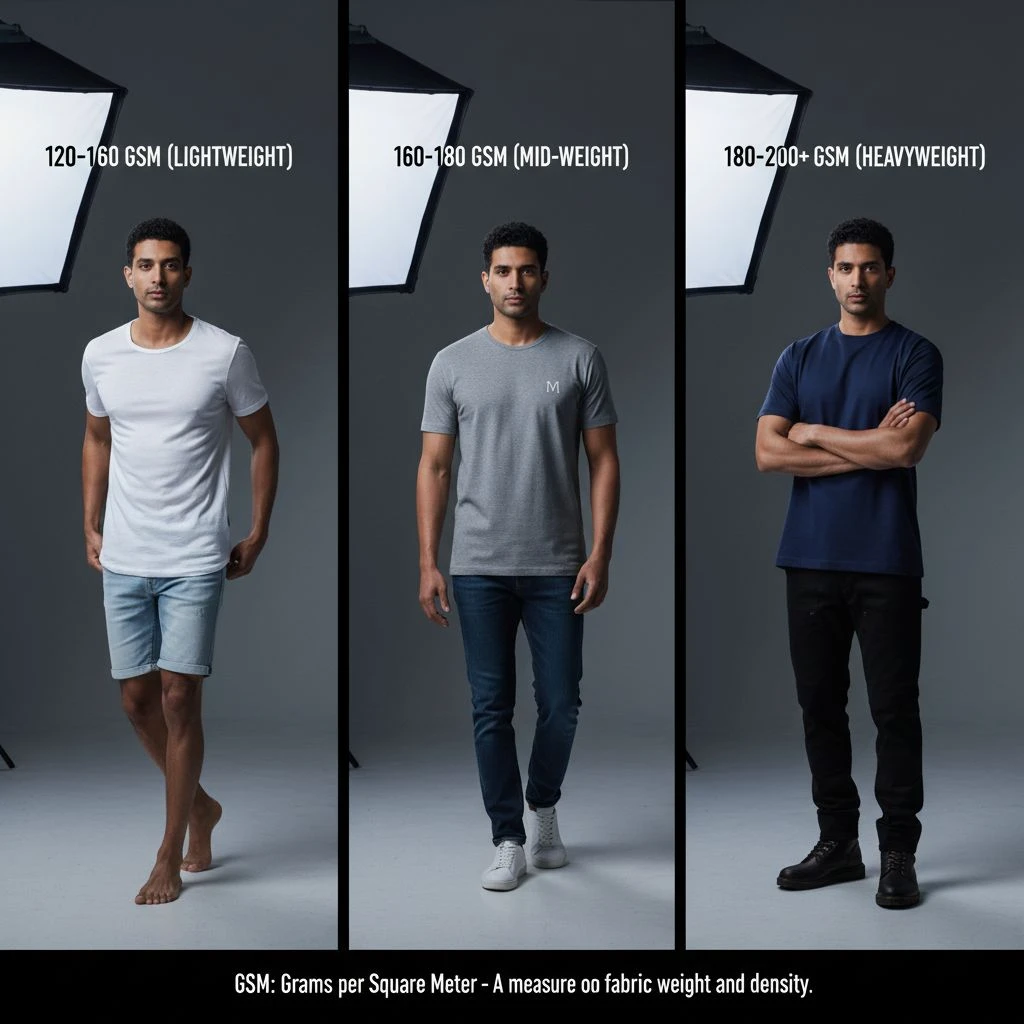
- 100% cotton ringspun (midweight): Soft, breathable, prints great. Watch shrinkage.
- CVC blends (usually 60/40 cotton/poly): Great softness + better shape retention + durable. Often the “safe bet.”
- Poly-cotton blends (often 65/35): Lighter, less shrink, good for activewear feel.
=> Important Notes: don’t pay for “premium” if your audience won’t feel it. If these are event shirts worn twice, a mid-tier ringspun is usually enough. If these are retail tees, don’t cheap out.
Quick rule:
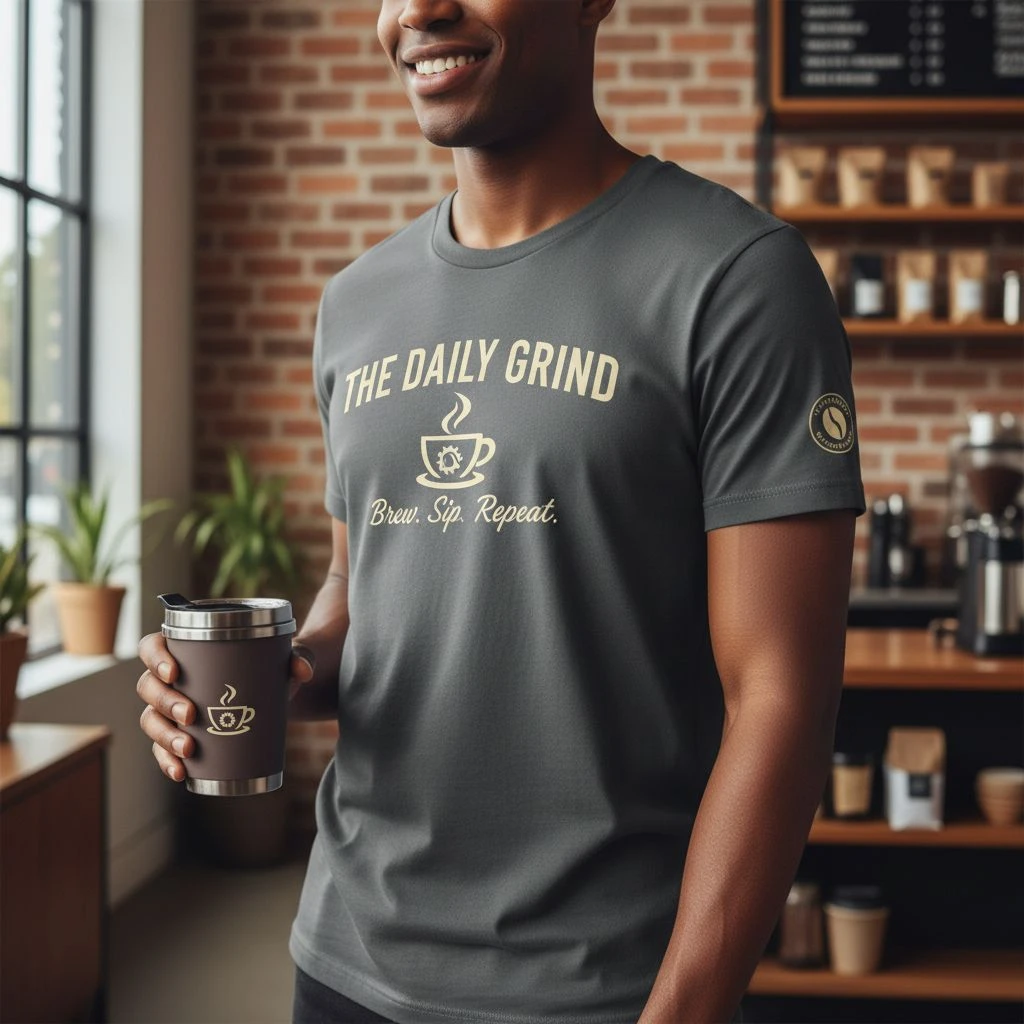
- Retail / brand merch: go CVC or ringspun with good fit.
- Staff uniform / daily use: go blend for durability.
- Giveaway event: choose comfortable basic, keep design simple.
3) Use the Decoration Method That Matches Your Design (Not Your Mood)
Your print method can change your cost more than the shirt itself.

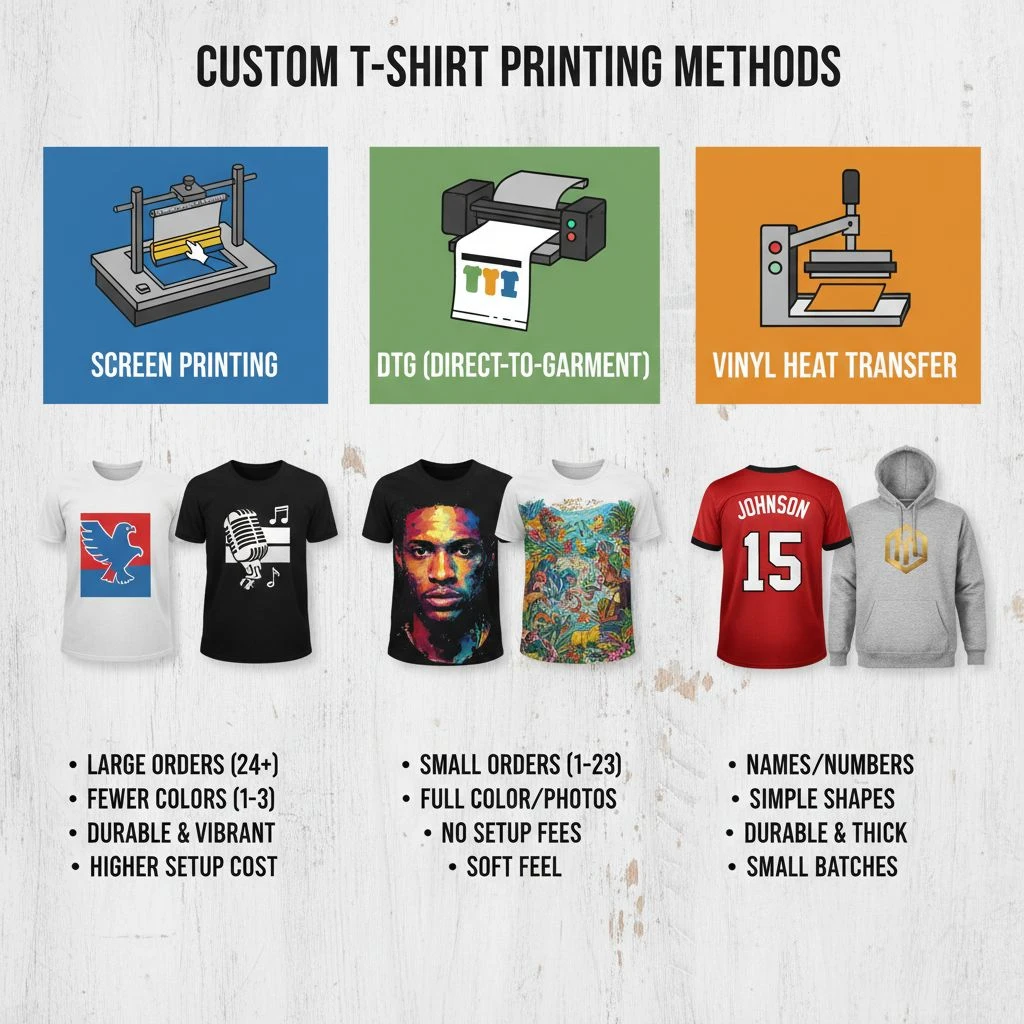
Screen Printing
- Best for: large quantities, bold designs, long-lasting prints
- Cost advantage: cheaper per shirt as quantity increases
- Cost trap: lots of colors and multiple locations
DTG (Direct-to-Garment)
- Best for: small quantities, full-color images, photo designs
- Cost advantage: no screen setup
- Cost trap: expensive per shirt on bigger orders; needs good fabric
Heat Transfer / DTF
- Best for: small runs, fast turnaround, lots of colors
- Cost advantage: easy multi-color, great for names/numbers
- Cost trap: cheap transfers can feel thick or peel over time
Embroidery
- Best for: premium look, polos, hats, left-chest logos
- Cost advantage: high perceived value
- Cost trap: digitizing fees, stitch count cost, heavy on thin tees
Money-saving move:
- If your design is simple and you’re ordering 25+ shirts, screen printing is often the best “quality per dollar.”
- If you need 1–10 shirts with full color, DTG/DTF can be smarter.
4) Keep Print Locations Minimal — But Strategic

More locations = more labor + more setup + more risk of misalignment. But “minimal” doesn’t mean “boring.”

A smart budget layout looks like:
- One large front print, or
- Left chest + back (if budget allows), or
- Small front + big back (often looks more premium than you think)
=> Important Notes: A single tiny logo can look cheap if the shirt is meant for retail. If this is for selling, spend on one strong placement instead of two weak ones.
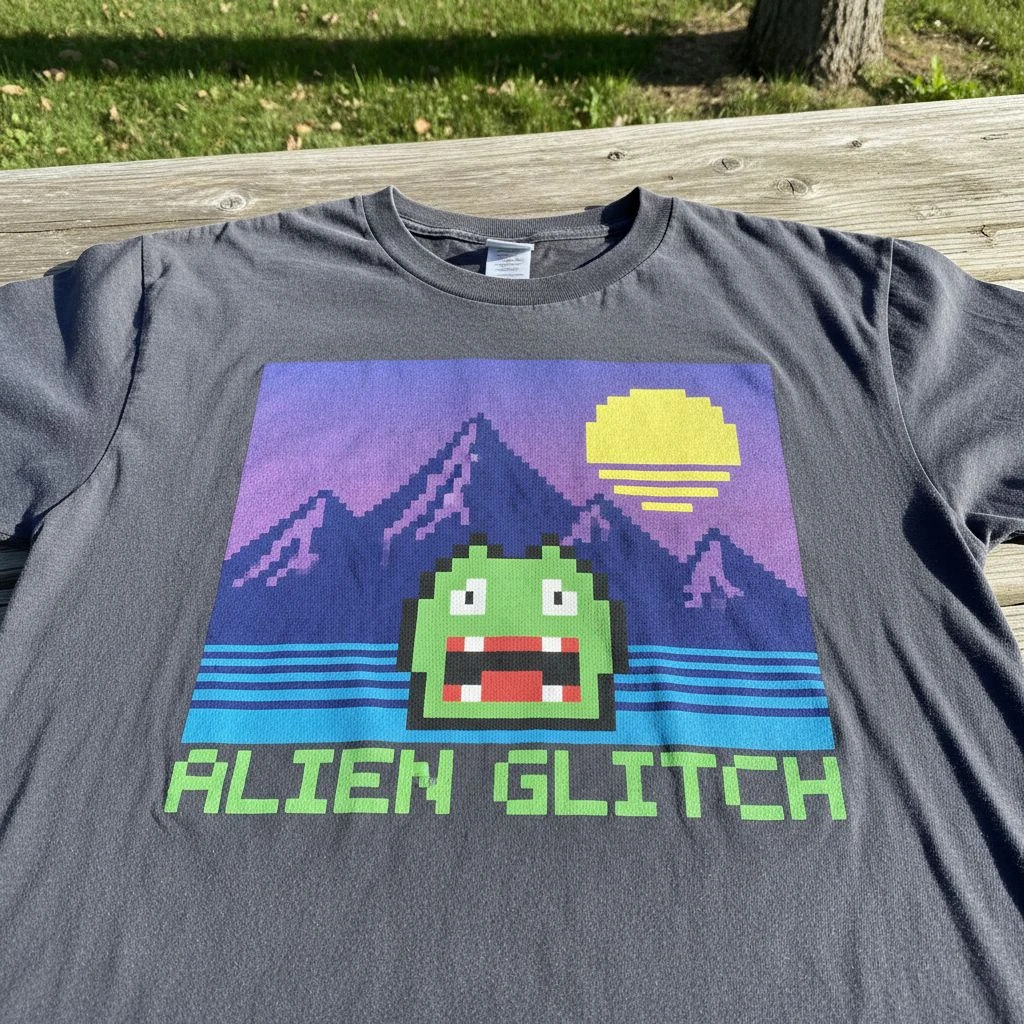
5) Limit Ink Colors Without Killing the Design
Each additional ink color can add:
- setup time
- screens (for screen printing)
- alignment work
Ways to keep cost low while still looking premium:
- Go 1–2 colors and focus on strong composition
- Use halftones to fake extra shades (when your printer can do it well)
- Choose high-contrast designs (they “pop” without extra ink)
- Consider tone-on-tone (subtle but premium) for brand merch
=> Common mistake: reducing colors but keeping a messy layout. Simple colors only work if the design is clean.
6) Choose Shirt Color Like a Budget Pro
Blank shirt color affects cost and print results.
- White shirts are usually the cheapest blanks.
- Some colors cost more due to dye processes.
- Printing on dark shirts can require underbase ink, which adds cost.
=> Save money without sacrificing quality:
- If budget is tight, use light-colored blanks to avoid heavy underbase.
- If you want dark blanks, keep ink colors limited and choose a printer who handles underbases well.
7) Order Smarter Quantities (Price Breaks Are Real, But Don’t Get Trapped)
Printers often have “sweet spots” where the price per shirt drops a lot.

Example logic:
- 12 shirts: high unit cost
- 24 shirts: noticeably lower
- 50 shirts: much lower
- 100+ shirts: best value

=> But here’s the trap: over-ordering to “save” money can destroy cash flow.
Practical strategy:
- Order what you can realistically use or sell in 30–60 days
- Add a small buffer (10–15%) for sizing mistakes or late requests
- If you need big quantities, split into two drops (now + later)
You’ll protect cash and still benefit from planning.
8) Keep Artwork Print-Ready (So You Don’t Pay Hidden Fees)
A lot of “extra costs” come from fixing artwork.

To avoid setup charges or delays:
- Use vector files (AI, EPS, SVG) for logos
- If using PNG/JPG, make sure it’s high-res (300 DPI at print size)
- Avoid tiny details that won’t print cleanly
- Confirm your design size and placement early
For embroidery: simplify the logo. Small text and thin lines increase stitch count and cost — and they often look worse.
9) Cut the Extras That Don’t Add Real Value


Some add-ons are cool, but not always worth it:
- individual bagging
- custom tags
- multiple label prints
- special folding
- complex packaging
If you’re selling retail, pick one “premium touch” instead of five.
Best value add-ons:
- neck label print (feels retail, often low-cost)
- size/brand info printed inside (saves sewn label cost)
- simple hang tag (if needed for shops)
10) Work With Your Printer Like a Partner (Not a Checkout Page)
Want the easiest savings? Ask the printer this:
- “What’s the most cost-effective way to print this design?”
- “What quantity gives the best price break?”
- “Can we reduce colors without losing the look?”
- “Is this better as screen print or DTF/DTG at my qty?”
- “Any blank alternatives with similar feel but lower cost?”
A good printer will recommend changes that keep quality high. A bad printer will just take your money and deliver surprises.