Ordering construction T-shirts sounds simple, pick a color, add a logo, buy in bulk. But on a job site, a “small” shirt decision can turn into bigger problems: workers don’t wear them, prints crack after two washes, the hi-vis effect gets blocked by a giant logo, or the fabric feels like a sauna by 10 a.m. If you want shirts your crew actually wears (and that don’t waste money), here’s what to check before you order.
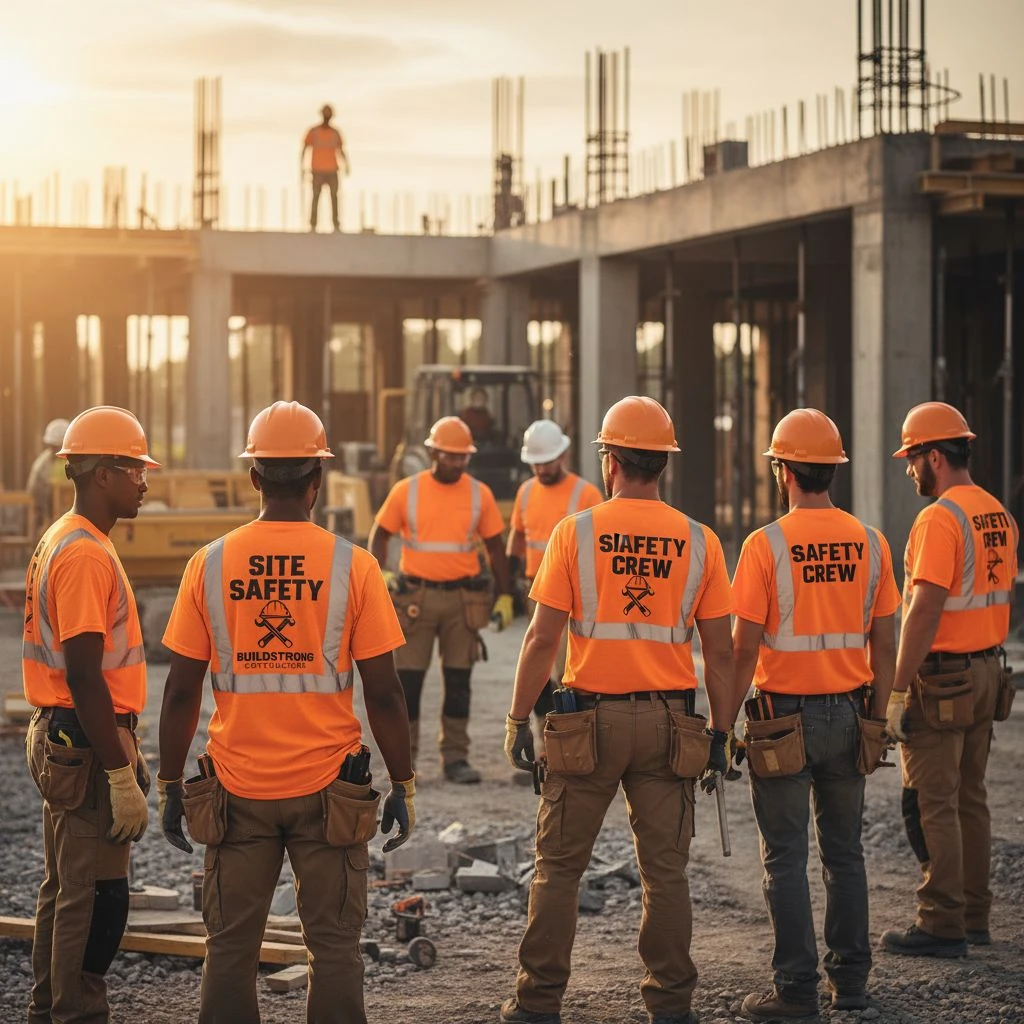
1) Safety and Visibility (don’t assume “bright” = safe)
If your crew works near moving vehicles, forklifts, heavy equipment, or public traffic, visibility is not optional. A shirt should help workers stand out in:
- Daylight
- Low light (early morning / late afternoon)
- Night (if applicable)
=> Important notes: If your shirt needs a safety vest on top anyway, is the tee still doing anything? Sometimes yes (hot weather, vest removed briefly, or shirts used for lighter tasks). But if the tee will always be covered, your money may be better spent on higher-quality vests instead.
Watch-outs:
- Reflective strips only work if they’re not covered by harnesses, tool belts, backpacks, or big prints.
- Huge back logos can reduce the “clean” hi-vis area.
2) Site Rules and Compliance (what your client/GC will accept)
Different sites have different rules. Some general contractors require specific colors or standards. Some require hi-vis at all times. Some only require it for traffic control.

Before you order, confirm:
- Required colors (lime vs orange)
- Reflective needs
- Logo placement restrictions
- Whether long sleeves are required for sun or safety reasons
=> Important notes: If you ignore site rules, your “branding shirts” might become “warehouse leftovers.”
3) Fabric Choice (match the job, not your personal preference)
Fabric is where most bad orders happen.
Common options
- 100% cotton: comfortable, breathable, good for printing
- Downside: holds sweat, can shrink, dries slower
- Cotton/poly blend: balance of comfort + durability, less shrink
- Downside: varies a lot by supplier
- Performance polyester: moisture-wicking, dries fast
- Downside: can snag, can hold odor, printing must be chosen carefully
=> Important notes: If your crew works in extreme heat and sweats all day, heavy cotton can feel “nice” at first, then become a wet towel.

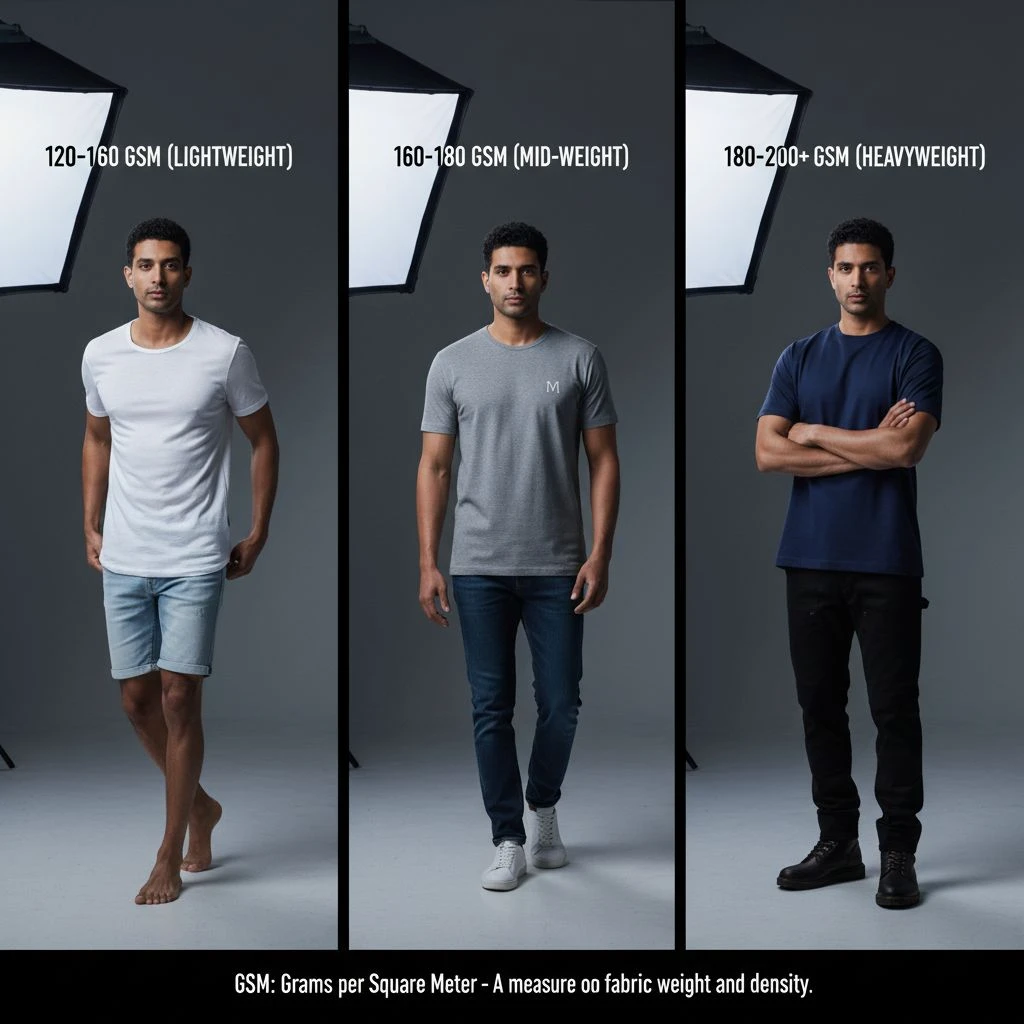
4) Durability (define it, don’t just say it)

“Durable” is vague. Ask for specifics:
- Fabric weight (lightweight vs mid vs heavy)
- Strong seams and stitching
- Shrink control
- Colorfastness (does the neon fade after washes?)
- Resistance to abrasion (shoulders, waist area, tool straps)
=> Important Notes: Are you buying “cheap durable” that lasts two months, or “real durable” that lasts a season? If turnover is high, you might not need premium. But if you’re replacing shirts constantly, cheap becomes expensive fast.
5) Comfort and Movement (the shirt must work with PPE)
Construction workers move all day. The shirt should not fight that.
Check:
- Room in shoulders and chest for lifting
- Length (does it ride up when bending?)
- Neckline comfort (no choking)
- Sleeve length (does it rub under vests/harnesses?)
=> Important Notes: If the shirt irritates even a little, workers stop wearing it. Your order becomes wasted inventory.
6) Fit and Sizing Plan (most teams guess, then regret it)
Sizing problems cause the biggest reorders.
Do this instead:
- Use a size run sample (S–3XL or whatever you need)
- Let crew try on for 1–2 days
- Lock the size breakdown (example: 10% S, 25% M, 30% L, 25% XL, 10% 2XL/3XL)
=> Important Notes: Are you ordering “one size fits all” because it’s easier for purchasing? That’s how you end up with piles of unused size S and M.
7) Printing and Decoration (choose method like a builder, not a designer)
Your logo is great, until it cracks, peels, or makes workers hotter.
Common methods:
- Screen print: strong value, good durability on many fabrics
- Heat transfer / vinyl: sharp detail, fast setup – Risk: can peel or feel “plastic” and hot
- Embroidery: premium look – Risk: heavy, can irritate, not ideal for big chest designs on tees
=> Important Notes: Are you printing a huge full-back logo because it looks cool… while making the shirt hotter and less breathable? That can reduce wear compliance.

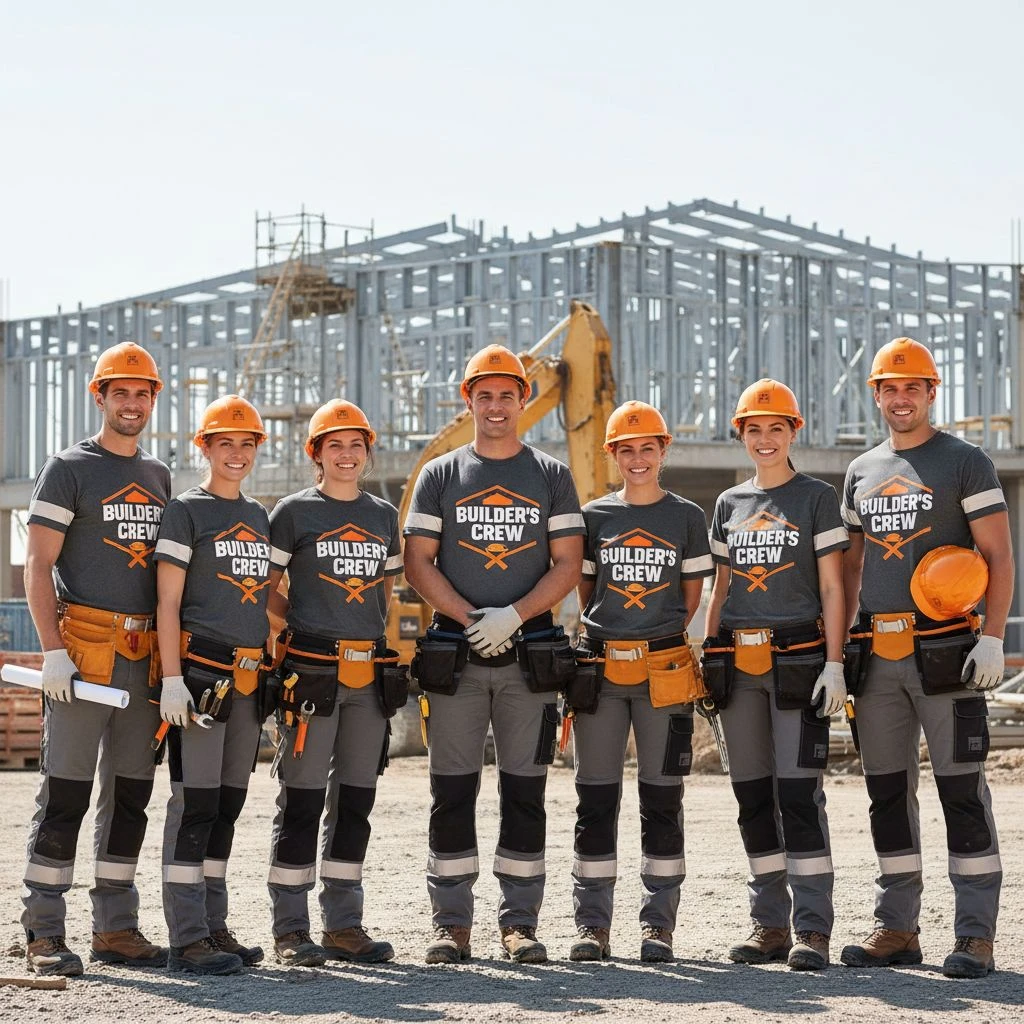
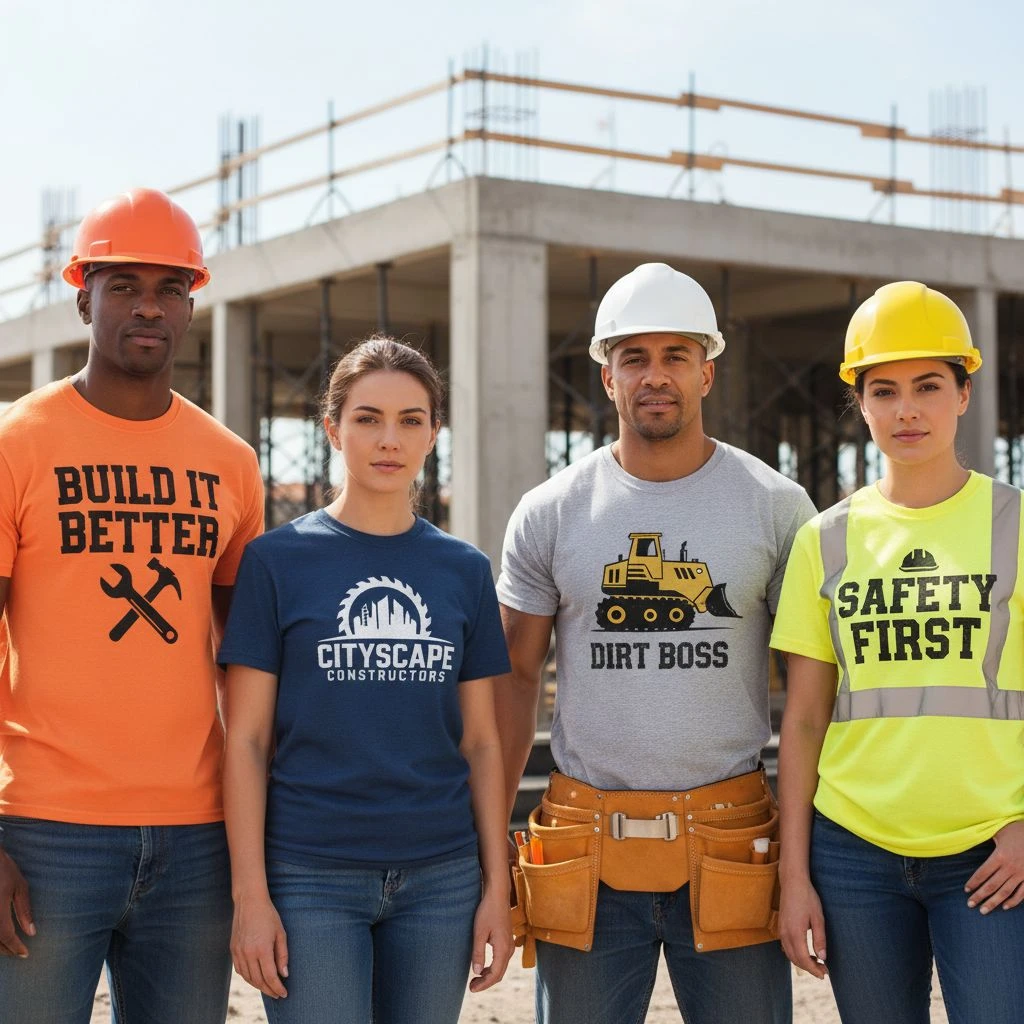
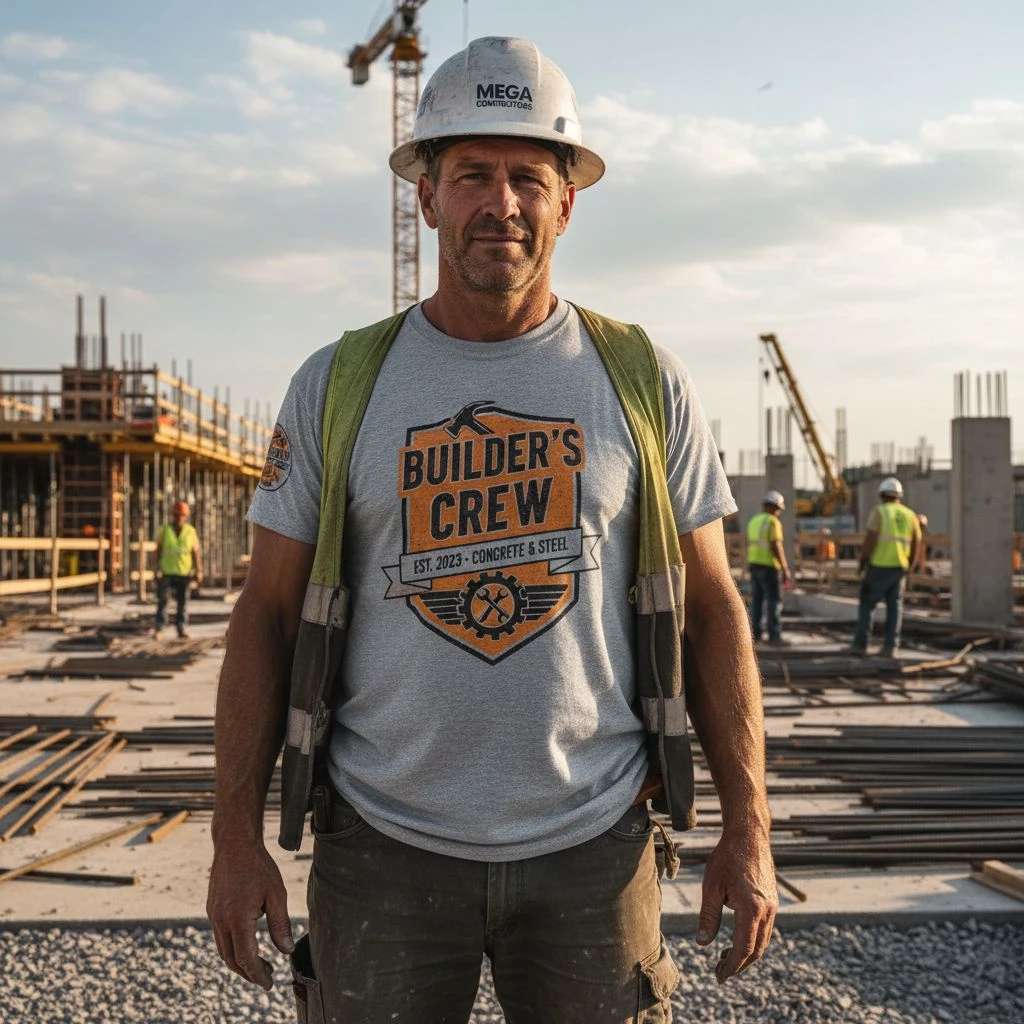
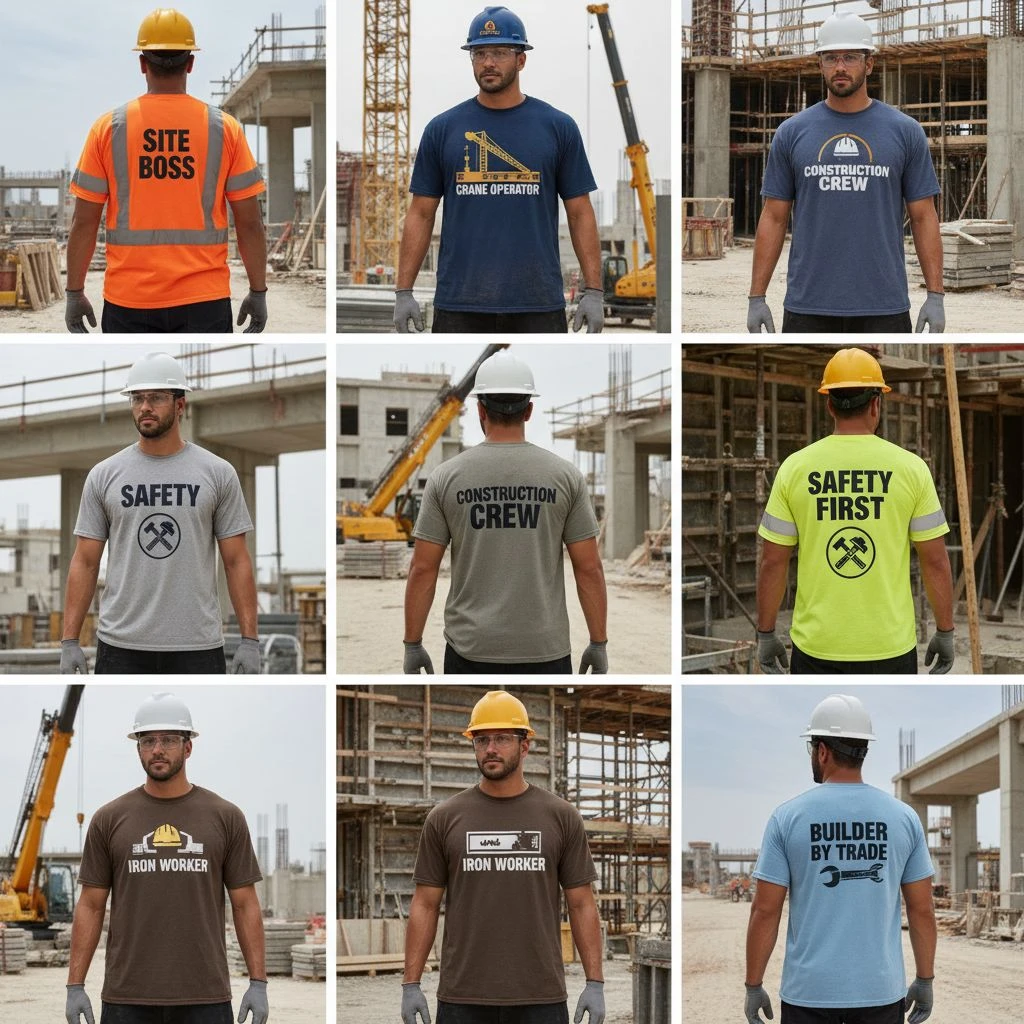
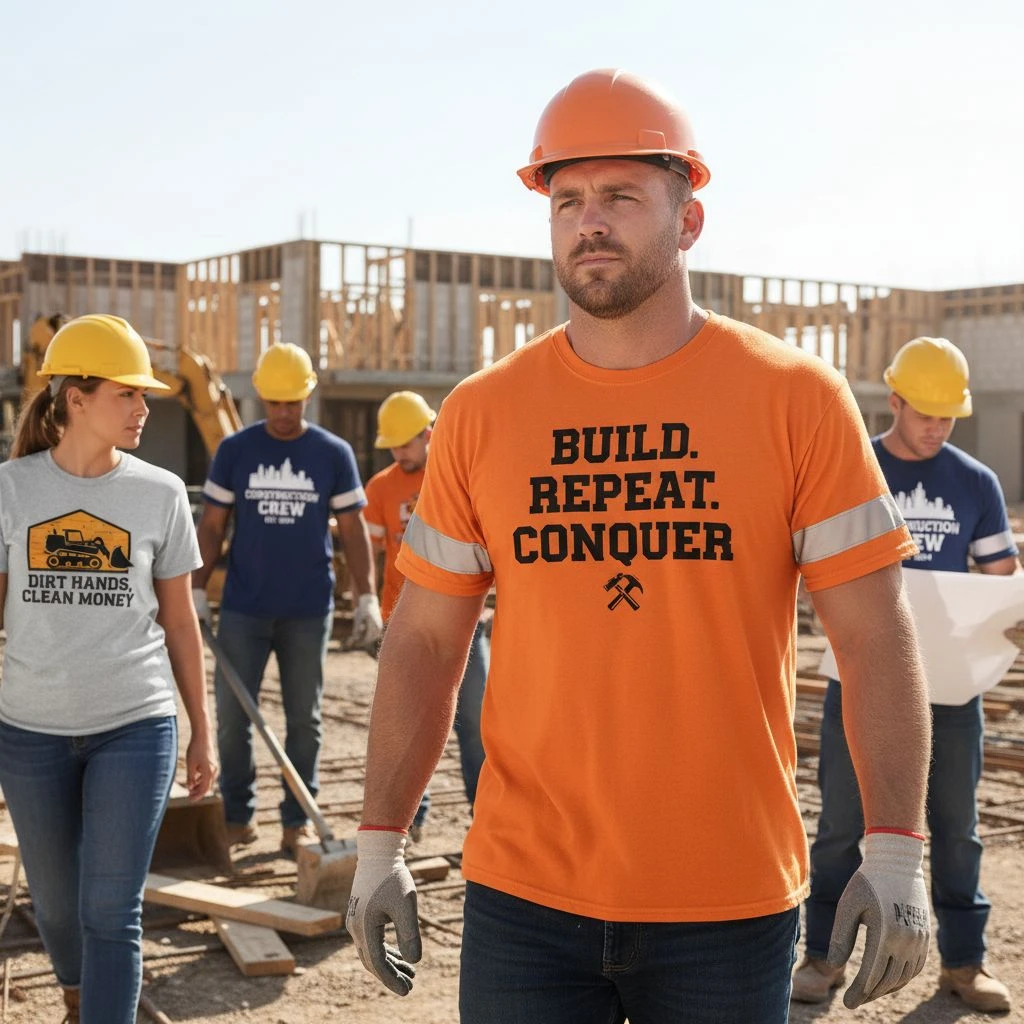
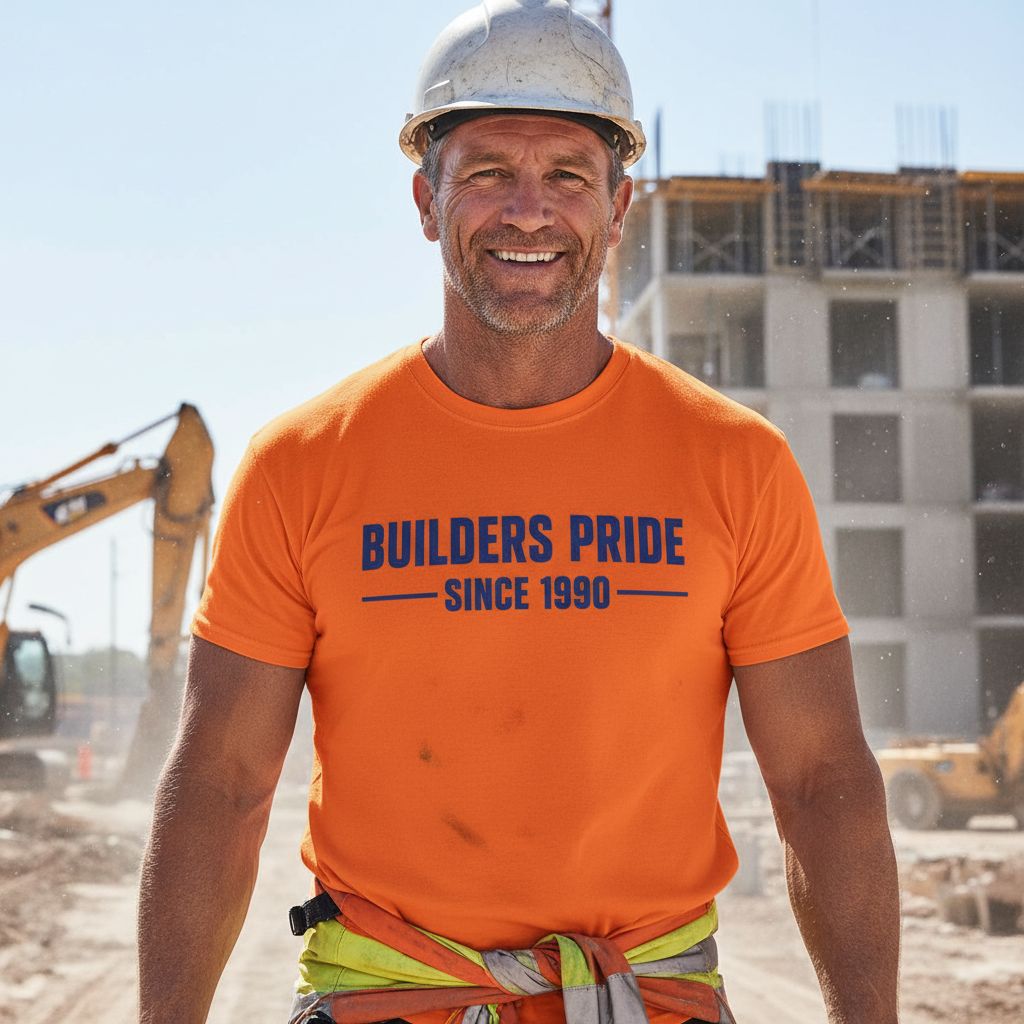
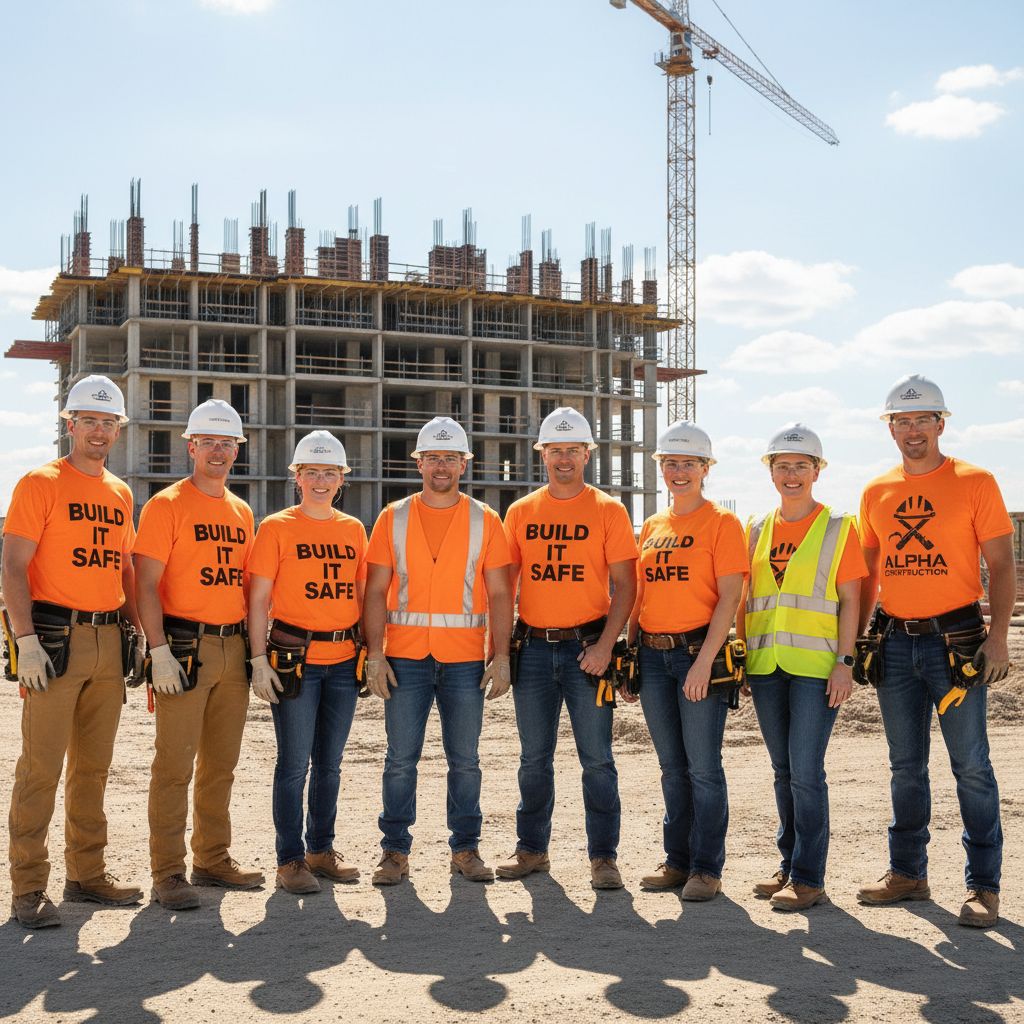
8) Logo Placement (branding should not reduce safety)
Construction branding is about professional trust, not fashion.
Best-practice placements:
- Small left chest logo (clean, professional)
- Medium back logo (keep it breathable and not too heavy)
- Optional name/role (foreman, safety, electrician) for clarity
Avoid:
- Oversized prints that block hi-vis areas
- Printing over reflective strips
- Dark ink coverage on breathable zones (turns a shirt into a heat trap)
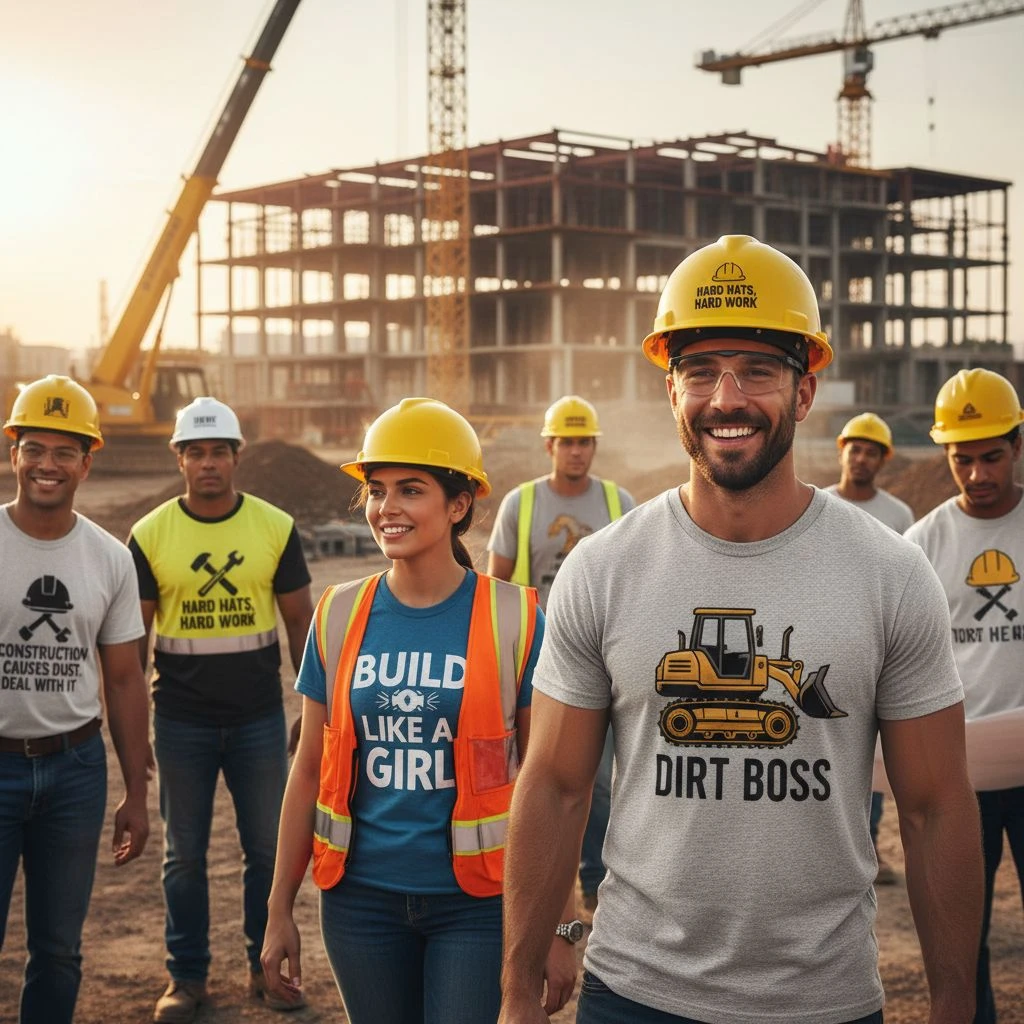
9) Color Strategy (think visibility + dirt)
Neon stands out, but it also shows stains differently.
Consider:
- Lime and orange: high visibility
- Heathered fabrics: hide dust better
- Dark colors: look clean longer, but lose visibility value

=> Important Notes: Do you want the crew to look “clean,” or be “seen”? Sometimes you need two lines: a hi-vis line for high-risk zones, and a standard work tee for lower-risk tasks.
10) Weather and Layering (one shirt won’t cover every season)
If your team works year-round:
- Hot season: lightweight, moisture-wicking
- Rain season: quick dry matters
- Cold season: long sleeves or base layers
=> Important Notes: If you buy only one tee style for the whole year, you’ll get complaints, and reduced usage.
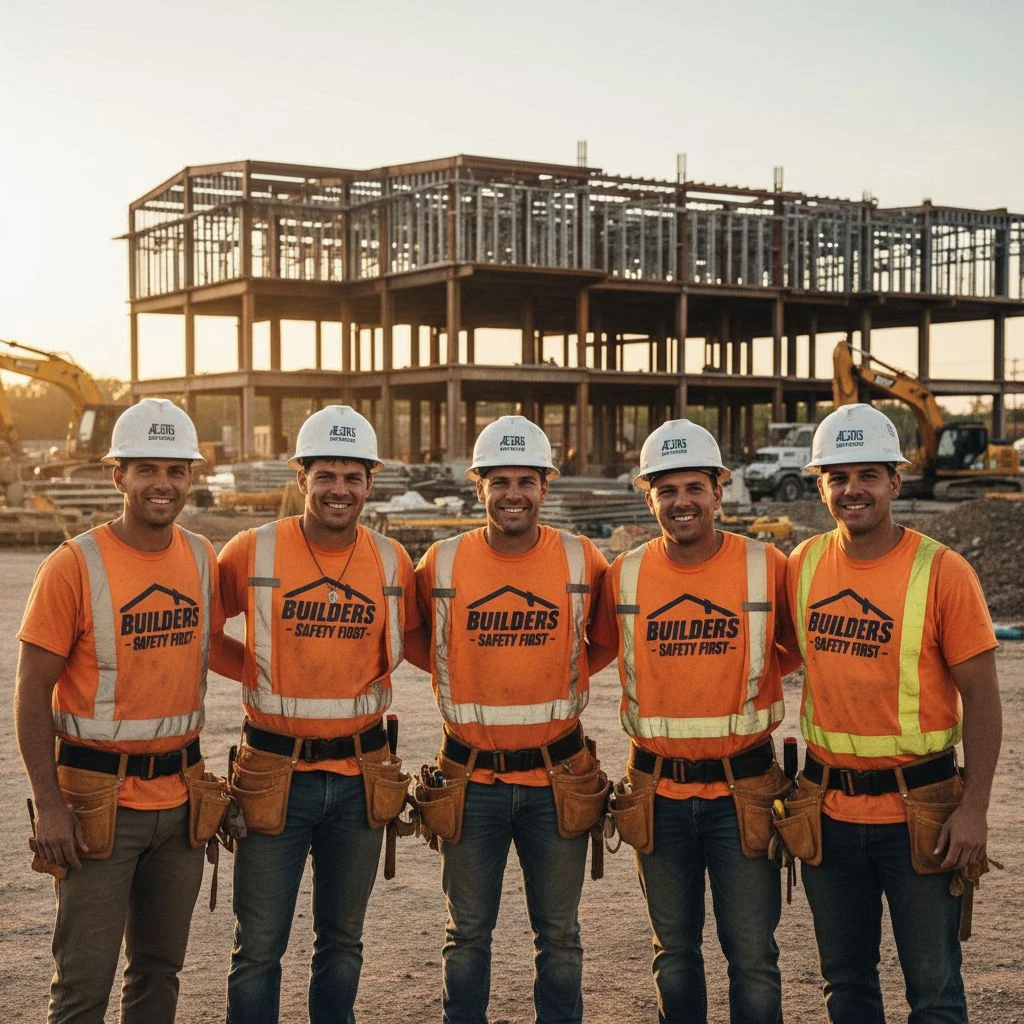
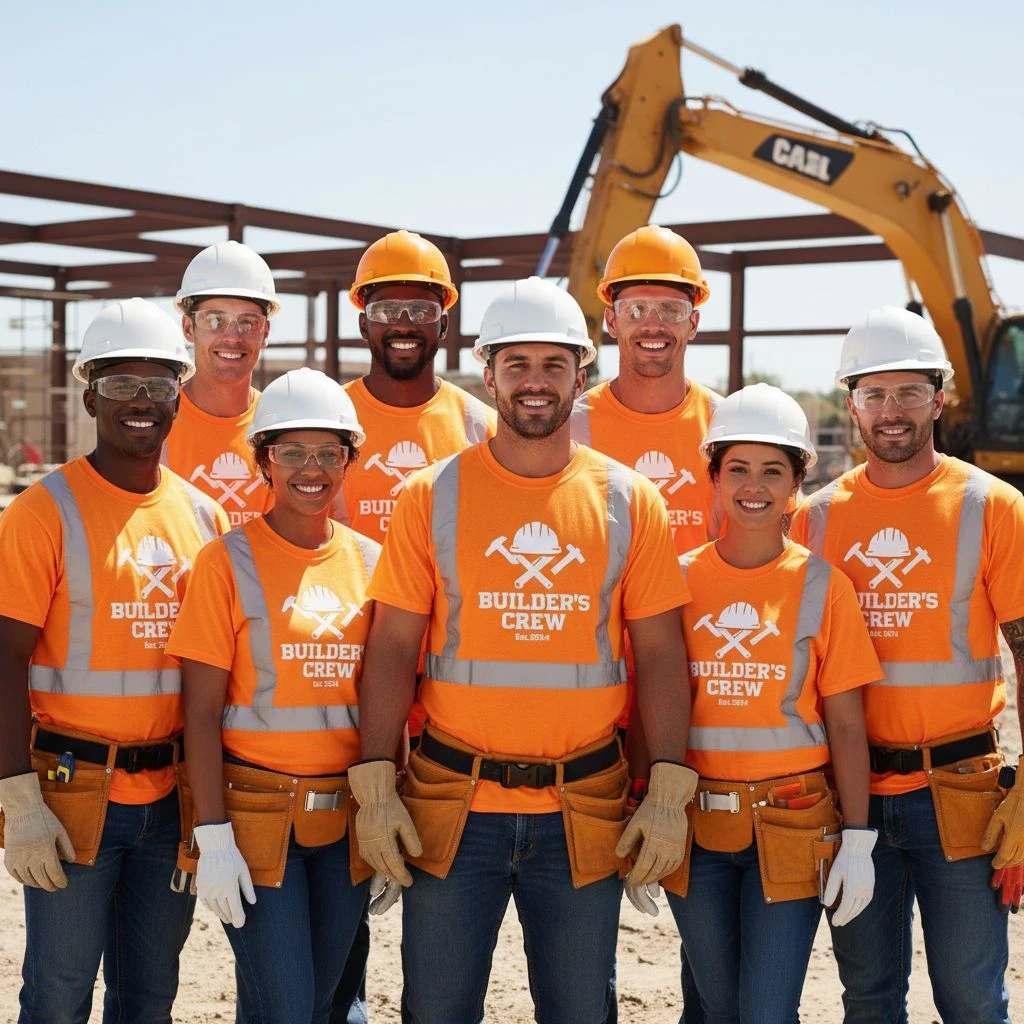
11) Inventory and Reorder Control (consistency saves money)
A smart shirt program includes:
- A “standard spec” (same fabric, color, fit, logo placement)
- A reorder plan (same vendor, same model)
- A “golden sample” kept at the office
=> Important Notes: If every reorder is a new shirt model “because it’s on sale,” your crew will look mismatched and your branding will look sloppy.

12) True Cost (think cost-per-wear, not cost-per-piece)
Cheap shirts feel like savings, but:
- shrink → replacements
- fade → replacements
- print cracks → replacements
- discomfort → workers don’t wear them → wasted stock
A better way:
- Cost per wear = price ÷ estimated wears
- Sometimes the “more expensive” tee is cheaper over time.